5 Filmmaking Tips for Creating Practical Gore Effects
Working on a horror film or video project? Here are some practical filmmaking tips for creating gore effects that won’t break your budget.
Cover image from Shaun of the Dead (Universal Pictures).
There’s a lot of filmmaking magic you can do in post-production these days. That’s not to say it’s not pragmatic or useful to add virtual blood splatters or clever color grading to make wounds look extra gooey and gangrenous. However, for films on budgets, practical effects are often the best option for authenticity.
If you’re shooting your next slasher zombie horror thriller (or any combination thereof), let’s look at five different types of practical gore effects for your next project.
Fake Blood Recipes
If you’re whipping up a batch of blood for your first time, you’ll be surprised to learn that there are tons of different recipes for all different types of fake blood. Do you want blood that looks fresh and bright, or dark and old? Does it need to spray in the air or be painted across the floorboards?
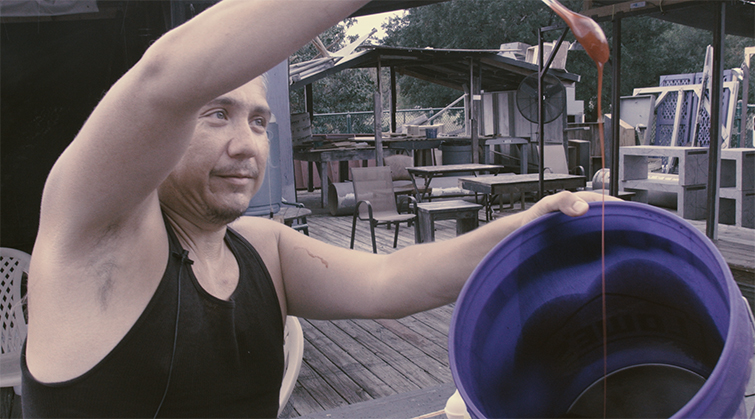
There are many tweaks and variations to consider, but here is a solid basic blood recipe that should provide good visuals for your film (and is not harmful to your actors). This recipe should yield about two gallons of fake blood and comes via Shakespeare Dallas.
- 12 cups light corn syrup (3 32 oz. bottles)
- 8 cups chocolate syrup
- 6 cups strawberry syrup
- 2 cups water
- 1 ½ cups creamy peanut butter
- 5 second smooth pour of liquid red food coloring
- 20 drops liquid blue food coloring
- 3 cups non-toxic washable children’s poster paint (classic red)
Open Wounds
To go along with your blood, you’re going to need an injury. A good place to start would be a freshly open wound in your victim or zombie. In this video by Youtube makeup artist Kelsey Bobian, we learn how to create DIY open wounds out of glue and toilet paper (along with some standard makeup items). This technique is helpful and unique because it’s simple to create and doesn’t use latex, which makes it much easier to simply wash off with hot water.
Severed Limbs
In this very in-depth (and quite interesting) tutorial by Tested, we get a peek into the process of professional Hollywood effect artist Frank Ippolito, who has quite an impressive production portfolio. The step-by-step walkthrough shows the entire process for molding your own hand to create a silicone cast. Then, you can cut and paint it to create a very lifelike and gory prosthetic.
Exploding Heads
While this technique looks a little more difficult, it’s actually one of the simplest (in part, thanks to a little digital manipulation, but mostly practical effects). All it really requires is a green screen, Adobe After Effects, a water balloon, lots of fake blood and several stunned, blood-splattered reactions. If you need a quick refresher on how to work with green screens and key out footage, here are a few resources. The rest comes down to directing, acting, and dramatic editing.
Gunshots and Squibs
If you’re going to deal with monsters or other horror creatures, you better be ready to put them down in style. One of the most popular ways, as film and television teach us, is to use firearms effectively. As such, understanding how to work safely and effectively with squibs is your best option. If you’re unfamiliar, this video is a great two-part resource for DIY squib-making, and it includes a nice itemized breakdown of everything you’ll need.
If you’re looking for more horror and practical effects, check out some of these resources below.


