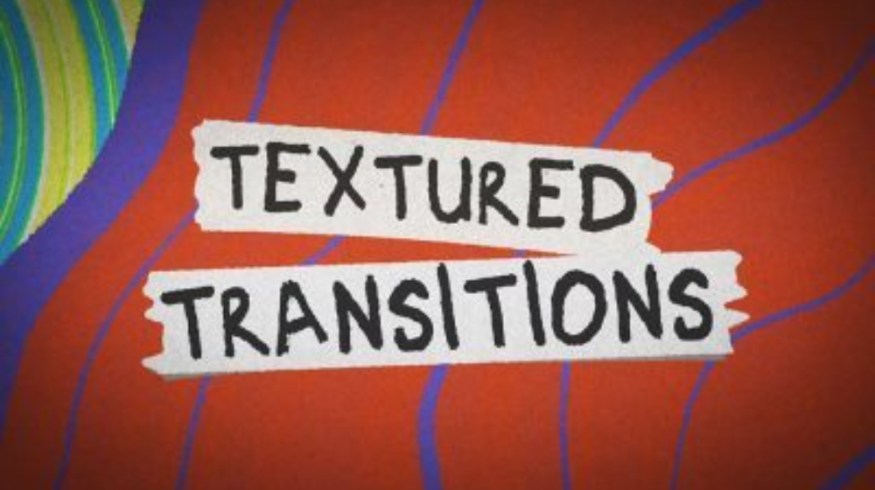
Download 15 FREE Textured Transitions for Premiere Pro

With these FREE textured transitions, you can quickly add some fun energy into your edits in Premiere Pro. Download this free pack below.
I’m sick of the usual transitions used in Premiere Pro. The usual smooth zoom/fade transitions are getting super played out, and most edits still benefit from some sort of transitional element between scenes.
I tend to like a more “interstitial” style transition, one that actually overlays color and texture, and therefore personality, into an edit. This is why we created this freebie. To give editors in Premiere the ability to add a bit of fun energy into their edits with ease, while transitioning from one scene to another.
This free transition pack consists of fifteen different .mogrt files that you drag right into Premiere, and make all kinds of different changes and alterations for your specific project. You can alter the amount of texture, colors, and, in some cases, even change the way the transition itself looks. There are different styles to choose from — a scribbled pencil, torn paper, wiggly looking zebra stripes, and standard wipes with a papery texture, to name a few.
An AE project file is also included, in case you’d like to open it up and make more alterations to the animations. All of the included transitions are saved out as a two second animation, with the exact middle point being the right spot to add your cut below the transition. You can easily speed this up or slow it down for your needs inside of Premiere.
NOTE: To use these free transitions, you must have the most recent version of BOTH Premiere and After Effects installed. They will not work without After Effects installed.
Announcement: PremiumBeat has launched its new music subscription. Get high-quality music at $12.99 per track!
Download the Free Textured Transitions
Click the button below to download the free textured animated transitions. In the download, you’ll find everything you need to get started. These textured transitions are free to use in any personal or commercial projects. By downloading, you agree not to resell or redistribute these free assets. Point your links to this page and let friends and colleagues download it from here.
DOWNLOAD FREE PREMIERE TRANSITIONS
How to Use the Free Transitions in Premiere

Thankfully, in more recent versions of Premiere, Adobe has made some changes to make .mogrts a whole lot easier to install. Previously, you had to install them individually, one at a time. Now, you can choose one folder at a time to add to your library or drag them right in.
Installing Folders to Your Library
When you’re inside Premiere, you’ll first want to make sure that you have the Essential Graphics Panel open. If it’s not, head up to the Window tab and make sure that it’s checked.

Open the Essential Graphics Panel.
In the Essential Graphics Panel, you’ll notice a little hamburger-style icon right next to the tab name. Right-click on that (pictured above), then select Manage Additional Folders.

Select Manage Additional Folders.
Once there, you can click on the Add button and navigate to the folder where you’ve stored your transition .mogrt files, then hit the OK button.
Now, you’ll have the transitions added as a new library.

Transitions added as a new library.
This way, you can easily and quickly add or remove folders from your .mogrt library to quickly select styles for various projects. Obviously, this is a much better way to keep your motion graphics templates organized than Premiere had previously available.
Dragging Directly into Premiere
Another method that’s now available — which is quicker, albeit a little less organized — is to just drag your .mogrt files directly into the Essential Graphics Panel.
However, doing it this way will add the files to your local Premiere Pro motion graphics templates folder, which will send the files in to mingle with all of the other motion graphics you have installed (including the stock ones that Adobe ships with the software). I don’t like doing it this way quite as much since it makes it a bit harder to find the graphics you’re looking for.
Customizing in Premiere

To access the customization options, with the Essential Graphics Panel open, you can select the transition on your timeline (after dragging it in) and the Edit tab should open up in the EGP. Here, you’ll find all of the accessible parameters of the animation. In all cases, you should be able to change colors and texture amounts. In some cases, there will be other options available. As mentioned before, if you need your animation to be faster or slower, the best option is just to use the time-remapping options inside of Premiere.

If you want to further customize your graphics, we provided the .ae project so you can open it up and mess with the timing or textures yourself.
These transitions are a fast way to add some fun production value to your edits, and I think I’ll end up using them quite a bit for vlogging and other YouTube-style edits.
Dive into more helpful Premiere Pro content:
- Clean up and Accelerate Timelines with Sequence Nesting in Premiere
- Free Computer Benchmark Tests for Video Editors
- Video Editing 101: How to Edit a Video from Start to Finish
- How to Create the VHS Look in Premiere Pro + Free VHS Effect Presets
- NEW! Get high-quality PremiumBeat music with the new subscription.
![]()