Improve Your Footage by Adding Vignettes in Post-Production

Vignettes are a great way to add subtle emphasis to your footage. Find out how with these three approaches.
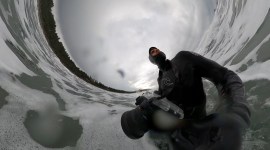
Top image via Shutterstock.
One of the simplest ways to improve your visuals is to apply a vignette in post. Vignettes are a subtle way to direct your audience’s eyes to a specific subject in the frame, such as a landscape or a small object. There are three different ways I create my vignettes, so let’s take a look.
Standard Vignettes
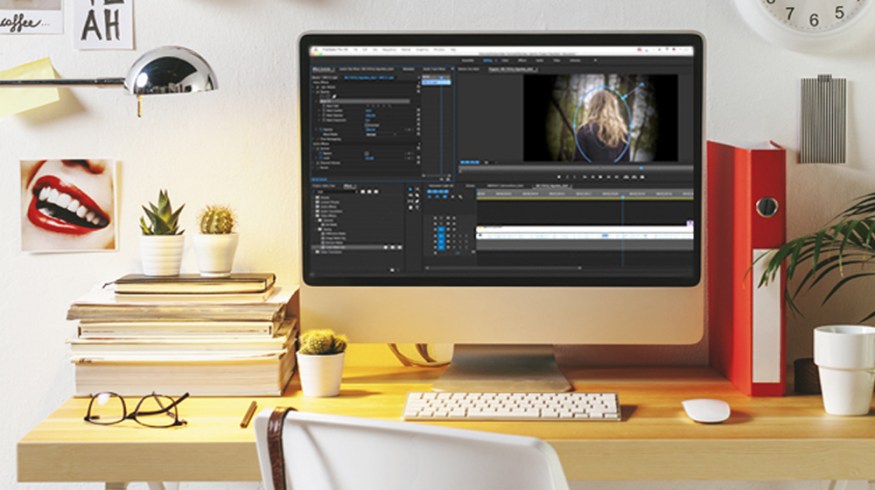
The first method is very simple; you’ll need Premiere Pro CC.

Go into the Lumetri presets drop-down menu and click Vignette.
Under Amount, drag your slider to the left, shifting your numbers to a negative value. This will add a vignette that surrounds your frame. Usually, there’s a sweet spot between -3.0 and -1.3.
Shaped Vignettes
The second method is a little trickier.
You’ll first have to create a new black video layer and apply it over your footage.

Then go into your effects panel and under Opacity, select the Circle Matte option. For the best results, create an oval that fits the subject you want to focus on.

Once you’ve created your shape, press Invert. Next, adjust your Feathering options so that the edges of your shape are nice and soft.

Continue to adjust the Feathering, and then adjust your Opacity to ensure your vignette isn’t too intense. You can also play with your Expansion parameters to adjust the scale and size.

Masked Vignettes
The Final method is the most difficult one, but probably one of the most effective when it comes to interviews and narratives.
Go into your effects bin and drag the brightness contrast effect on top of your footage.

Next slide your brightness down so that your image gets really dark. Then bring up your contrast so that the darker tones in your shot don’t look too crushed.

Once you’ve found a sweet spot, create a mask using the pen tool. The trick is to create the shape of your subject.

Once the mask is ready, invert your selection so that the darker layer outlines your subject.
Now feather the edges. I like to really crank my feathering to the max so that the mask is almost transparent. As above, you can adjust your opacity and expansion so that your vignette fits your image perfectly.

Vignettes are a great way to enhance and sometimes save your footage. Keep in mind it’s their job to direct attention to your subject, not the other way around. Vignettes are most effective when you hide them in plain sight.