A Field Guide to the Low-Budget Panasonic GH5 Setup
Out of the box, the GH5 lacks a few essentials for run-and-gun videography. In this guide, we detail what you need to complete your rig — on a budget.
Cover image via Panasonic.
The GH5/S and the Sony A7s I/II are arguably the hottest mirrorless cameras on the market for filmmaking. When we look at their features — compared to the camera that changed the low-budget cinematic filmmaking game, the 5D Mk II — it’s bewildering to think about how much we’re getting for the price.
While these cameras have fantastic filmmaking capabilities, they are, at their cores, mirrorless cameras for still photography. If you take the GH5 out the box and instantly hit the road to make a travel documentary, it won’t be impossible, but you will face a number of challenges. You need to first accessorize your camera to make it practical in the field.
There are two constraints to the items listed in this article: one, this list is geared toward a run-and-gun setup for documentary or travel videography, so we want the accessories to fit in one DSLR bag; two, we’re looking to keep the accessories to a minimum of $1,000. I understand that for our student- and DIY-budget-readers $1,000 is still a lot of money — especially after you’ve just spent $2,000 on the GH5 — but low budget very rarely means no budget.
As a side note, I have used all the items in this list, or I still own them. You’ll see things like the Mark I version even though there are now Mark II models on the market, but in the spirit of keeping this list budget-friendly, we’ll stick to the lower-priced options. While this budget setup is for the GH5, you can use it for inspiration for any camera in the DMC-GH series and, to some extent, most DSLR and mirrorless cameras.
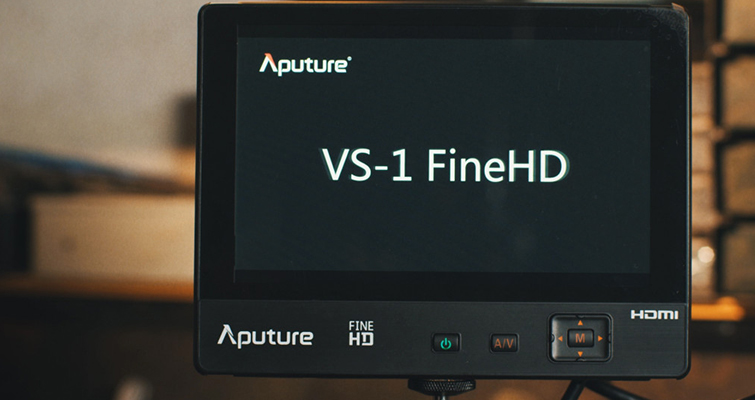
The Aputure VS1 Fine HD
- $198 New
- $150 aftermarket
When you’re working in daylight, the LCD screen on the GH5 isn’t great. It wasn’t very good on the GH4, and it hasn’t got any better with the GH5s. The touchscreen has a protective coating, and as a result, the glare from direct sunlight is awful. So you’re going to need a dedicated field monitor.

The VS1 Fine HD is a 1920×1200 7-inch field monitor from Aputure. It has a 450-nit brightness along with a 1,200:1 contrast ratio, which isn’t as high-performing as top-tier small monitors, but when combined with the velcro monitor hood, it provides a good budget-friendly alternative to the GH5’s LCD screen.
The monitor also has extra functions, such as on-screen cropping markers. The VS1 provides 2.35:1, 1.33:1, 1.66:1, 1.85:1, 70%, 80%, and 90% markers; therefore, if you plan on cropping your footage or applying a letterbox, you won’t have to rely on guesswork.
The monitor also has a useful zoom function. If you’re shooting wide open on a manual lens, even with focus peaking activated, it can be a hassle to find the correct focus point on such a small LCD screen. With the VS1, you can zoom in on the monitor itself, making that process easier. The VS1 also has a cold-shoe attachment, so you can fit the monitor directly to the top of your camera.
For more insight, check out this video review.
Metabones Speedbooster
- $400-$500 RRP
- $150-$300 — aftermarket
- Viltrox EF M2: $196
The Speed Booster adapter changed the game for users of APC and micro 4/3 cameras. Not only did it increase the number of lens options, as users could attach a range of full-frame lenses to their cameras, but it also provided an extra F stop and reduced focal length to the attached lens. We’ve already covered why you should use a Speed Booster with one of Panasonic’s cameras, but if you’re reading this article and don’t know what a Speed Booster is, here’s an excerpt:
Using a 35mm on a GH4, which has a 2x crop factor in photo mode, would give you the equivalent field of view of a 70mm lens on a full-frame camera — or an 80(.5)mm if you’re in video mode with a 2.3x crop. However, using the Nikon G to Micro Four Thirds Speed Booster, you get a 0.71x reduction, creating the equivalent field of view of a 50mm focal length, which is an incredible reduction, and it brings the lens closer to its natural field of view. Furthermore, by using the Speed Booster XL, released in 2015, you can reduce the crop factor from 2.3x to 1.5x.
I genuinely believe that you’re not getting the best out of the DMC-GH series if you’re not coupling it with a Speed Booster. Unlike 2013, Metabones no longer dominates the EF/Nikor to MFT focal reducer market. Aputure released the DEC LensRegain last year at $ 589, and the Viltrox EF M2 for $196 has recently joined the scene.
I’ve yet to use to the Viltrox, so I can’t recommend it at the moment, but it’s making a lot of noise on the MFT forums, and at $196 new, it seems like a hit. Nevertheless, a non-electronic aftermarket Metabones can go for the same amount, and if you use manual lenses like me, you can save money and buy a well-regarded brand.
SmallRig Cage
- $89.99 new
- $55 used
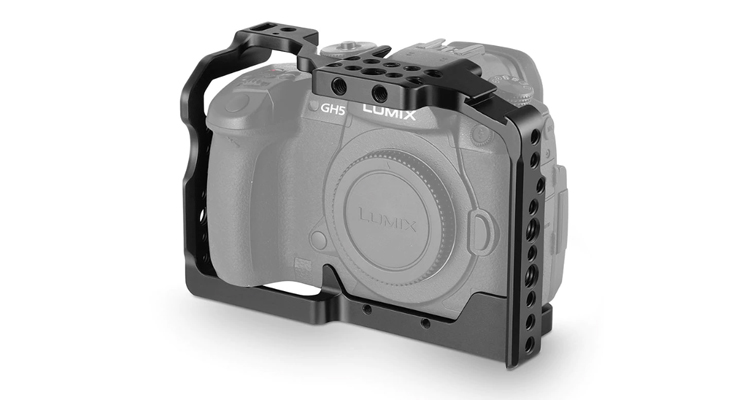
Several years ago, there were only a few primary manufacturers of DSLR cages. Fast-forward to 2018, and there are hundreds of premium and budget-friendly cages on the market.

Image via SmallRig.
For $89, you get a 154 x 71 x 109mm aluminum alloy cage from SmallRig that accommodates both the GH5 and the GH5s — but not the Gh4, unfortunately (they do have a model for that). The primary reason this cage is on the list is to provide mounting options for all the other accessories — once you use up the camera’s one hot shoe mount, that’s it. The cage also provides valuable protection for the camera.
The cage does not block the memory card or battery compartments, which is a persistent problem I’ve come across with knock-off cages. There are several 1/4” threaded holes all along the cage, which leads us to the next accessory on the list.
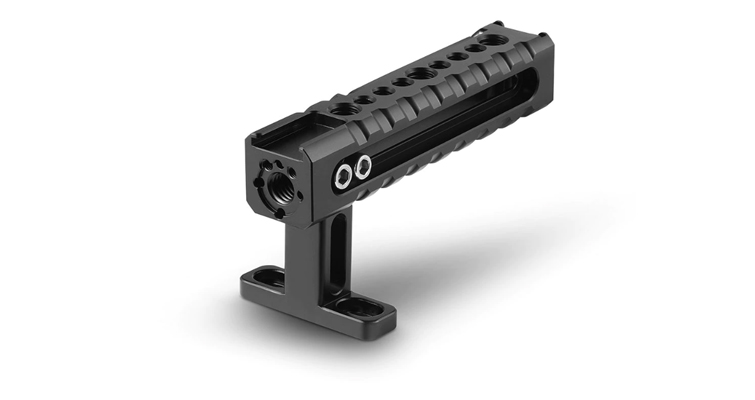
SmallRig Universal Top Handle
- New: $39
SmallRig also offers a Top Handle for the budget-friendly price of $39. Alternatively, you could purchase both the cage and the top handle in one package for $125. The “universal” in the product’s name isn’t just for kicks; it really is universal. It can slide forward and backward to assist with balance and grip; it has 16 additional mounting points, as well as two shoe mounts on the top and back of the handle. It even has a space for an Allen key/hex key for quick adjustments and removal. All we’re missing is a folding pocket knife at this point.

Image via SmallRig.
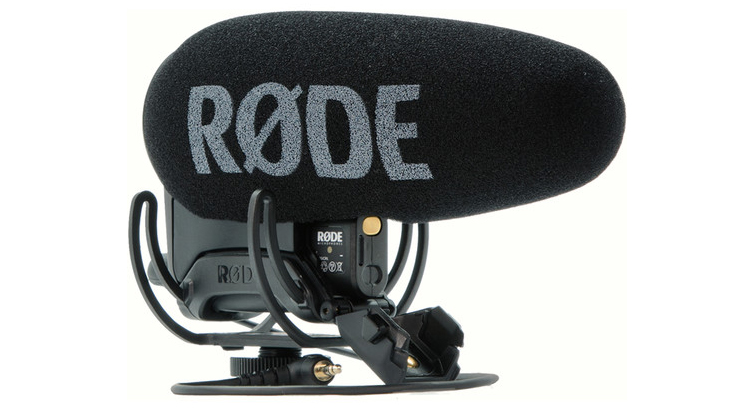
RØDE VideoMic +
- New: $299
Ever since the days of the 5D Mark II, the 7D, and The 550d/T2i, the RØDE Video mic has been the undisputed champion of DSLR microphones.
The first rule of DSLR and mirrorless filmmaking is that you don’t use the onboard microphone. They’re lackluster; they will pick up the sounds of camera use; and, at best, they are only useful for syncing sound in post-production. Further, most DSLRs and mirrorless cameras don’t have the best onboard sound operations in the first place – they are photography cameras after all.

Image via RØDE.
In 2017, RØDE released the Videomic Pro Plus, which introduced several new features to the design. The built-in rechargeable battery lasts for over 100 hours of use. And if you use disposable batteries, the plus model now uses AA batteries instead of 9V, and the microphone will automatically switch off when you power down the camera.
The microphone boasts a safety channel to prevent clipping, a two-stage high-pass filter to reduce low frequencies (great for lowering the rumble of distant vehicles), and a three-stage gain control (along with a high-frequency boost). It also has an onboard shock mount to avoid the sounds of camera use.
Since the RØDE Videomic uses a supercardioid polar pattern, the mic is excellent for picking up clear sound in an exterior location while avoiding any sounds behind it. For narrative filmmaking, you’re still going to want to use a dedicated recording system, as these microphones do have their limitations, especially with distance, but for filmmaking on the go, they’re great.
LCD Screen Protector
- New: $10
Perhaps it’s not as high tech as the other items in the list, but a screen protector is just as essential. While the LCD isn’t great for outdoor viewing, it is your operational hub for changing video and camera settings, and you’re going to want to take good care of it. You can pick up an LCD protector for less than $10, and once you attach it, you’ll never need to take it off.
This small setup doesn’t include everything you need to make a feature film (although there’s no harm in trying), but you’re going to be in a better position to capture beautiful images on the go with this load-out.
Looking for more video production tips and tricks? Check these out.


