Why You Should Master the Under-Appreciated Art of a Good Pre-Edit

Looking to streamline your workflow? Here’s everything you should do to prepare your footage before you edit.
Cover image via Shutterstock.
For those looking to improve their video production workflow, there are plenty of resources online with actual production tips for pragmatic filmmaking. There are also lots of resources for editing effectively, including plenty of tips, tricks, and pointers.
However, what you do between the stages of a project can be just as important. Let’s explore the under-appreciated art of the pre-edit and how it can streamline your work across the board.
Upload from Footage
 Image via Shutterstock.
Once you’ve wrapped production, you stow your cards and head to your edit space. Your first step is going to be getting your footage off your cards and onto your computer. This process is pretty straightforward, but it varies based on card (or drive) type.
SD Cards: these are standard for most DSLR and prosumer cameras, and most Macs and PCs have SD card slots these days. If not, you’ll need to get a card reader that connects via USB.
CF Cards: another industry standard for many cameras, CF card slots are not usually built in to most computers, so a card reader (preferably one with multiple and different ports) is a must.
Solid State Drives: for many higher-end cameras that record RAW footage, SD and CF cards are simply not large or fast enough to write what you recorded. Solid state drives (which can be quite expensive) operate as independent hard drives.
Create and Organize Folders
 Image via Shutterstock.
If you haven’t already, it’s important to establish a system for organizing your footage and assets. Besides, footage, you’ll often find yourself with a mix additional assets and files to organize. You should organize everything from audio tracks to GFX to important documents in the same master folder (especially for backing up — see below).
Here are some resources to keep your projects and files organized.
- Keeping Your Video Editing Projects Organized
- 5 Tips to Organize and Customize Premiere Pro
- 6 Easy Steps for Logging Footage
Back Up as Soon as Possible
 Image via Shutterstock.
After you upload your footage to your organized folders, you’ll need to back everything up as soon as possible — either on your computer or an external hard drive. (Here are some recommended external hard drives to store your backups.)
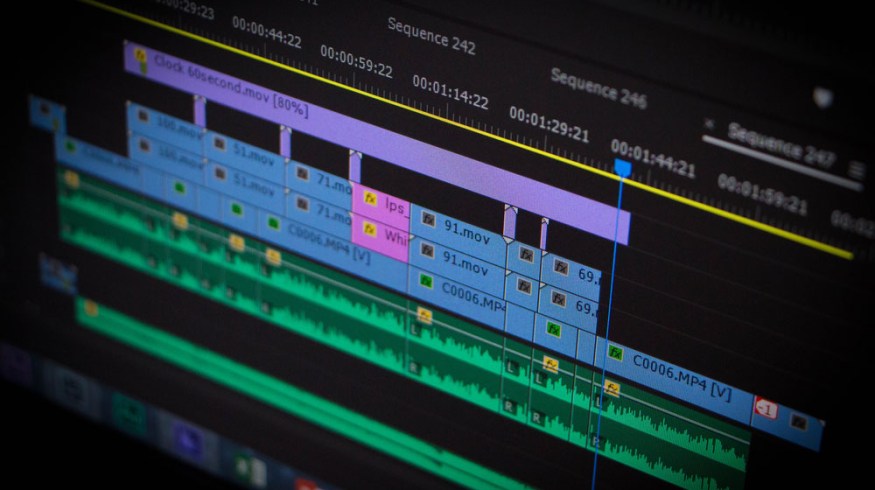
Editing Software and Sync
Only after you have safely stored and organized your footage should you bring it into your NLE. Here are some tutorials for uploading footage to Adobe Premiere Pro or Final Cut X.
Adobe Premiere Pro
Final Cut Pro X
Once you have your footage in your editing software, you can start your review process. I’d personally recommend going through all your footage and either using a colored marking system or pulling clips into different timelines or bins.
If you’re working with separate audio and video files, you can sync manually or use programs like Pluraleyes to create new timelines with your preferred audio.
Save Your Pre-Edit and Begin

Only after you’ve successfully uploaded, organized, backed up, and synced would I consider a pre-edit finished. You can even save your pre-edit as its own project file so you have it to go back to or transfer over to someone else later.
In some organizations, junior editors handle pre-edits before senior editors take over. If you’re working solo, it can be helpful to keep that mindset to get all everything perfectly lined up before you dive in.