Mix Automation: How to Make a Better Sound Using Automation

Automation is a powerful audio editing tool that gives shape and space to sound. Here’s how to use automation to elevate and improve the audio in your projects.
In the expansive realms of audio and video editing, there are seemingly countless ways to make your sound better complement your visuals. One of the most powerful tools you can use to accomplish this is automation.
Let’s explore the importance of automation and learn how it can help contour your sounds and give depth and character to your projects.
What Is Automation?
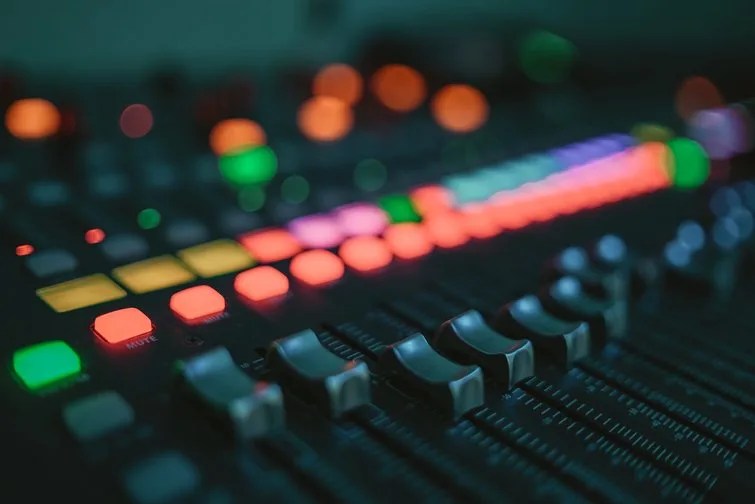
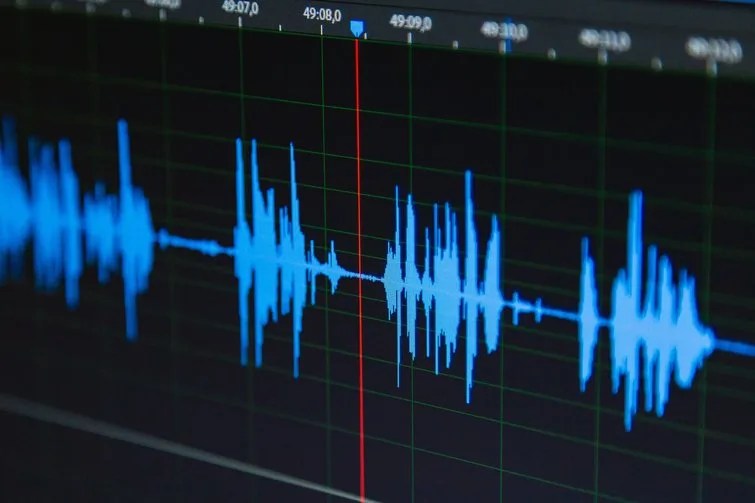
Automation refers to the process of using software to automatically adjust a variety of audio parameters over time. Automation is commonly used in the areas of volume, panning, and effects levels.
These elements create certain nuances when applied thoughtfully to a mix, and automation makes them even more expressive, providing a dynamic range and depth within a curated sound world.
Automation is used heavily in music production. Without it, most tracks would come across as two-dimensional.
From the fade-ins and outs to equalization, automation simply gives songs so much more character. In conjunction with any effects in place, it gives the music life.
This goes the same for audio editing in filmmaking.
Modes in Automation
When working with automation, you’ll encounter two modes known as write and trim.
Write Mode
In Write mode, any changes made to audio parameters—like volume, panning, and effects—are automatically recorded as automation data.
In this mode, the user can make adjustments to the audio parameters in real time, and the software will record those changes.
Trim Mode
In Trim mode, users can edit existing automation data by adding new automation points. The user can adjust the shape of existing automation curves, move automation points, or delete them as needed.
This mode is useful for fine-tuning or correcting automation data that has already been entered.
Check out this video from AV editing pro Jay Lippman for some super-helpful tips on using automation in DaVinci Resolve.
Automation and Dialogue
Automation can be a lifesaver when it’s time to make sure dialogue is at a suitable level and mixed well in the overall picture.
With dialogue, volume automation is key, especially when working with dialogue that was recorded in a noisy or acoustically challenged environment. Furthermore, it can create space for dialogue.
As an example, let’s say you have a character that’s off screen or far away from the audience’s perspective. The obvious solution is to make the audio quieter. If said character gradually comes into frame, editors can use automation to increase the volume, making them sound like they’re coming closer.
Panning is another parameter that can provide a more immersive space for the viewer. As discussed above, characters will frequently have dialogue that comes from off screen. Editors can use automation on the panning parameter to distinguish where the sound is coming from, either from the left or right. This can be adjusted over time in post-production when the character moves toward the center or in any other direction.
Automation can also be used to adjust the EQ of dialogue tracks over time to improve clarity and intelligibility. This can involve boosting frequencies in the mid and high range to bring out the detail in the dialogue.
Additionally, automation can cut frequencies in the low range to reduce any noise and distractions.
Automation in Music and Sound Effects
Automation in music and sound effects is almost the same as when working with dialogue. As dialogue will mostly need to sound clear and concise, in music and sound effects, there’s room for additional effects that can create more interesting sounds.
Additional effects can include reverb and delay. Automating these can add interest and variety to the sound, especially in the context of music production.
Tempo is another parameter that can be automated. If you want to speed up or slow down a track, you can dial this in using automation.
Automation helps in transitional moments through fades. These can be dialed in for a smoother transition from one sound effect or track to another. This eliminates the cut-off you may get from sounds, especially those that are more sustained in nature, rather than a quick hit.
If you’re working with background music tracks, using automation to secure the correct levels will ensure balance for the entire project.
Here’s a great video from We Are Film that showcases automation examples in Fairlight.
You can (and totally should) practice your automation skills by downloading sound effects or a royalty-free track and just having a play-around session in your DAW of choice. Start off with volume automation and then expand out to other effects. This can also train your ears to distinguish suitable audio levels in conjunction with visuals.
Also, experiment with effect automation. The results you may find could be unconventional, however, the excitement of finding those nuances in sound is what makes audio editing so thrilling!
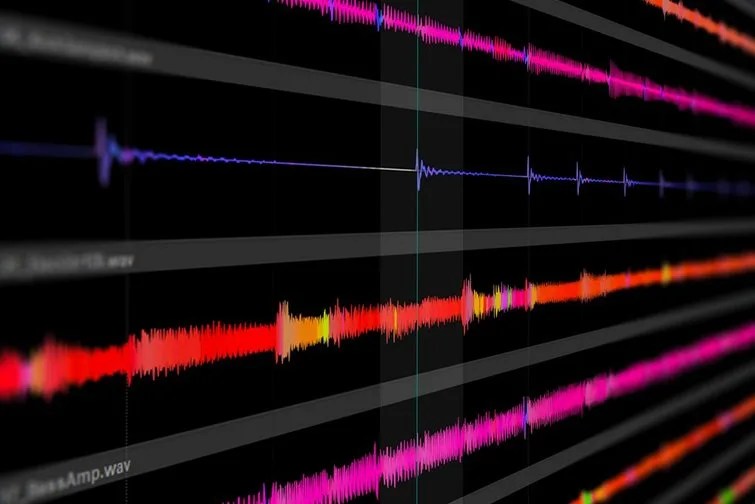
License this cover image via Tim Fialka.