How to Import Footage to a Windows System from an OS X Extended Card
Did you format your CFast Card the wrong way when setting up a new project? Yeah, we did too. Here’s are a couple of ways you can fix it.
I’m even not going to hide behind a pretense here. I made this mistake last week, and after connecting the CFast Card reader to my Windows computer to see that it was not reading the card, I thought I was about to be on the phone politely asking the client to return to reshoot the whole day because the card had corrupted after the final shot.
Then, I remembered that the Ursa Mini asks you which system format you want for the CFast Card when you start a new project. In the heat of the moment, I had not chosen exFAT and accidentally selected OS X Extended, and since I only have Windows systems, I was out of luck. Thankfully, some companies have foreseen such events and have release software that will connect an OS X Extended formatted card or drive to your PC.

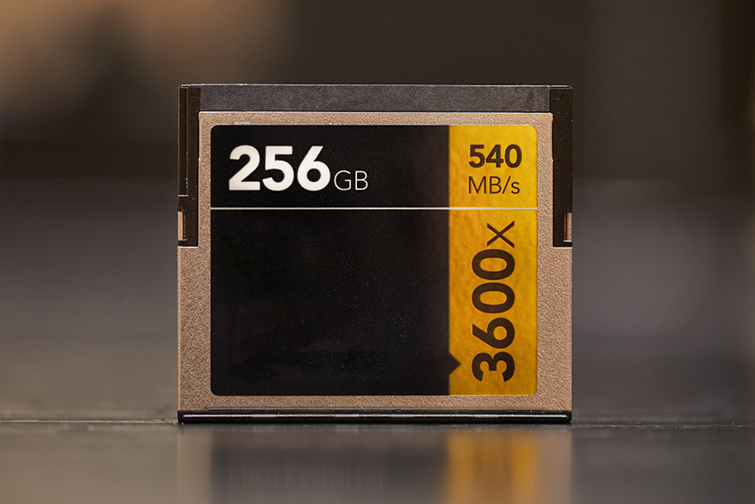
Image via Peter Gudella.
Are you unsure about the difference between the two formats? It comes down to journaling. According to Tom Patrick of Macintosh-Data-Recovery.com,
Journaling is a Mac OS X feature that is extremely helpful in protecting the system against the problems that arises due to power failures, hardware failures and directory corruptions. When the journaling is enabled on Mac, it keeps record entries of the changes to the files present on the disk. These entries are maintained in a special type of data structure called ‘Journal.’
Therefore, Mac OS X Extended (HFS+) is the recommended recording format. In the (unlikely) circumstance that your media storage becomes corrupted, journaled data is more accessible for recovery, whereas exFAT does not support journaling.
However, Mac OS X Extended is only natively supported by Mac OS, whereas both Mac OS and Windows support exFAT. Like I said, there are programs on the market that can help you get your footage onto a windows system. There are even a few tutorials on how to dive deep into the catacombs of your pc to alter some code to show the connected drive, but to keep things simple, we’re going to look at just two applications: HFSExplorere and MacDrive.
As a side note, while I wrote this article for those who have incorrectly formatted their camera’s media storage, all of the solutions presented herein are viable for standard flash and disk drives.
MacDrive
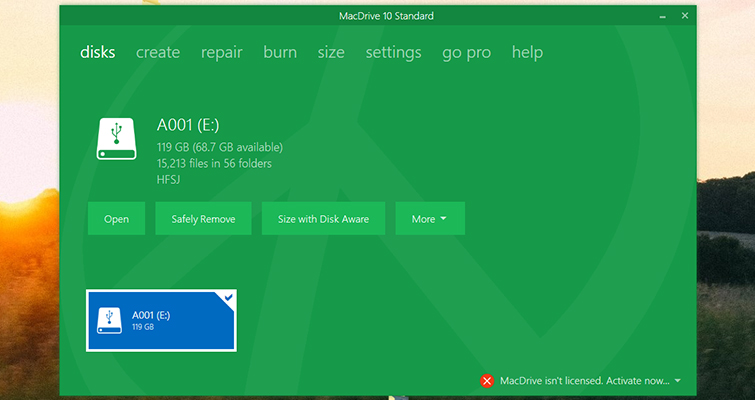
MacDrive from Media Four is a $50 application, and it does a lot more than connect Mac-formatted drives to your Windows pc. You can repair the drive, reformat it (including back to exFAT), create and partition Mac disks, and so on. The most beneficial factor for me is that upon installing the software, much like a RAW or audio codec, the CFast card drive was viewable in my Windows directory, and I didn’t even have to open the software.

Image via Mediafour.
While there is a price tag attached to the software, you do get a five-day free trial. It’s common for many companies to offer a redacted version for the trial use of the software; you can convert five files but no more, you can apply a grade but can’t export, and so forth. However, MacDrive offers full use of the software for five days, and then you have to purchase the full version. Hopefully, I won’t be in the position of trying to import footage from an OS X Extended drive again, but if I did, MacDrive would be worth the price.
HFSExplorer
HFSExplorer is a free application, but it is slightly more complicated than MacDrive. It also requires Java, which many have grown weary of installing due to security issues. However, that’s the price you pay for free software. Unlike MacDrive, you won’t be able to view the connected drive in your file directory, and you will have to access the files through the software itself.
To do so, hit File > Load File System From Device, and then extract to a new destination.
That seems easy, right? Well, this is why I said it’s slightly more complicated than MacDrive — because it’s slightly troublesome loading a file system when you can’t see it. Therefore, you will need to autodetect the drive. If you’re having trouble following along, I suggest watching this tutorial from Raynel Gonzalez.
Manual Transfer
So, I may have told a white lie in the introduction — claiming that I only have Windows systems. I do, have a decade-old MacBook hiding under the storage cabinet that I use to test Mac-specific Premiere Pro presets. That being said, it takes an incredibly long time to boot up, and just as long to perform a regular task. Offloading 320gb of footage onto this machine wasn’t practical, nor was it an option since all cards had to be ready for use again later in the evening. However, if the MacBook loaded faster and transferred at a reasonable speed, of course, I could offload the footage, then connect an exFAT drive to move the footage to the editing station. But that in itself is three transfers of 320gb and would take some time.
Alternatively, to reduce post-shoot stress and avoid all of the above, take better care than I did when choosing the format of your card.
Looking for more video production tips and tricks? Check out these articles.


