Documentary Editing Tips for Working with Lots of Footage

Filming a documentary means lots of footage, and that means the edit is no small undertaking. Here’s our advice on how to manage the project
Any documentary filmmaker can tell you that one of the most difficult parts of any documentary project is after you finish shooting and move to the edit. It can be absolutely terrifying in that first moment when you sit down and face the sheer amount of footage you’ll need to review, organize, and lay out to build your edit.
Even projects that are only supposed to be a few minutes long can mean hours of footage to go through. It’s understandable to feel overwhelmed. However, if you have a good game plan and know some simple organizational and asset management tips, you can push through the initial difficulty and settle into your edit.
Make Notes While Shooting

Image via Myvisuals.
This first trick can absolutely help the most. Whether you’re shooting and editing your own project or shooting to hand off to an editor, the more notes you take while shooting, the better. Even the most mundane information like date, time, subject, and some simple notes on the context will help in the long run. Just because things seem obvious when you’re on the ground doesn’t mean you or someone else will remember these details several months later when bringing them up in an edit.
So, if your camera lets you make notes on the files, great. If not, carry a notebook and keep track of the following information for every shot (or at least batch of footage). I’ve found it best to spend a few minutes making notes every time you put your camera back into its bag.
- Date
- Time
- Location
- Subject(s)
- Recording Settings
- Other Cameras/Gear Used
- Context: 1-2 sentences max
Upload, Organize, and Backup

Image via REDPIXEL.PL.
Once you have your footage recorded (for the day or at the end of your project), you’ll want to immediately upload, organize, and back up. If you’re doing several days’ of shoots, you should have some sort of upload system ready with a laptop and solid external hard drives, if possible. (Here’s a great article on the best external hard drives for the job.) When uploading your footage, you can go ahead and organize from the get-go and drop your footage into relevant folders. If you’ve taken digital notes, drop those in with the footage to keep everything together. Also, be sure to always back your footage up at every upload.
Here are some more resources for organizing footage:
- Video Editing Tip: Organize Your Hard Drive the Easy Way!
- Keeping Your Video Editing Projects Organized
- Video Editing Quick Tip: File & Folder Organization
Separate Interviews and B-Roll

Image via Tero Vesalainen.
Personally, when working on documentary footage, I’ve always found it best to separate interview footage and B-roll footage and treat each completely separately. If you’re shooting more cinéma vérité-style or more graphic explainer, this may not apply. But for your standard interview-driven narratives, it can be extremely helpful to separate the two and focus on the interviews first.
If you can review all the interview footage, pull quotes, and begin to outline your narrative from those, you can build a backbone for your documentary based on the interview bites laid out on your NLE timeline. From there, you can review, organize, and use your best B-roll shots to add to the interview points and build out the visual narrative on top of that.
Create Prioritized Bins
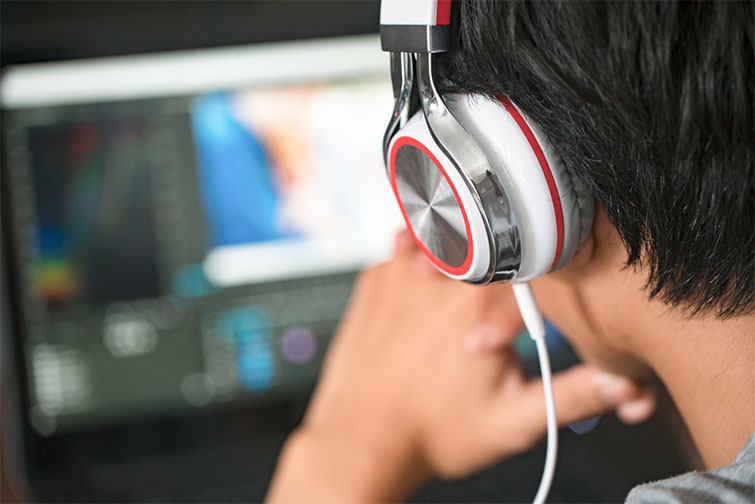
Image via lOvE lOvE.
When doing the above, I’ve found it best to create bins for different interviews and footage, which you can prioritize based on usefulness. You can, of course, simply delete any footage that isn’t useable. But from there, to help get a better grasp on your available footage, it’s helpful to put your best shots in a top priority box so you know where to go first. From there, you can do a second level of shots that may help but aren’t the best, and so on.
Take It Sequence by Sequence
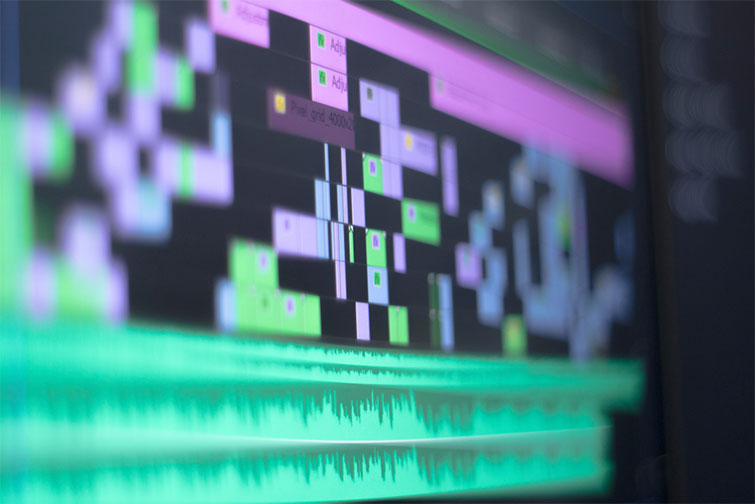
Image via fedota1.
The best trick when dealing with an overwhelming amount of footage is to take it sequence by sequence. You can’t edit your whole documentary at the same time. You’ll get overwhelmed, lost, and frustrated. However, if you can focus on small, individual sequences, you can build those out sequence by sequence and start putting them together.
Cover image by Tero Vesalainen.
For more documentary filmmaking and editing advice, check out some of these articles below.