

Premiere Pro Tip: One Title, Multiple Projects

Get more use out of your titles in Premiere Pro! Here’s a quick Premiere Pro tip that shows how to use the same titles in multiple projects.

Ever spent an inordinate amount of time creating titles in Premiere Pro? With all the options available you can really customize the look of your titles, but this customization takes time. By default, titles in Premiere Pro are not separate assets, but rather are saved within a project file. So how can you get your titles out of one project and into another – avoiding having to time consumingly recreate them from scratch!?
Use this Premiere Pro tip to share titles between different projects and different machines!
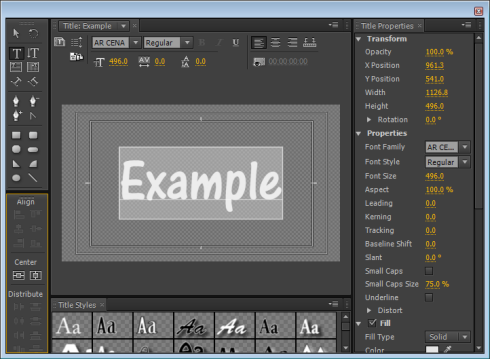
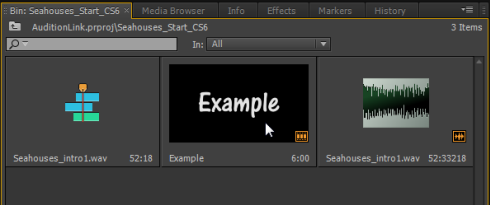
Example New Title
Essentially there are two basic ways to get titles created in one project into another project. The first option is slightly easier if both Premiere Pro projects are on the same machine – and is as simple as importing whole or part of that project. The second option involves exporting your titles from Premiere Pro. Let’s dive in….
Importing Premiere Pro Projects Into Premiere Pro
This process is similar to importing any asset in Premiere Pro. Use the shortcut CNTRL + I (on PC) or CMD + I (on Mac). This will open the import dialogue box. Navigate to the PROJECT FILE which contains the title you want to use. When you click OK you get the following dialogue:
Import Project Dialogue Box
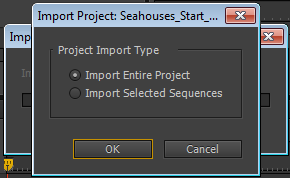
You should choose to import either the whole project (if you have not used the title in any sequences or you’re not sure which sequence you used the title in). The other option is to choose a selected sequence (if you know which sequence has the title you’d like to use).
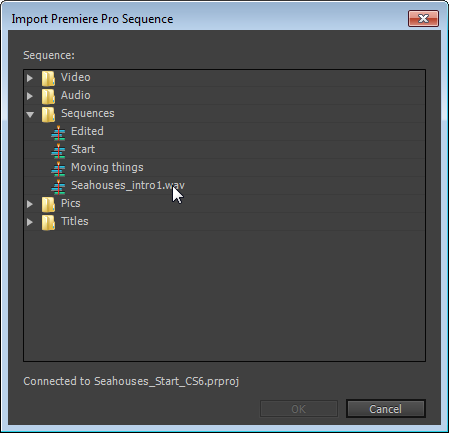
Looking for Sequences

Don’t be too concerned if you get this box staying on screen for a while, it takes a little time for Premiere Pro to go and find the assets of the project. However, when you do – as shown below – navigate to the sequence that uses the title.
Navigating to the Sequence that uses the Title
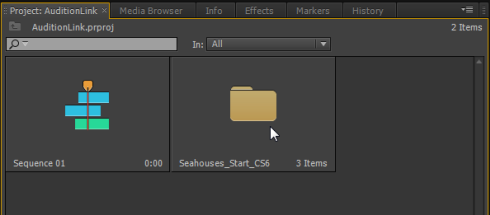
That said – whichever option you choose – to import the whole project or just to import a specific sequence – both will give you a new ‘Bin’ (folder) in your project panel.
New Bin in Project Panel
Open the bin and you will find the title inside (not to mention all the assets of the original sequence you have just imported – which can be very useful indeed!)
Opened ‘Bin’ with Title Inside
Now, double click the title to open it and edit it however you need. Job done!
Exporting a Premiere Pro Title
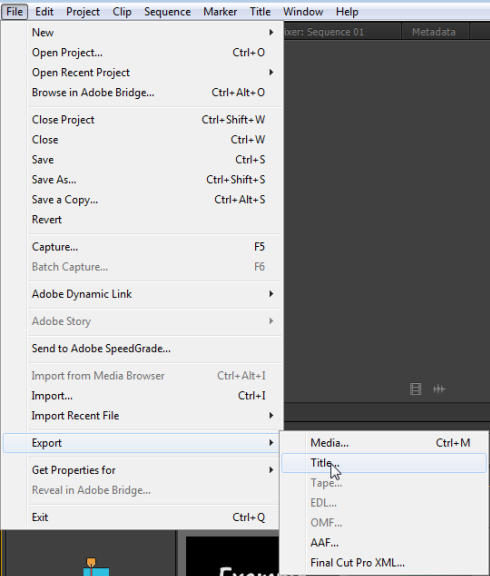
The second way of sharing titles between Premiere Pro projects is actually quite a lot easier, but perhaps a little less intuitive. It is especially easier when it comes to moving a title created on one machine to another machine (without the need of using the Project Manager to export a version of the project). It is done through exporting the title directly from Premiere Pro.
To do this, select the title you wish to export in your project panel. If you don’t select the title this option will be greyed out. Once you select the title the Title Export option is open to you from the menu:
Exporting a Title
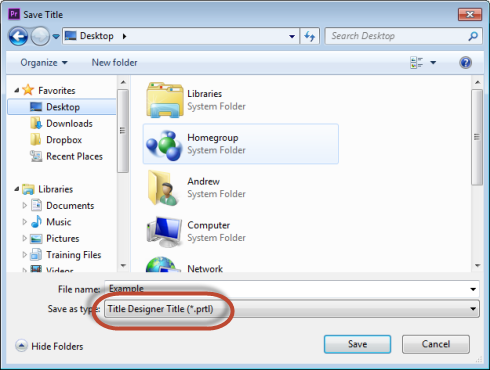
Select an appropriate location for you title and note the file extension of .prtl and hit OK.
Exported Title Location and File Type
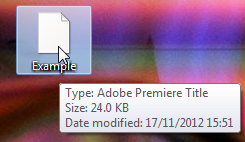
The title will then be exported to your chosen location and ready to import into any Premiere Pro project when you are ready to use it.
Exported Title on Desktop
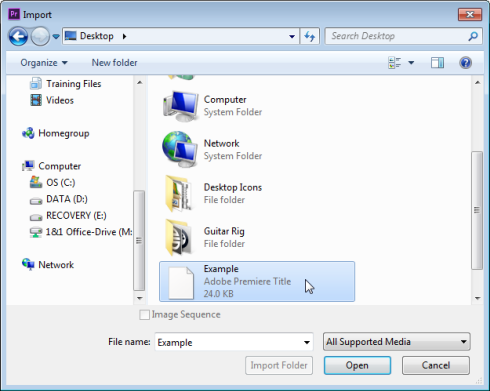
You don’t need to worry about any kind of special import to get the title into Premiere Pro, just import it like you would any other asset.
Importing Back into Premiere Pro
Got a Premiere Pro tip to share?
We want to hear from you in the comments!


