
Workspaces in Premiere Pro

Premiere Pro comes loaded with additional workspaces which can easily be accessed, modified and saved to customize your video editing layout In this post we’ll look at how to find, change and save these workspaces quickly and simply.

Adobe Premiere Pro has unique workspace layouts for color correction, working with audio, video editing, logging clips and applying effects. Utilize these layouts to speed up your post production workflow and access unique toolsets…or create your own custom layout. Let’s jump in.
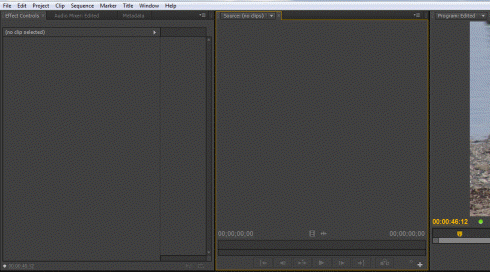
Premiere Pro CS6 Default Layout
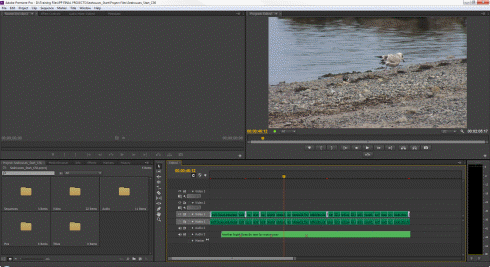
Above is the default layout for Premiere Pro. This is suitable for a variety of video editing tasks, but it’s not optimal for any specialized task like color correction or audio mixing. For standard video editing this will likely be your layout of choice.
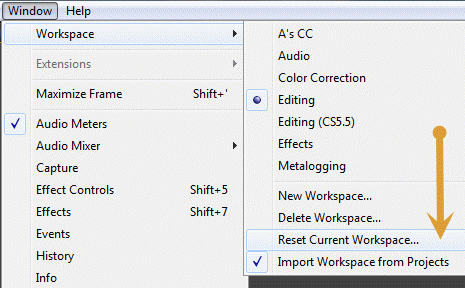
Should you ever rearrange this layout and want to go quickly go back to it’s default state go to Window > Workspace > Reset Current Workspace:
Resetting the Workspace
There’s many ways to move and resize the panels in your Adobe Premiere Pro workspace. First, you can click and drag between panels to resize them:
Icon Between Panels
![]()
You can also move several panels at the same. Hover over their adjacent corners and this icon will appear:
Icon for Moving Multiple Panels
![]()
It is also possible to move panels around to different locations on your display by using the little dotted area to the side of the panel’s name:
Dotted Area to Move a Panel
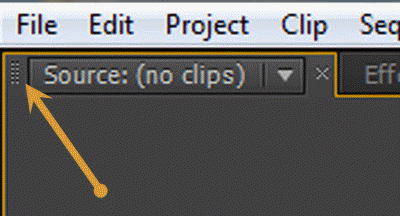
When you click and hold on this dotted area to the left of the panel name and move that panel to another part of your work area you will get something that looks like this:
Drop Zone
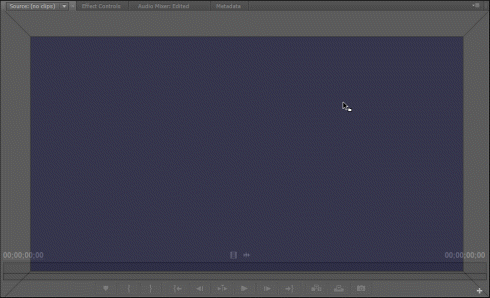
In Adobe Premiere Pro this is called a ‘drop zone’. If you look at the image above you will see the screen divided into quadrants Each of these areas will turn a lavender color when you click and hold the dotted area in a panel and then drag the mouse over each of these drop zones.
If you drop the panel in the middle zone (as shown in the image above) the panel will become an additional tab in Premiere Pro. This is what is called a ‘frame’ (a series of tabbed panels).
However, if you drop it to one of the sides:
Side Drop Zone
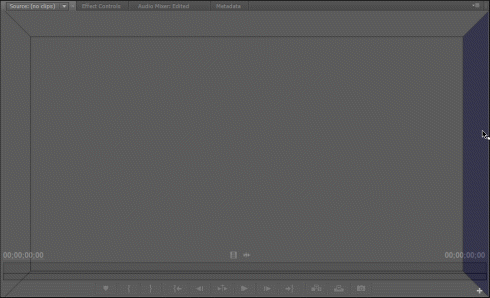
You will create a brand new frame in this area with only one panel in it.
New Frame to the Side of the Original Frame
So, not only can you resize any panel to any size you wish, you can also move panels simply by selecting where to drop them.
Floating Panels in Premiere Pro
You can also float panels, which can be a really great option if you have a two (or more) screen setup.
Floating Window

To do this, simply grab hold of the dotted area to the left of the panel name (just as you would if you wanted to move it to another location). Then hold the CONTROL key on a PC or the COMMAND key on a Mac and the window will float.
Just make sure you let go of the mouse before you let go of the COMMAND/CONTROL key!
Saving Workspaces in Adobe Premiere Pro
As you move and resize panels in Adobe Premiere Pro, you may end up with a layout that makes sense for your video editing workflow. In Premiere you can save a workspace so that you can quickly get back to it again whenever you need it (great when working on a shared editing computer).
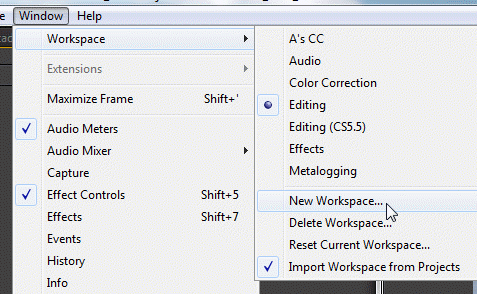
Simply go to Window > Workspace > New Workspace.
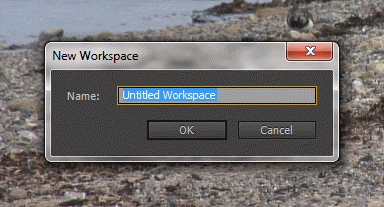
Then in the dialogue box that pops up, give it a name that means something to you.
New Workspace
New Workspace Name
Deleting Workspaces in Premiere Pro
Deleting a workspace in Premiere Pro is quite simple.
Delete Workspace
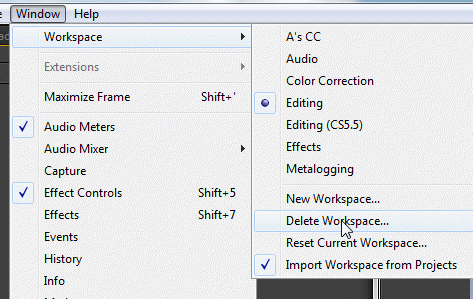
The only problem you may have is that when you try to delete a workspace you may not see the workspace come up as an option in the dialogue to delete workspaces! This is simply because you cannot delete a workspace you are presently using. So if this is the case, cancel out from the delete option and simply choose any other workspace you want and then go back to Window > Workspace > Delete Workspace. You will find the other workspace is now one of the options available and you can select and delete it.
Use Specialized Workspaces in Premiere
Lastly, it is worth saying that you should really get accustomed to using the various workspaces that Adobe have provided for you in Premiere Pro. As you can see from the list:
Workspaces Available
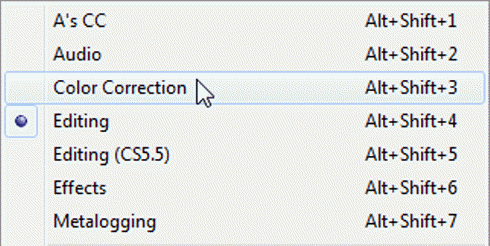
These workspaces are designed to put the tools you need front and center for completing common post production tasks! Experiment with the different Premiere Pro layouts, tweaking them to fit your needs. Then save them and make them your own!


