How to Read Lumetri Scopes in Adobe Premiere Pro
Learn how to make sense of the Lumetri Scopes in Adobe Premiere Pro for more control of your images with this video tutorial.
Cover image via Shutterstock.
Video scopes provide a more detailed look at a video image. Editors use them to abide by broadcast standards and perform more precise color correction. Knowing how to read the video scopes will give you tight control over your images.
In this tutorial, I’ll go over how to read various video scopes in Adobe Premiere Pro, including the RGB parade, histogram, waveform, and vectorscopes. I’ll also discuss how to customize the Lumetri Scopes display panel. Before we get started we need to make sure we have the Lumetri Scopes panel open by selecting Window > Lumetri Scopes. You can also select Premiere’s default Color workspace.
Vectorscope
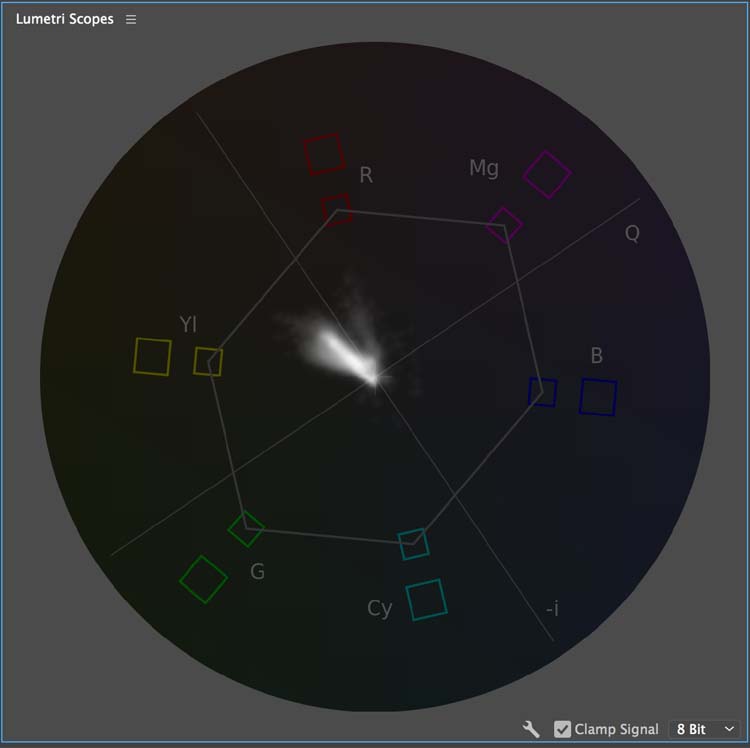
The vectorscope monitors the color information in an image. The scope is a circular graph, similar to a color wheel. It measures saturation outward from the center, while measuring hue in a circular pattern as you move 360° around the scope. If you’re viewing a black and white image, all you’ll see is a dot in the center of the scope. Premiere offers two different flavors of the vectorscope: YUV and HLS (Hue, Lightness, and Saturation). YUV mode gives you several color boxes, allowing you to quickly see if your hue and saturation levels are correct. Engineers use these targets to make sure the signal is within the legal limits for broadcast standards.
Histogram
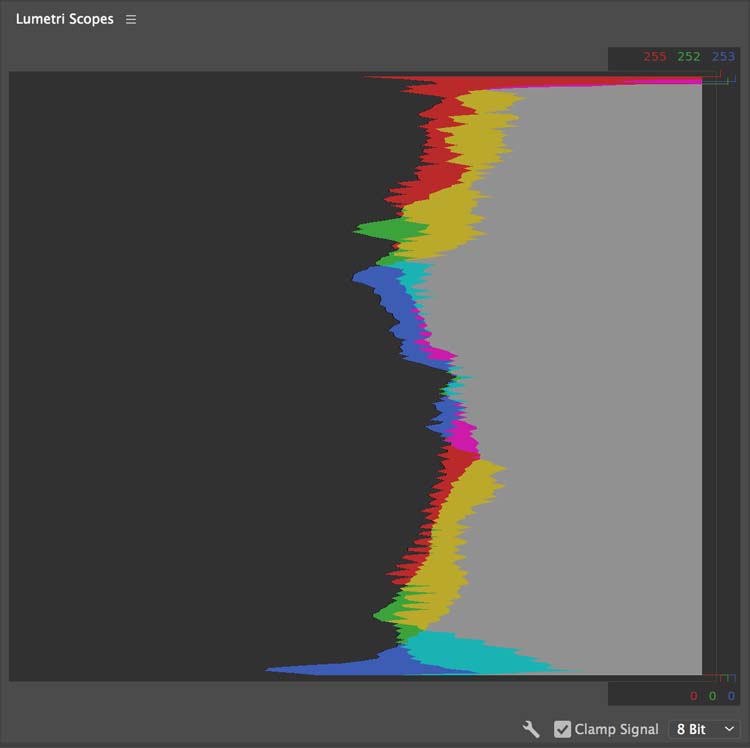
If you’ve ever worked in Adobe Photoshop, then you’ve probably used the Levels tool to make tonal adjustments to an image. And if you’ve used Levels, then you’re familiar with a histogram. The histogram allows you to view tonal values, including the highlights, midtones, and darks of your image. Quickly view your image’s brightness values in 256 different tonal levels, with pure black at 0 and pure white at 255 (for 8-bit images).
Waveform
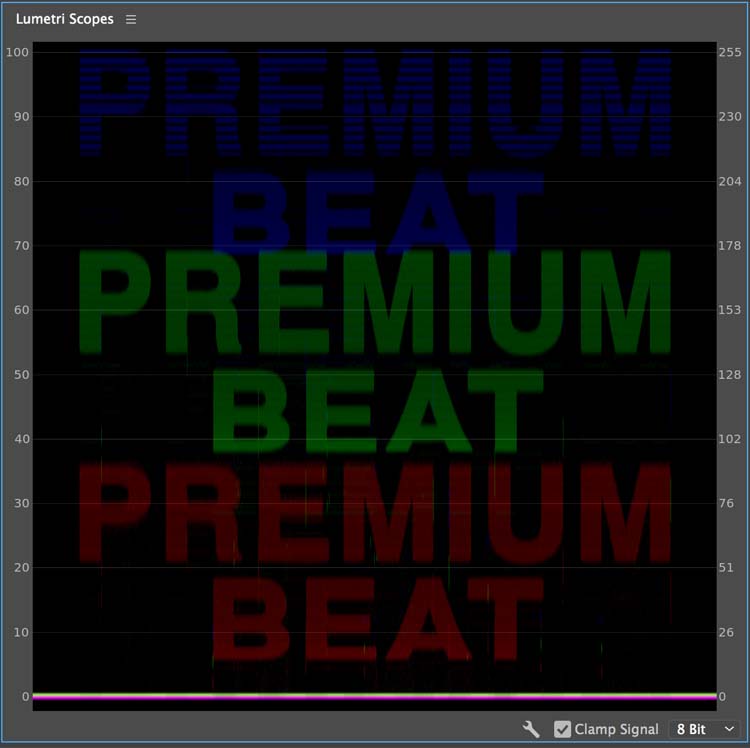
Monitor the intensity levels of your image with a waveform scope. The waveform can monitor both the luminance and chrominance levels of an image, depending on the viewing options you select. Waveforms measure intensity in IRE units, ranging from 0 – 100, with 0 being black and 100 white. Black levels are at the bottom of the waveform scope, with white at the top. Change the waveform type to specify what you want to view, including RGB, Luma, YC, and YC with no Chroma.
RGB Parade
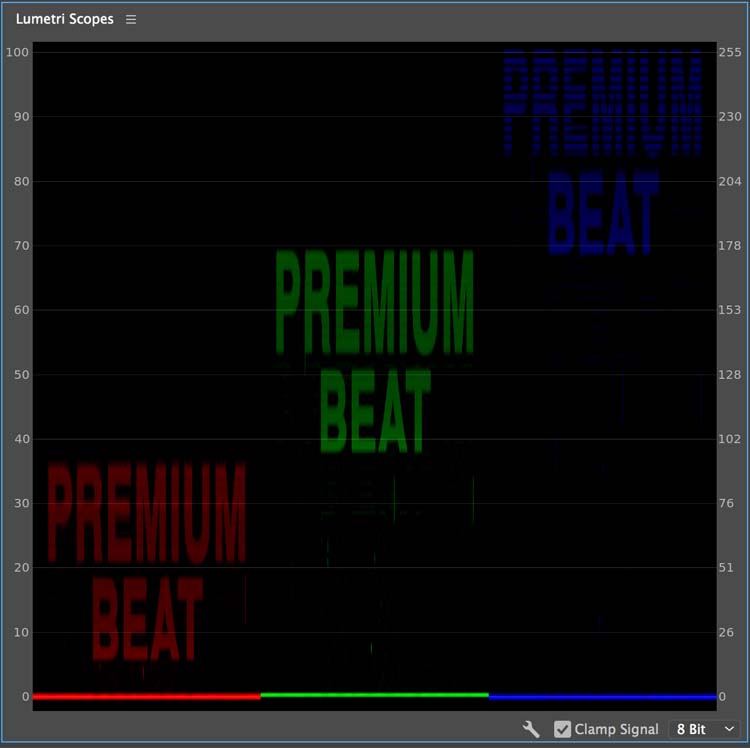
The RGB parade scope is much like the waveform monitor, giving you a look at the intensity levels of a video signal from bottom to top. However, the RGB parade scope gives you an isolated view of each color channel — red, green, and blue. This differs from the RGB waveform scope, which displays the three color channels as a composite. The RGB parade scope is very useful if you’re trying to match color between several shots. Use the RGB curves effect in conjunction with the RGB parade scope to quickly match the colors of several shots in a sequence.
The Wrench Bar
Use the wrench icon at the bottom of the Lumetri Scopes panel to customize the display. Premiere Pro offers a variety of different preset layouts, allowing you to quickly switch between different scopes — and even view multiple scopes at the same time. Further customize the specific waveform or parade type you want to display, as well as the brightness of the scopes. You’ll also notice a few different Color Spaces in the Lumetri panel. These are Standard Definition, High Definition, and 4K, respectively.
Looking for more information on Premiere Pro? Check out these articles.
- Shutterstock’s Free Plugin Brings 8 Million+ Clips to Premiere Pro
- 15 FREE Camera Shake Presets for After Effects and Premiere Pro
- 15 FREE Camera Shake Presets for After Effects and Premiere Pro
- Improve Your Edits with Better Audio in Premiere Pro
- Audio Mixing in Premiere Pro’s Clip Mixer


