Shutterstock’s Free Plugin Brings 8 Million+ Clips to Premiere Pro

Access the entire Shutterstock video library without ever leaving Premiere Pro with the Shutterstock Plugin for the Adobe Creative Cloud.
The brand new Shutterstock plugin for Adobe Premiere Pro gives you access to over 8 million 4K, HD, and archival clips from the Shutterstock library. Preview footage and download free watermarked previews without leaving Premiere Pro. If the footage works with your video, just click a button to license the clip, and the plugin will automatically replace the watermarked clip with the licensed footage.
Shutterstock Plugin for Adobe Premiere Pro
- Preview and edit full resolution clips directly in your timeline.
- License them and your edits will automatically reapply.
- Search video clips by frame rate and resolution.
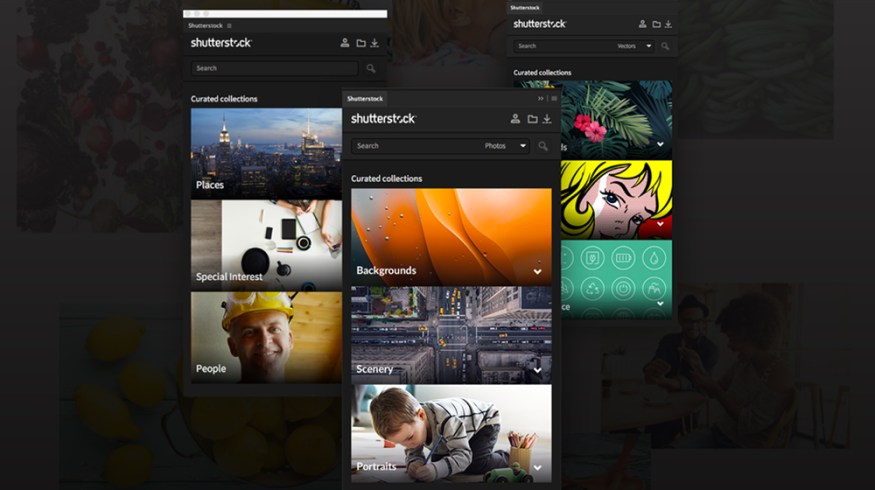
- Browse our Director’s Choices, with establishing shots, production elements, and more.
Using the Shutterstock Plugin for Premiere Pro
I wanted to experience the Shutterstock Plugin for Adobe Premiere Pro myself, so I downloaded it and put it to the test.
1. Download the Shutterstock Plugin for the Adobe Creative Cloud
You’ll first need to download the Shutterstock plugin for the Adobe Creative Cloud. In addition to the Premiere Pro plugin I am testing, you will also get access to Shutterstock’s image library in Photoshop, and access to Shutterstock’s vectors and graphics in Illustrator and InDesign.
You can go download the plugin from Shutterstock by clicking on the button below.
DOWNLOAD THE ADOBE CREATIVE SUITE PLUGIN
2. Install the Shutterstock Plugin
Next, use the Shutterstock installer to install the plugin into the Adobe CC applications — Premiere Pro, Photoshop, Illustrator, and InDesign. (You will need to restart all Adobe Creative Cloud applications after the Shutterstock install.)
3. Open the Shutterstock Plugin in Premiere Pro

Open a project in Premiere Pro. Go to Window > Extensions > Shutterstock. Once you select the Shutterstock option, a new drag-and-drop work panel will appear.
4. Arrange the Shutterstock Plugin Panel

If you prefer to dock the plugin, or place it with other tabs, you can easily drag the Shutterstock plugin into any of the available areas in Premiere Pro.
5. Search the Shutterstock Footage Library or Browse Curated “Director’s Choice” Collections

With the plugin installed, you can now search or browse the entire Shutterstock video library within Premiere Pro. Simply choose a clip from Director’s Choice Collections, or use the advanced search options to find footage by popularity, resolution, aspect ratio, and length.
6. Import and Edit Free Watermarked Clips to Your Project

The Shutterstock Plugin not only allows you to search for clips but also to preview them. Once you find the right clip, just click on the download icon to import a free preview into your project. (On your first use, the Shutterstock plugin will ask where you want to save your footage. Hit the Browse… button and choose your destination.)

You can edit the preview clip like traditional footage, and once you license the footage, the licensed footage will automatically replace the watermarked preview.
7. License Footage Through the Shutterstock Plugin

If you find that the watermarked clip works with your project, you can then simply license the footage, and it will automatically replace the preview. It may take a little while to do so, but I ran into no issues with the licensed clips replacing watermarked footage.
To license a clip, just go back to the Shutterstock plugin and click on the License Video button. If this is your first time using the Shutterstock plugin, you’ll need to sign into your Shutterstock account. Once you do, you can then proceed with the final options. You’ll choose the definition of the clip you need and Confirm Purchase, and then just click the License Video button to license the footage.
8. You’re Done

That’s it. Once you license the clip, everything else works on its own in the background. The watermark will be removed and you are ready to carry on with your edits, and export your video with ease! Visit Shutterstock.com, your source of stunning stock photos, vector images, 4K video clips, and more.
If you’re the creative who also works in Photoshop, Illustrator, and InDesign as well — you’ll be equally pleased in the ease of using the Shutterstock Plugin in those programs as well. Download the free Shutterstock Plugin for the Adobe Creative Cloud and give it a try yourself.