Video Tutorial: Using RED Look Files to Improve Your Shooting
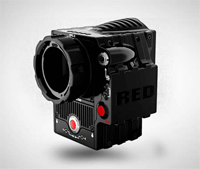
RED shares a quick tutorial for creating and saving your looks to an Epic or Scarlet – great for visualizing a specific look on set.
 Say you’re looking to achieve a unique visual style with your project and are planning to apply a very specific color grade in post. In most situations, the best you could do on set is estimate how these post-production treatments will effect your image, trying to account for them in your lighting and shot setup. RED’s changing this precedent, by allowing the DP and crew to actually see these color grades through the camera monitor while shooting, using REDCINE-X PRO.
The process of getting the look files from the camera, through a digital intermediate setup and back to camera is surprisingly simple. Capture a sample shot, save it to your RED Mag and open in REDCINE-X PRO. Apply color grading to the shot, save the RED Look file to the Mag and it’s back to camera. Now you can actually see the grade applied to the live image and make adjustments to the lighting, setup, wardrobe, etc. before the camera even starts rolling.
Because the RED ONE, Epic and Scarlet shoot data-rich RAW files, you have great latitude to further modify the image when you get it into post. The Look file is RED metadata (note the extension .RMD), making it easy to keep the grade you used on set, modify it or drop it altogether.
Use the RED Look file to develop a good baseline for your shooting. The ability to see color grades in camera is one way that RED is improving the production process and empowering the filmmaker.
For more REDCINE-X PRO tutorials check out the official RED Digital Cinema Vimeo page.


