

Remove Objects from a Video with One Brush Stroke?

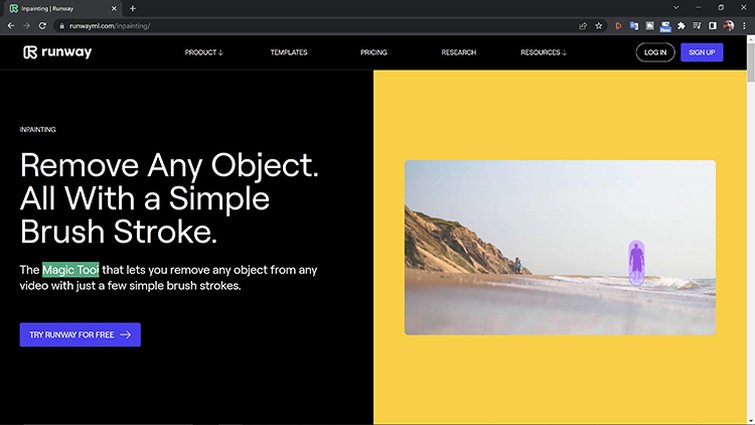
In this tutorial, I’m testing out a tool that claims to make objects magically vanish with the simple stroke of a brush.
Where do these objects go, you ask? Well, they’re painted over. It’s a process called Inpainting, and there’s a tool created for this specific technique by a company called RunwayML.
The ML in the company’s name stands for Machine Learning, a type of Artificial Intelligence. This is what makes the “magic” part of this magical tool.
Sound too good to be true? Stay tuned because today, I’m putting Inpainting to the test to see how it holds up.
Why Remove Objects?
But wait, I’m getting ahead of myself here.
First of all, what are these objects, and why do we need to remove them? If you’re a videographer, editor, or VFX artist, you have plenty of objects and reasons to want them gone.
For example, if you’ve ever gone out to shoot B-roll, you know how many small things can ruin a shot. Videographers have to compose their shots around powerlines, light poles, buildings, and trees. They have to worry about the guy cruising around on his lawnmower in the background. And then, there’s the curious pedestrian who can’t look away from the camera and always seems to get out of the shot.
VFX artists constantly remove, move, and paint all over the screen to create complex composites. Editors occasionally have to remove logos from buildings and T-shirts of interview subjects. Sometimes, it’s to place someone on the moon. Other times, it’s to create a basic a clean plate.
But, what if you want to perform these same tasks, but you don’t have access to the software applications or the skillsets possessed by these artists?
How to Remove Objects with Inpainting
Runway is creating tools to simplify these techniques, opening up a world of creativity to anyone who desires to create. Inpainting is the latest tool from this team, and at the time I’m writing this, it’s still in Beta.
It’s a browser-based program, so don’t worry about having to purchase and learn some complex software app. The UI is incredibly user-friendly. Object removal is a simple three-step process.
Step 1: Import Your Clip
Use the upload button in the top-left of the UI or drag-and-drop a clip to upload.
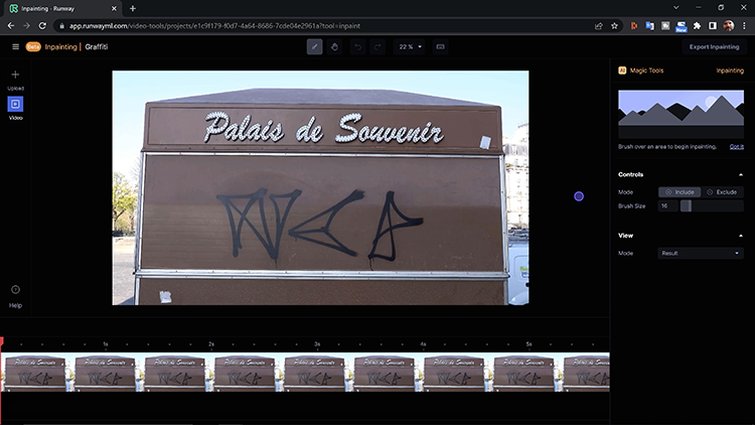
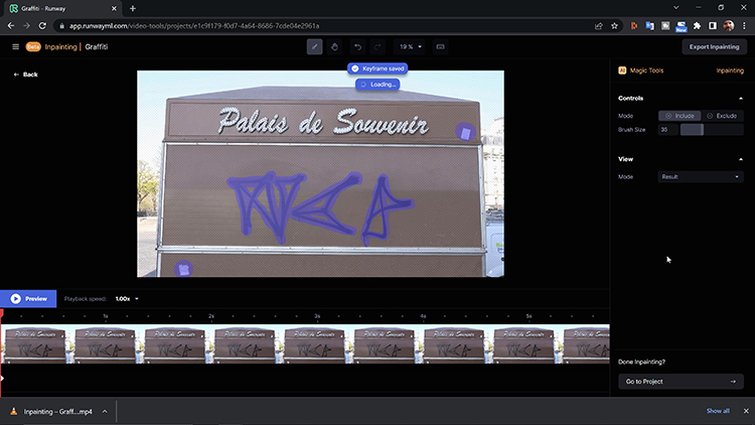
Step 2: Paint over the Objects
Use the brush tool to paint over objects in the frame. A keyframe is added to the current playhead position when using the brush tool.
You’ll see three basic parameters on the right side of the screen. These include brush type, size, and view mode. I found Mask view mode to be buggy and not representative of the actual mask.
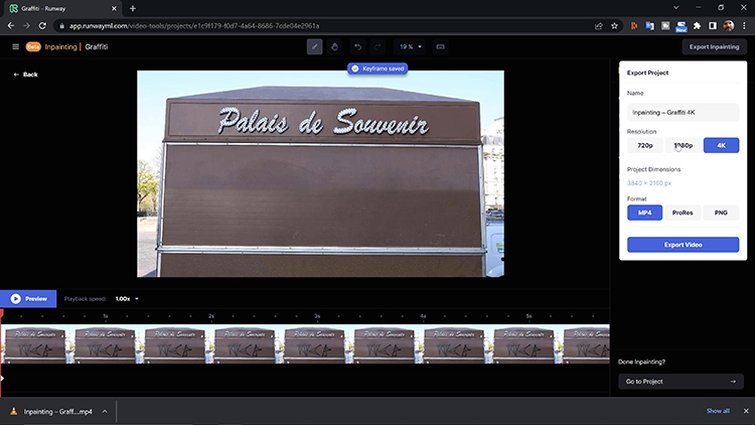
Step 3: Export
After clicking the Export Inpainting button in the top-right, the clip is sent to the Assets page for processing. Once generated, you can download or add it to a project in Runway’s native Video Editor.
Removing Objects
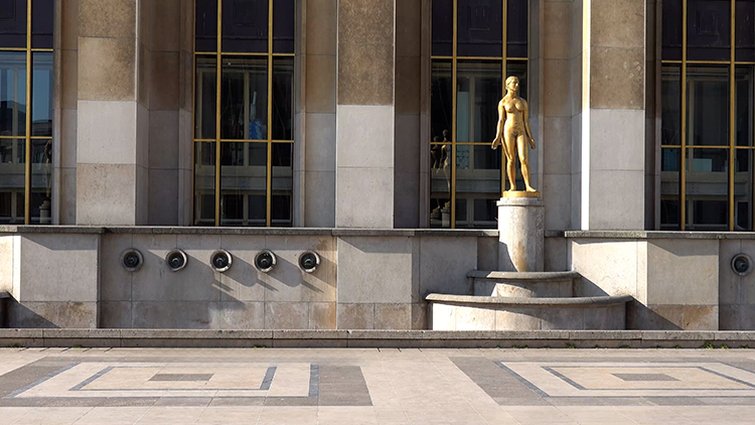
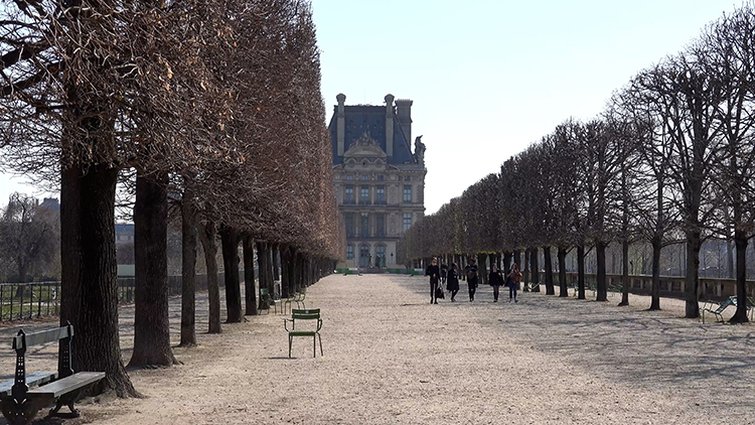
I first went to Paris to properly test the application and shot a handful of video clips. I captured various scenes and scenarios where objects needed to be removed.
I shot graffiti on brick walls, trees next to the Eiffel Tower, garbage cans, chairs, and groups of tourists. Watch the corresponding video tutorial to see all of the before and after samples in their full video glory.
*Disclaimer: While testing this out, I purposely only applied one keyframe to most examples to see how the Inpainting would propagate across the clip.
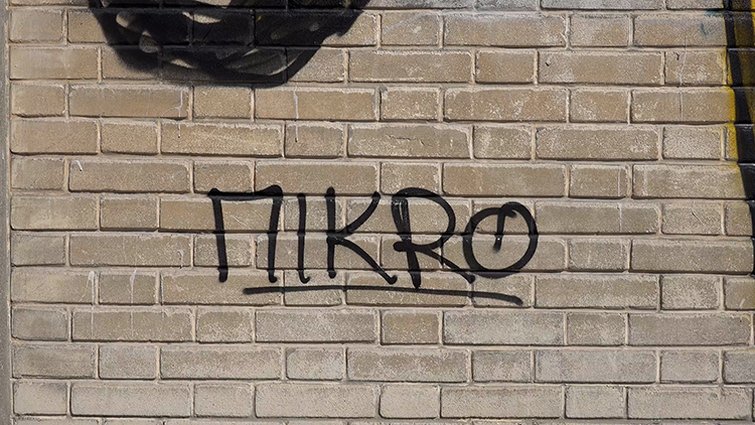
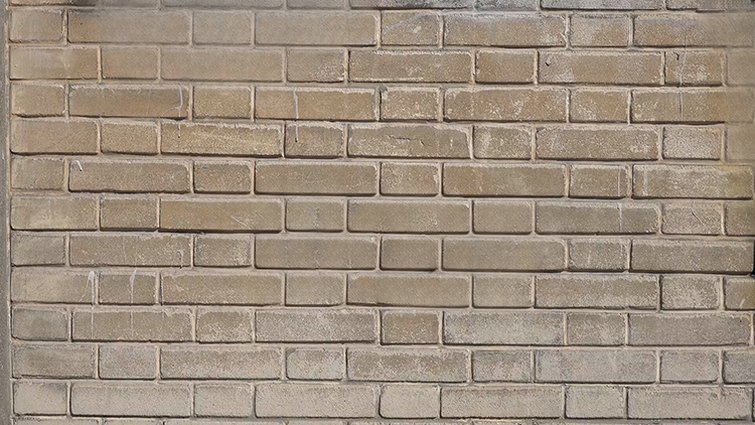
Graffiti on a Brick Wall
I was incredibly impressed with the way Inpainting was able to match the pattern of the bricks. However, the motion was quite jittery, and various sharp edges were also visible.
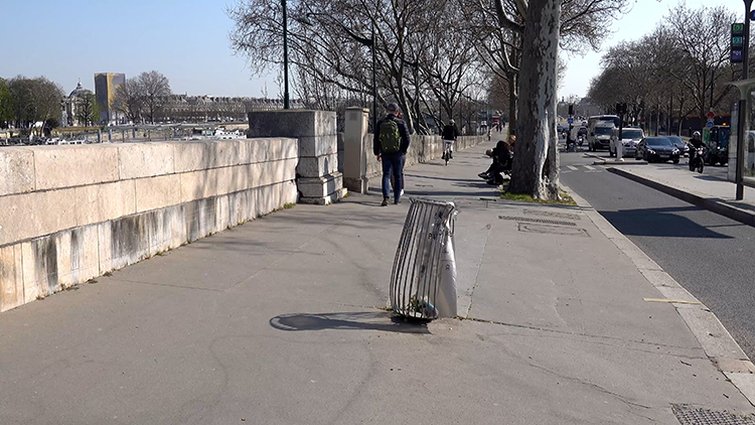
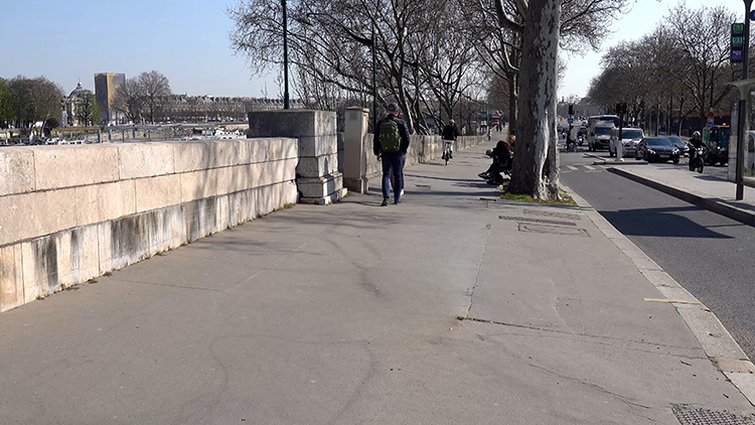
The Scooter
This was probably the most successful example, with very little visual noise and movement after the scooter was painted out. If you weren’t paying attention, you probably wouldn’t notice the tiny glitch in the final render.

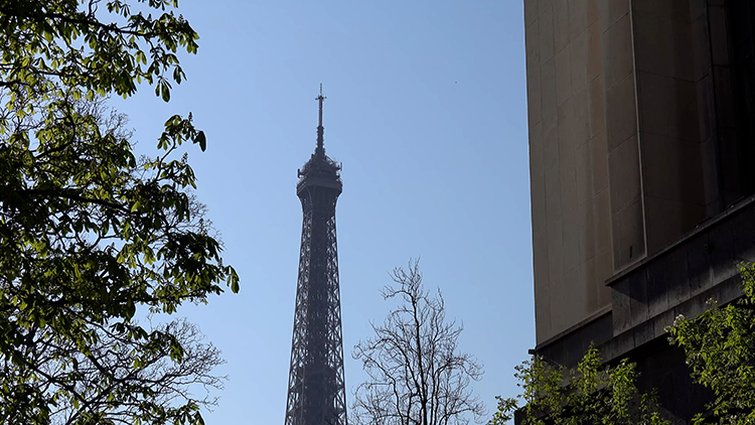
The Eiffel Tower Tree
This clip started off looking nice but quickly fell apart at the end, with part of the tree visible again. I spent some time adding keyframes and fiddling with the mask, but the experience was quite clunky, and I couldn’t get perfect results.
Nevertheless, impressive results.

The Tourists and the Chairs
I had low expectations for this piece, as the group of tourists is walking against a hectic background. But again, if you add some fake depth of field, this shot could work.
The chairs were quickly removed, but the group left behind some funky sharp edges, shadows poking through, and some twisted trees.

Taking the Garbage Out
This was a simple shot but still had some issues when the tourist’s foot went behind the garbage.
Pros & Cons
Inpainting is an entertaining, exciting, and powerful application. Again, the Mask view mode was a bit buggy for me, frequently not reflecting the actual results of the mask. I also struggled to make refinements.
Adjusting the mask on a second keyframe would throw off the mask on other parts of the timeline. Then again, when trying to view the mask, it didn’t show correct results.
This is ideal for the weekend warrior content creator looking to create some fun videos. With this tool, you can get away with some fun and realistic-looking VFX shots. It can be achieved, but it’s hit and miss and, therefore, unreliable in that aspect.
If you’re looking for absolutely perfect edges and results every time, it’s still not quite there. Again, at the time of this writing, it’s still in Beta (you can sign up for a trial here).
Be sure to check out the video and let me know what you think in the comment section. Stay tuned and subscribe to the YT channel, as I’m going to review another tool from Runway next month that’s all about AI-generated subtitles and captions.
A few more tools for your toolbox:


