The Pros and Cons of a Shallow Depth of Field
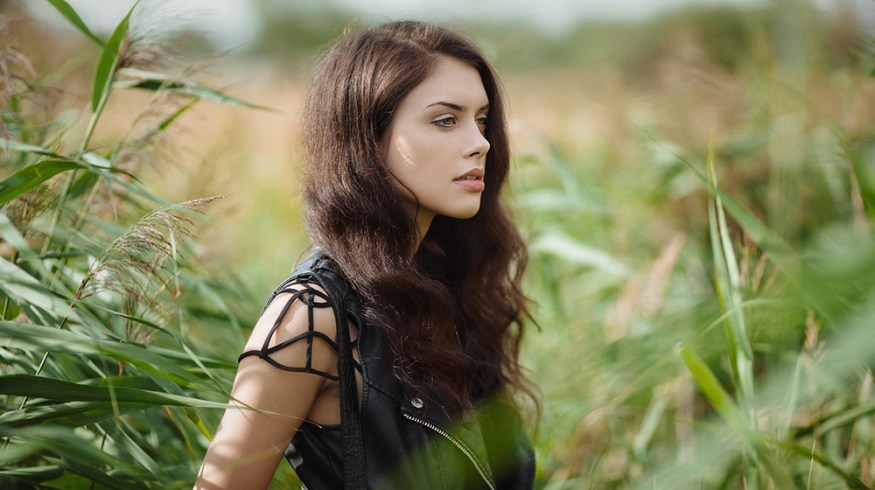
The overuse of shallow depth of field has been an issue since the DSLR revolution hit, and it can look especially bad on daytime exteriors.
There’s certainly a place for shallow depth of field, and, as a filmmaker, much of my work involves shooting wide open. That said, like any other cinematography technique, it does have its limitations and it will work best only in certain types of shooting situations.
Many independent filmmakers rush to shoot with their lenses wide open because they feel it’ll make their films look more ‘Hollywood,’ but in reality they aren’t taking into account many other factors. For example, just because many blockbuster films use selective focus, doesn’t mean that those filmmakers are shooting wide open. Larger scale films typically have larger sets, studios, and big environments to work in, which means their actors are often further away from the background. This gives them the luxury of shooting stopped down a bit (so their actors are still in perfect focus), and still blurring out the background. For instance:

While you may not be shooting your next short or feature on a soundstage in Burbank, chances are you’re shooting at least some of your film outside – which effectively gives you a lot of choice when it comes to how your scenes are shot. I’ve seen far too many indie films that were shot wide open in broad daylight in a huge exterior space, effectively diminishing the quality of the final product. These are the three main reasons you don’t want to go down that path:
Your lenses perform better stopped down.
Unless you are shooting on the highest end cinema lenses available, chances are that your lens isn’t going perform optimally when it’s opened up all the way. Most lenses are softest wide open, and don’t typically hit their sweet spot until at least F2.8 or F4. It’s quite common for filmmakers to assume they will get great results when shooting at a very fast aperture (such as F1.4) but then look at their footage later only to be disappointed with the results. There is no reason why you can’t achieve beautiful shallow DOF shots outside even at F5.6 under the right conditions, so always take that into account before setting your exposure.
Your actors have more leeway if they don’t land on a mark.
When you’re shooting wide open at F1.4 or even F2 on a Super 35mm or full frame camera, your actors have very little wiggle room to work with. If they miss their mark by a couple of inches they may be out of focus, and that can lead to unnecessary re-takes and frustration for the crew. Not to mention, your talent will likely benefit from the freedom of having more room to improvise physically on set when they aren’t limited to an ultra-narrow DOF that they need to work within. Stop down a touch on your lenses and your actors and crew will thank you.
Your focus puller will actually have a shot at nailing the take.
We’ve already gone over why it’s important for your actors to have a reasonable amount of leeway with regards to DOF, but the same logic applies to your focus puller. If you’re shooting a scene with any time of focus pull (whether it’s on sticks, handheld, or otherwise), your 1st AC is going to have a much harder time maintaining focus if your lens is opened up too much. No matter how accurate their focus marks may be, there will always be some inconsistencies with the actor’s movements, camera placement and other variables that make it very difficult for your 1st AC to do their job effectively.
The fact of the matter is that 90% of the time, if you’re shooting in a wide open space in broad daylight, you’ll be best served by stopping your lenses down. Not only will this vastly improve your image quality, but your actors and 1st AC will have a much easier time doing their jobs.
If you do end up going for the shallow depth of field look, here are a few tips on how to achieve the technique from Fenchel & Janisch:
Here’s one more from lynda.com:
What are your thoughts on the shallow depth of field trend? Overused? Underappreciated? Let us know in the comments below!


