
Tips for Coloring Talking Head Interviews in DaVinci Resolve

Talking head interviews are a great place to sharpen color grading skills. Let’s take a look at some ways we can push and improve upon this common setup in DaVinci Resolve.
Any working colorist will likely encounter their fair share of talking head interviews. It’s a great idea to use these projects as opportunities to up your skills. Here are a few quick and easy tips to consider when applying your magic to interview footage.
Pick an Identifying Frame
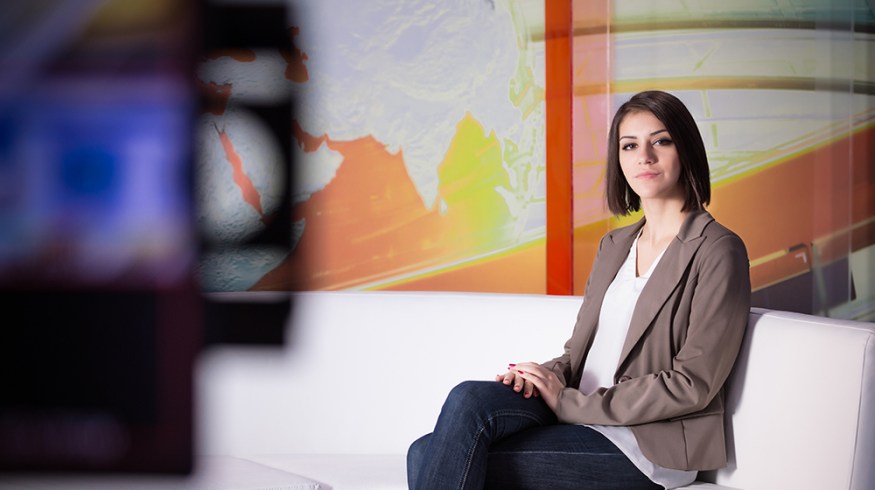
Choose a frame where the subject’s eyes are open and acknowledging the camera or the interviewer off-camera. This will help us engage with the speaker, allowing us to judge exposure and color tints with better acuity. Picking a moment when the talent doesn’t look their best will hinder our ability to color them in the best possible way.
It’ll be easier to engage the subject if they’re engaging you.

Initially, Focus on a Single Correction
Rather than creating multiple nodes to grab skin tones and other features in the shot right away, try to accomplish as much as possible in a single correction. This will enable us to correct for exposure and color shifts with the simplest, cleanest method before working on other aspects of the shot.
Matching Two Angles
Matching close and wide shots is easier if both cameras are identical models and are calibrated with similar settings, but this will be the exception rather than the rule. Many filmmakers will choose their best camera for the wide and a comparatively inferior one for the closeup due to various shooting constraints. This means matching shots may be more difficult since the cameras are not only shot differently but inherently contain different sensors and characteristics.
First, perform the best possible grade on the wide shot. When switching to the closeup, grab a still of the wide and put it next to the closeup shot by selecting Play Still. Often, the two angles will frame the interviewee in the same quadrant, so don’t be afraid to move the closeup over using the Sizing tab so you can clearly see the subject in both frames.
Here, the close and wide are framed similarly, which isn’t optimal since part of the talent is covered.

The Sizing tab allows us to move one angle aside to reveal the pertinent parts of both shots.

Now that both images are on screen, use the scopes and parade to get the images as close as possible. The peak in the red channel will denote the subject’s skin tone, so you can dial in just the right amount of luminance and hue to match the angles.
It’s not unusual to ping-pong between the two shots to edge them closer to each other. Depending on how the closeup was shot, concessions may need to be made on the wide in service of matching both shots.
Skin Tones
As with most jobs, qualifying for the talent’s skin is a good idea. Increase contrast to bring out the talent’s facial features, but tread lightly so you don’t go too far. For female speakers, pay attention to hair color and consider heightening or lessening the makeup as needed.
It’s Not All About the Subject
Now that we’ve got a base grade, use the two angles to evaluate the background. This could be the tone of the white in a window or the color of a background wall. Getting these elements closer together gets us even closer to a seamless match. When watching a program we tend to focus on the speaker, but the environment often takes up more of the frame. Just focusing on the subject will only get you part of the way to matching both angles.
I’ve got a decent match on the subject, but the background is off. Matching the background will sell the match more since the talent is occupying a much smaller area in the frame.

The red circle shows the color values of the wall. The wide angle shows a slight red in the highlights, whereas the closeup’s wall is a tad blue.

Use Vignettes
Vignettes focus the eye toward a subject. They’re great tools as long as the trick isn’t given away by making them obvious to the viewer. You can brighten the speaker and then create an outside node to darken the outside of the speaker. Vignettes can also be used to dramatize or lessen the existing light inherent in the shot. You can bring down bright areas on the wall brought about by bright background windows, knock back shelves or mute walls.
Here’s a setup with and without the vignette. Below, the vignette is relatively severe but it isn’t visible due to a large amount of softening on the power window.
Without vignetting:

With vignetting:

Deemphasize the Backgrounds
Naturally, the viewer will be more interested in the main speaker than whatever’s in the background. If there are any overly saturated objects back there, pull a key on them and diminish their saturation a bit.
Sometimes a lens containing deep focus can be distracting. If appropriate for the material, explore defocusing the background in favor of having the talent pop out a bit more. To achieve this, create a vignette around the speaker and invert it. Increase the blur by about ten or fifteen percent inside the Blur tab. Even a small amount can create a dramatic look, but it’s important to not go too heavy and risk giving away the trick.
I’ve drawn a polygonal window around the talent and then inverted it, then blurred the background to taste.
 Hopefully these coloring tips and tricks will be useful in your day to day work. Here are a few more articles from PremiumBeat that can help you become a more well-rounded colorist.
- Blockbuster Looks in DaVinci Resolve: Transformers
- Better Black and White in DaVinci Resolve
- Tips for Achieving Real-Time Playback in DaVinci Resolve
Got any advice/tips/tricks for users of Davinci Resolve? Please share them in the comments below!


