Preserve Original Audio with Audition and Premiere Pro

When you’re editing external audio files, protecting the original recording is essential. Follow these steps to safeguard your audio while you work.
Top image via Shutterstock.
Good field recording engineers will often do things like leave plenty of headroom to avoid peaking out a recording if someone suddenly laughs, screams, or makes a loud noise. This is an excellent way to preserve the quality of the recording, but it can make it difficult for you to make creative editing choices if you are constantly riding your computer’s volume just to understand the content. Further, with the wrong approach, you can accidentally apply permanent effects to your audio. Here’s one way to preserve the original recordings while you edit.
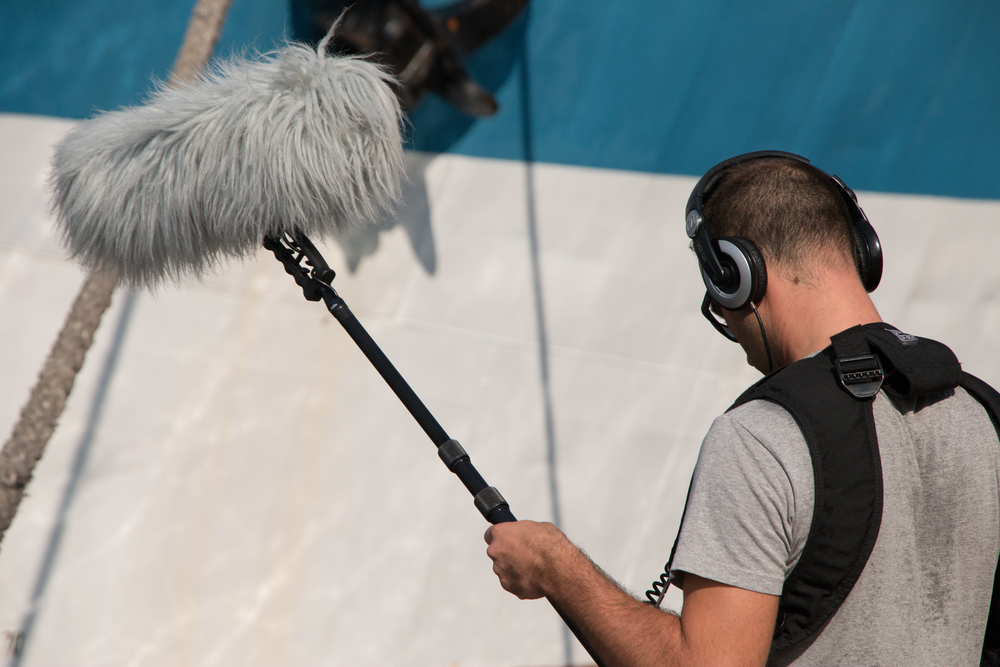
Image via Shutterstock.
Before you begin editing, create one folder with your original audio files and a second one called “Edited Audio.” Paste copies of the original audio files in the “Edited Audio” folder. You now have two copies of your project’s external audio. Open all of your “Edited Audio” in Adobe Audition and make any necessary edits.
It’s very important that you do not change the duration of any of your clips in Audition. The copies must match the originals in duration, or they will fall out of sync.
If you recorded something like an interview in a very controlled environment, this would be an excellent time to create a batch processing command if you are in a hurry and just need functional audio for easier editing. Because you still have your originals, it doesn’t matter if your first attempts are slightly off the mark.
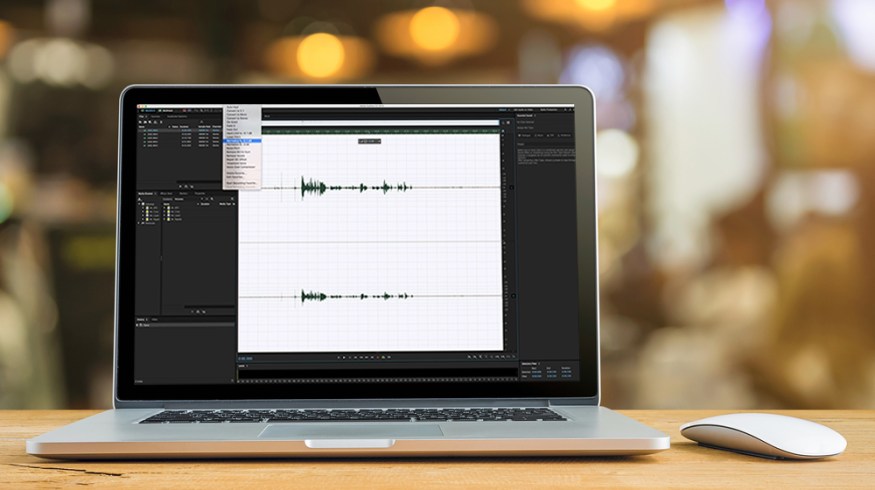
Once you have completed your edits, you can save all of the files and close your audio editor. Notice in the picture below that metadata sidecars appear after you perform your edits; this is normal.

Remember that the audio files in Adobe Premiere Pro are still the unedited original files. In order to substitute them with your newly edited files, you first need to take the originals offline. Highlight all of the audio files listed, right-click, and select “Make Offline.”

A dialogue box will ask if you want to keep the media on disk or if you should delete the files once they are offline. Adobe Premiere defaults to keeping them on disk. Make sure you select “Media Files Remain on Disk,” or you will delete your original audio files!
Relink your media to the newly edited files in your “Edited Files” folder by selecting all of the offline audio files you just disconnected, right-clicking, and selecting “Link Media.”

A new dialogue box will allow you to browse to the new files’ location. Click the “Locate” button and navigate to the “Edited Audio” folder containing your newly edited audio files. You can verify that you’re using the correct path by looking at the area near the top of the dialogue box for “Last Path” and “Path” indications. “Path” will show the new location you’ve just specified. Once you can see everything is correct, then click the “Locate” button.

In this instance, to solve the problem of audio that is too quiet due to the headroom the engineer left while recording, I increased the volume of each clip in Audition, and I can clearly see that the waveforms in my timeline are now larger. To further verify the audio’s functionality, right click on one of your audio files and select “Reveal in Finder.” If all has gone well, then a Finder window will open showing the files in the “Edited Audio” folder.

It is important to note that using the “Edit Clip in Adobe Audition” command is also a way to edit audio without altering your originals. However, there are several scenarios during which that command can take quite a bit of time if you have already started editing and don’t want to individually affect each clip. Although you can highlight individual audio clips in the project folder inside Adobe Premiere, you currently cannot send a batch of clips to Audition, which is very time-consuming if you need to quickly adjust several files. I typically find that this scenario arises when there are several takes during an interview or a segment of dialogue — or if there are several different audio files that all generally need the same treatment.
Do you have audio editing workflow tips? Let us know in the comments.