
Techniques on How to Animate a 2D Photo in After Effects
Learn about methods you can use to animate your own photographs in After Effects. Free project file included.
There are many different ways to animate a 2D photograph. So, instead of animating one specific photo, let’s learn about the techniques that go into animating a photograph. Hopefully, afterward you’ll have a better idea about which methods will work best for your own photos.
Let’s start animating! (If you want to follow along, download the free project file!)
Download the Free Project Files
Click the button below to download the free pack of 2D Photo Animation Project Files. In the download, you’ll find everything you need to try out the techniques in the tutorial.
DOWNLOAD FREE 2D PHOTO ANIMATION PROJECT FILES
By downloading, you agree not to resell or redistribute these free assets.
Masking Photographs
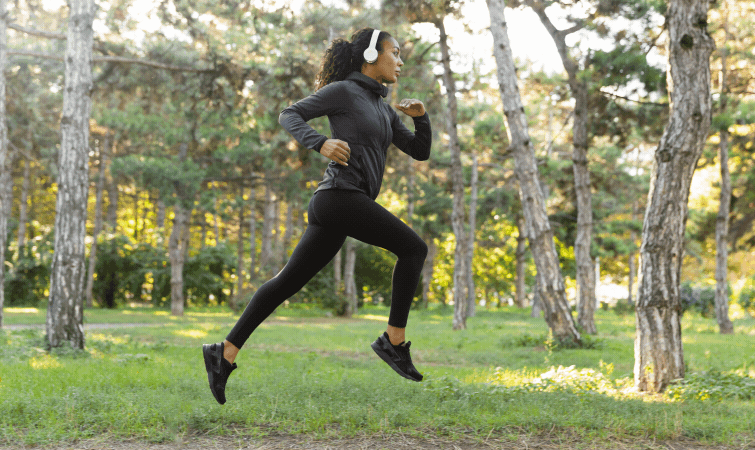
Once you’ve decided what you’d like to animate in your photograph, you will likely need to mask it out. Masking out our subject allows us to separate them from the background. You can mask out your subject using the Pen Tool and tracing an outline around them.

When you do this, I recommend turning on the RotoBezier function, which will smooth the tracing line between each mask point. This will give the mask a more natural appearance.
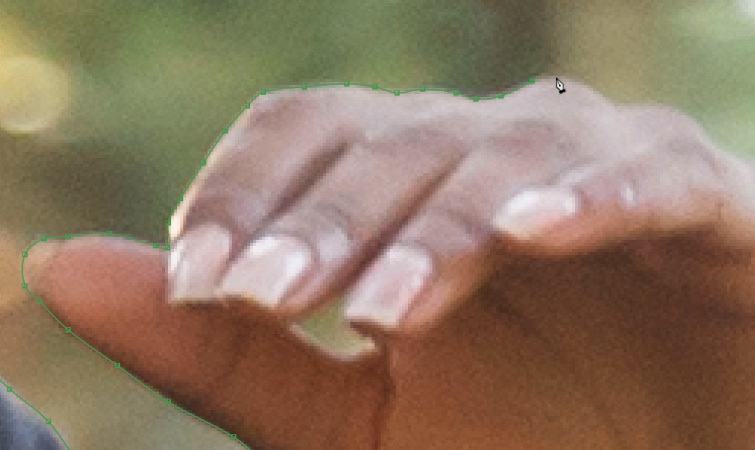
While masking, zoom in as close as you can on your image, and work in short segments. This will speed up the masking process and make it easy to follow the outline of the subject.
How to Fill in Backgrounds
Once you’ve masked out your subject, you’ll need to fill in the area on the background where you removed them. (Otherwise, you’re left with a hole in the background!)

To do this, you can use the Content Aware Fill in After Effects. Open Content Aware Fill, select your background image, then just click Generate Fill Layer. This will automatically create a new layer to fill in the hole on the background.
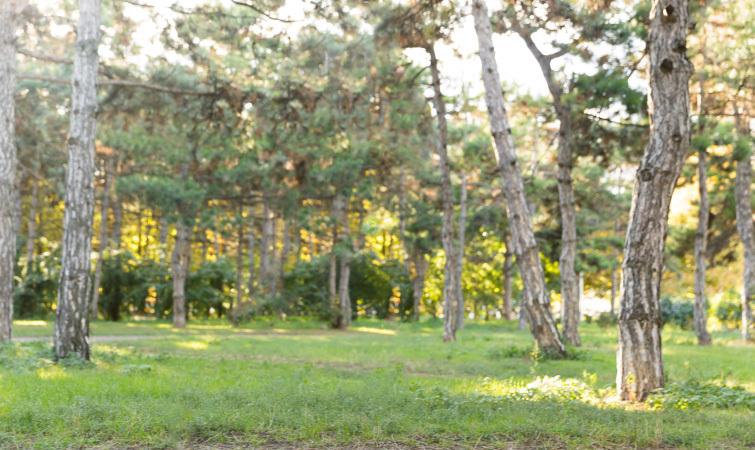
If the results from Content Aware Fill are not optimal, you can also try using the Clone Stamp Tool to paint in the background. I also recommend applying a Camera Lens Blur effect on the background, if needed.
Creating Depth and Parallax
To create some depth with our 2D photo animation, all we need to do is keyframe the Scale of our layers. Objects closer to the camera should scale more over time than objects further away. This creates parallax, giving the illusion of depth on our 2D layers. For example: Scale your subject up 10% during the animation, but only scale the background up 5%.
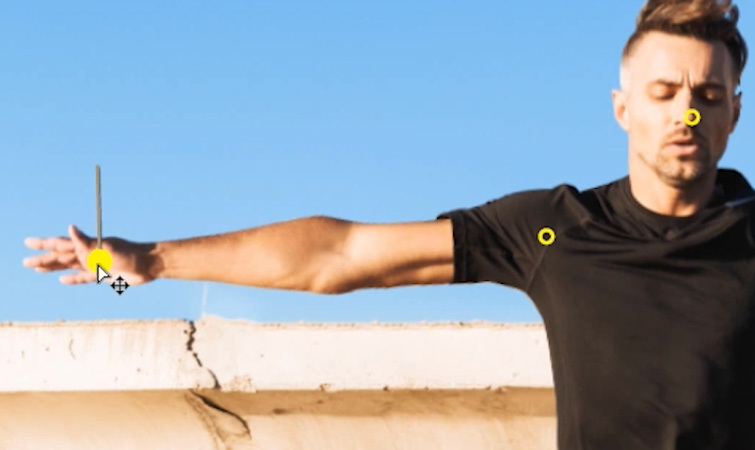
Using the Puppet Tool
You can also add subtle movements to your subject layer using the Puppet Tool. Select the Puppet Tool and add pin points to your subject. You can then keyframe animation on those points over time. This creates the look of super slow motion. Be sure to use the Puppet Tool sparingly—less is usually more!
Accenting with Footage
By far the easiest way to animate your 2D photos is by accenting them with footage elements. These can be things like dust, light rays, and fog. A lot of these assets are also available for free!

Rocketstock has two freebie packs that work great. The first is their free Prism Bokeh Overlays. These are perfect for accenting holiday, luxury, or wedding photos.
The second free pack from Rocketstock is their Volumetric Light and Dust Overlays. These are perfect for landscapes, portraits, or dramatic photographs.
Finally, PremiumBeat also has a free pack of 4K Fog Overlays. All of these assets help add secondary movement, which will go a long way with your photo animations.
Interested in the royalty-free tracks we used to make this video? Give them another listen:
- “Ocean Tranquility” by Cymatix
- “Lo Fi Waves” by Origami Pigeon
- “Chilling in the West Indies” by Mattijs Muller
- “Lo Fi Beach Dawn” by Trending Music
- “Influencers” by FASSounds
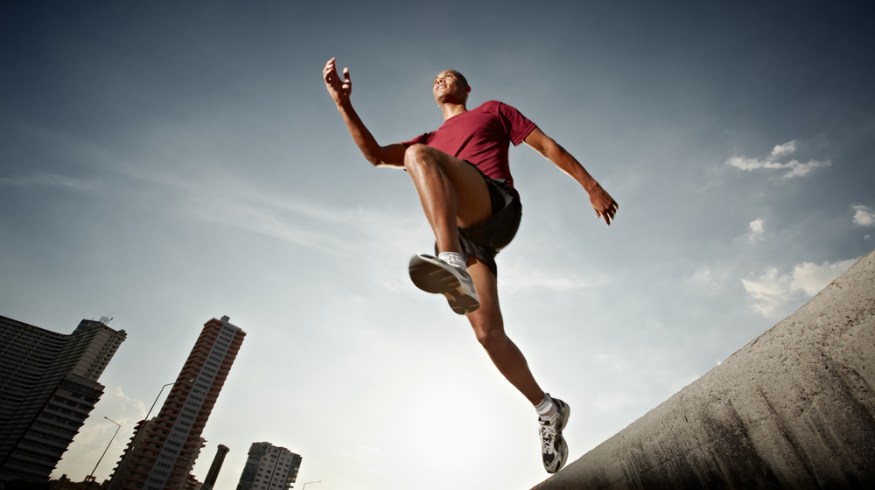
Cover image via Diego Cervo.


