
Quick Tip: Remove Yellow from Footage for Cleaner Whites
In this video tutorial, learn how to remove yellow color cast from your footage for cleaner looking whites!
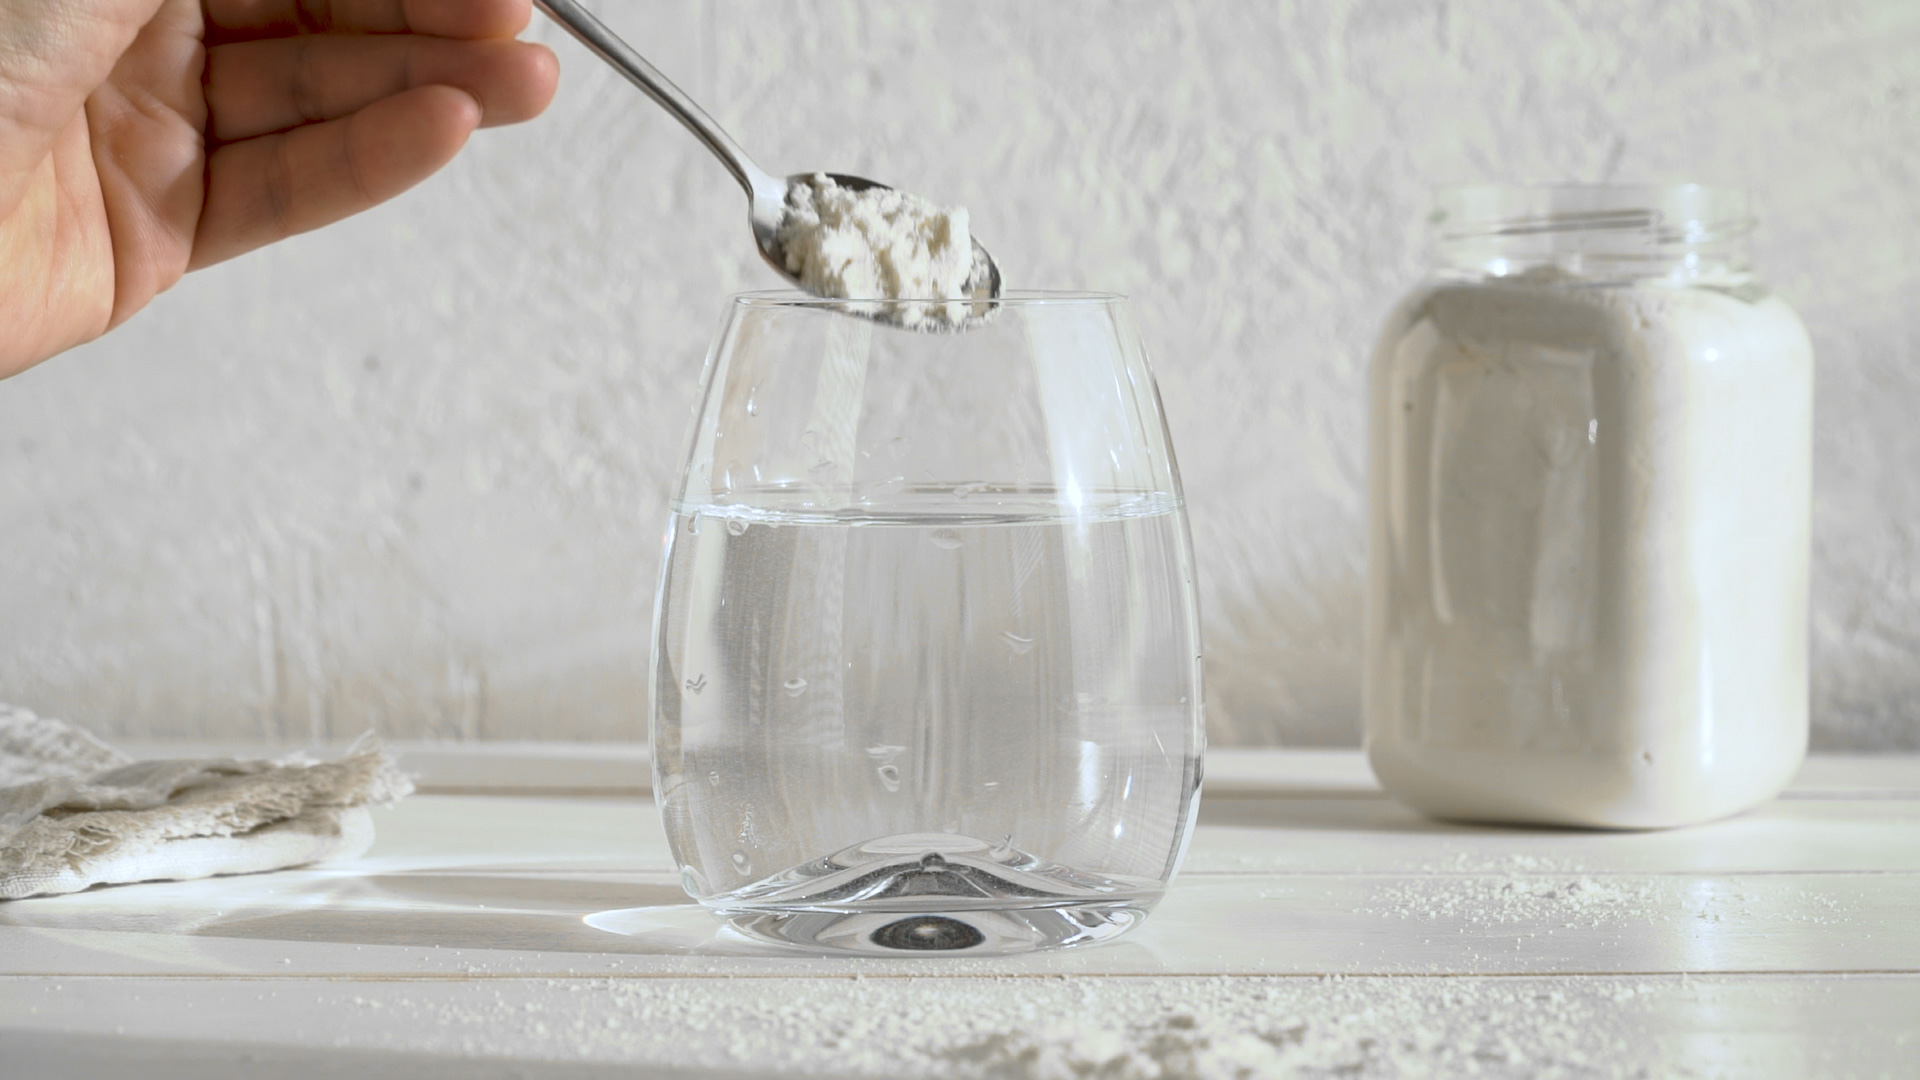
Sometimes, white colors on your footage will have a yellow or orange tint to them, often as a result of a white balance that is slightly off. This can be very problematic to fix in post in a way that looks natural.
In this quick tip, I will show you an easy method for achieving cleaner looking whites on your footage!
How to Remove the Yellows
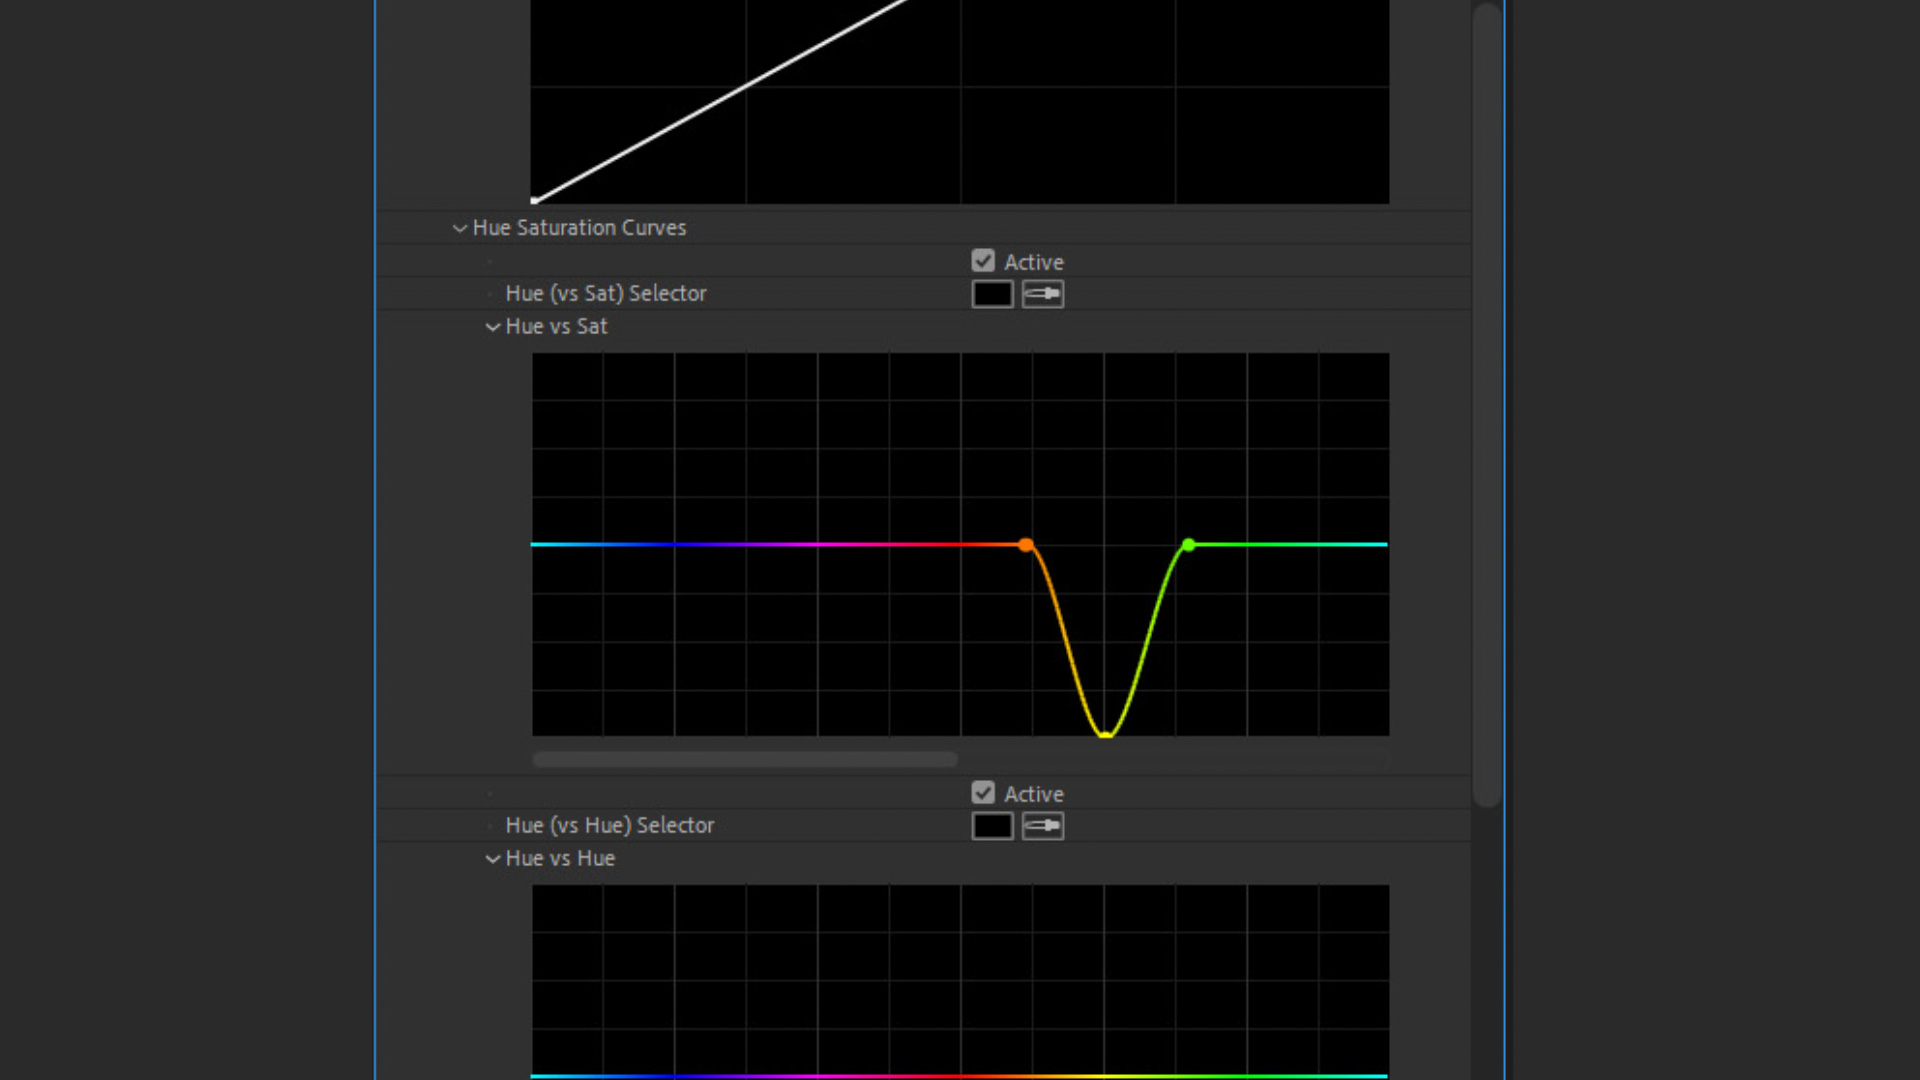
In order to remove the unwanted yellow color cast from our footage, we need to start by applying the Lumetri Color effect. Under the Lumetri Color effect controls, navigate to the Curves tab. The curve we want to look at is the Hue vs Sat curve (Color Hue vs Saturation.)
From there, we need to create three points on the Hue vs Sat Color Curve (which looks like a rainbow colored straight line.) We need to click and create a color point on the Orange, Yellow, and Green areas of the line.

Once we’ve created our three color points, all we need to do to remove the yellow is drag the yellow point on the color curve downwards.
Moving it down will reduce the saturation for yellows. Move it at least halfway down or all the way down, depending on the shot you are working with.
The end result should leave your footage looking “cleaner,” removing any yellow color cast that may be visible in the white areas or on other objects in the shot.
Fixing Problematic White Balance Issues
You can also use this trick to fix footage that may have an incorrect white balance, giving whites a slight orange tone. This can be problematic to fix using a white balance adjustment in post—you can often get much better results by just removing the yellows.

Once again, apply Lumetri Color then under the Hue vs Sat curve, create three points on the Orange, Yellow, and Green areas. (For better results, you may want to place the yellow point a little more in the orange area.)
Now, simply drag down the yellow point to remove the yellow and orange color tint. You should be left with a much cleaner and more natural looking white balance.

More Ways to Use Lumetri Color
If you’re looking for more ways to color grade using Lumetri Color, check out our video tutorial: Get Better Results Using LUTs with Lumetri Color in Premiere Pro.
Interested in the royalty-free tracks we used to make this video? Give them another listen:
- “A Chill Rain” by Luciano Music Co.
- “Behind Neon Sky” by Artlss
- “Gelato” by Sunny Tones
License this cover image via Uesiba.