Quick Tip: Best Way to Reduce Sharpness on Action Cameras in Post
In this video tutorial, learn tips and tricks for reducing aliasing that is common on action camera footage!
In this quick-tip video tutorial, we are going to look at the best way to reduce aliasing issues that often occur on action camera footage. To do this, we are going to be working in After Effects, using a free plugin called FXAA.
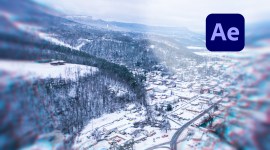
What Is Aliasing on Video Footage?
Aliasing is a distortion artifact that can occur on any footage, but it is extremely common on footage from action cameras, drones, and cell phones.
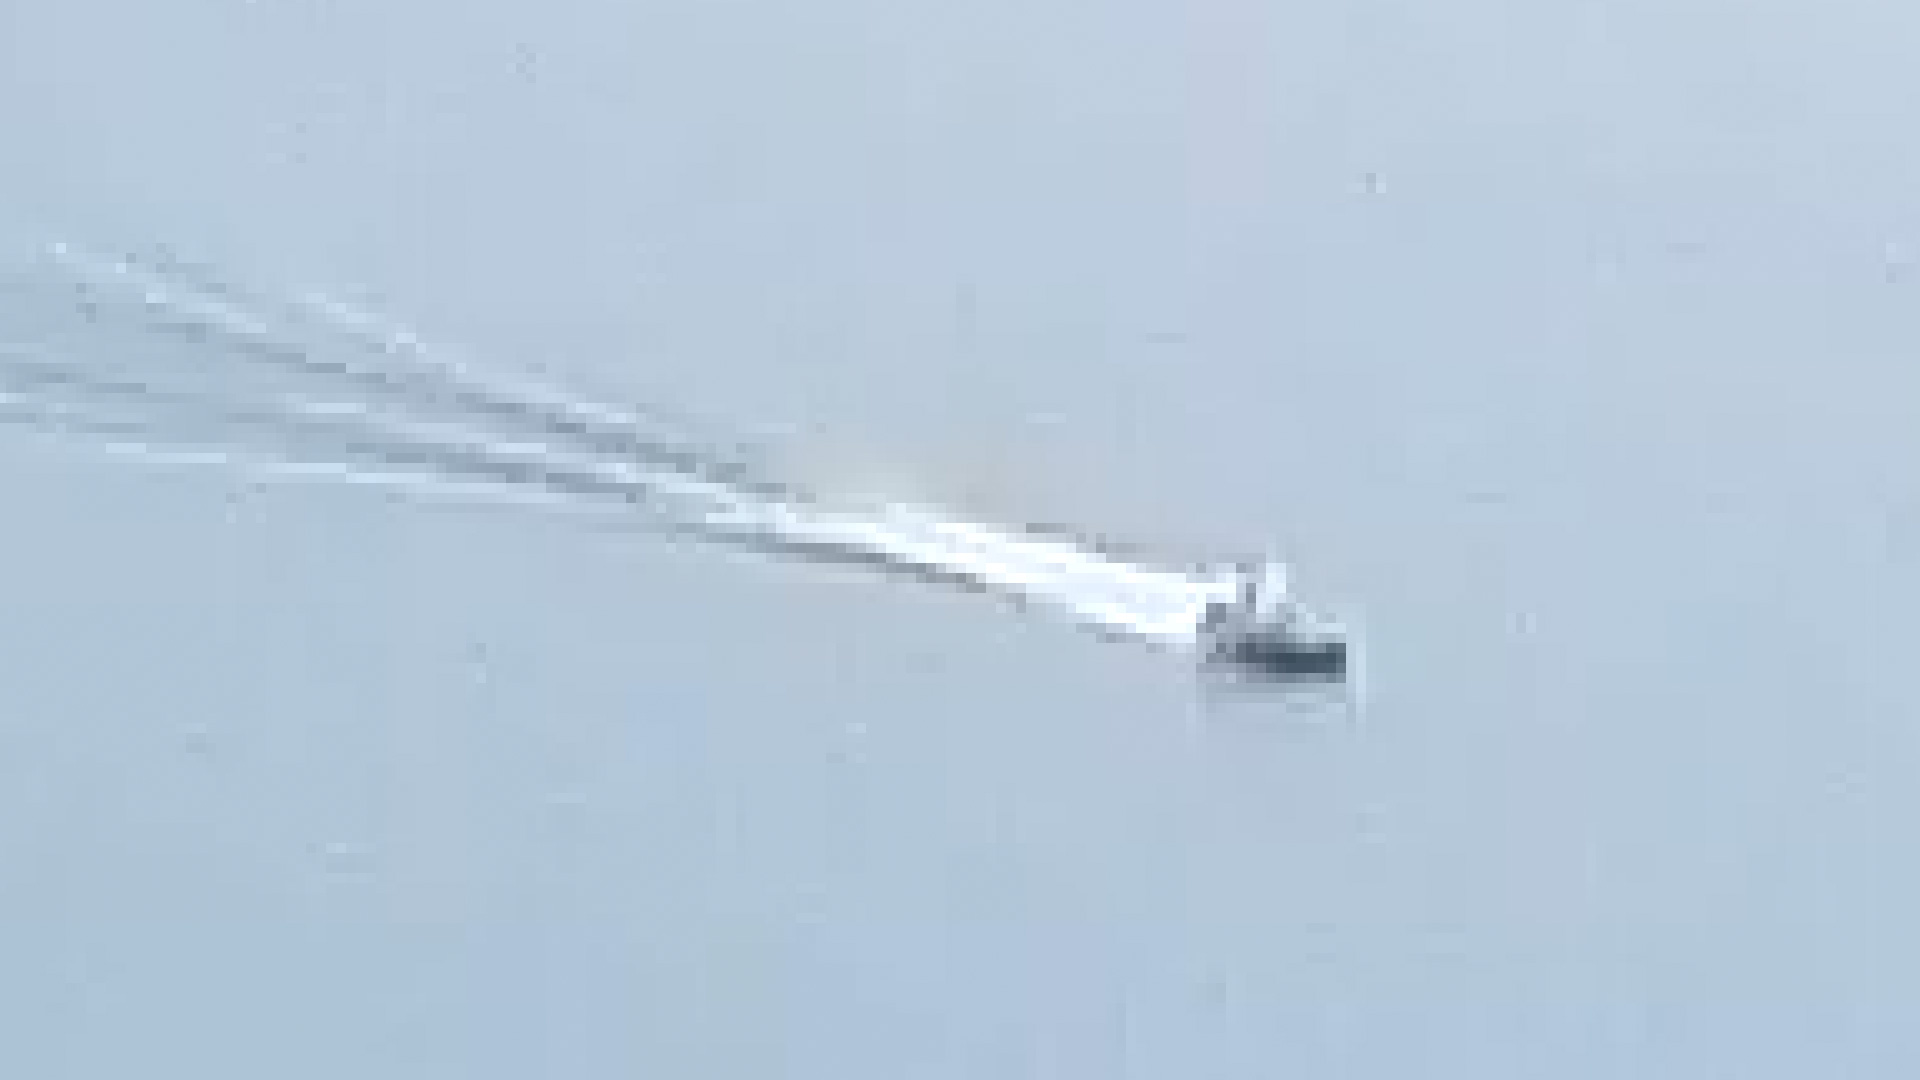
Aliasing makes edges appear jagged or “stair-stepped” rather than smooth. This is caused by a phenomenon known as “sampling error,” which occurs when the camera’s sensor is not able to capture enough detail to accurately represent the image. This makes sense because action cameras often have tiny camera sensors, due to their small size.
Why Is This an Issue with Action Cameras?
Besides action cameras having small sensors, they will usually have really high video sharpening turned on by default. And, in some cases, you may also not be able to turn the over sharpening off, or reduce it as much as you need.
Another common problem with action camera footage is compression artifacts, which can make aliasing look even worse.
Using Gaussian Blur to Fix Aliasing (The Old Method)
Previously, the only way to reduce aliasing on action camera footage in post, would be to apply a subtle blur to the entire shot. However, the drawback to this method is that it will reduce some details that aren’t aliasing that we might want to keep.
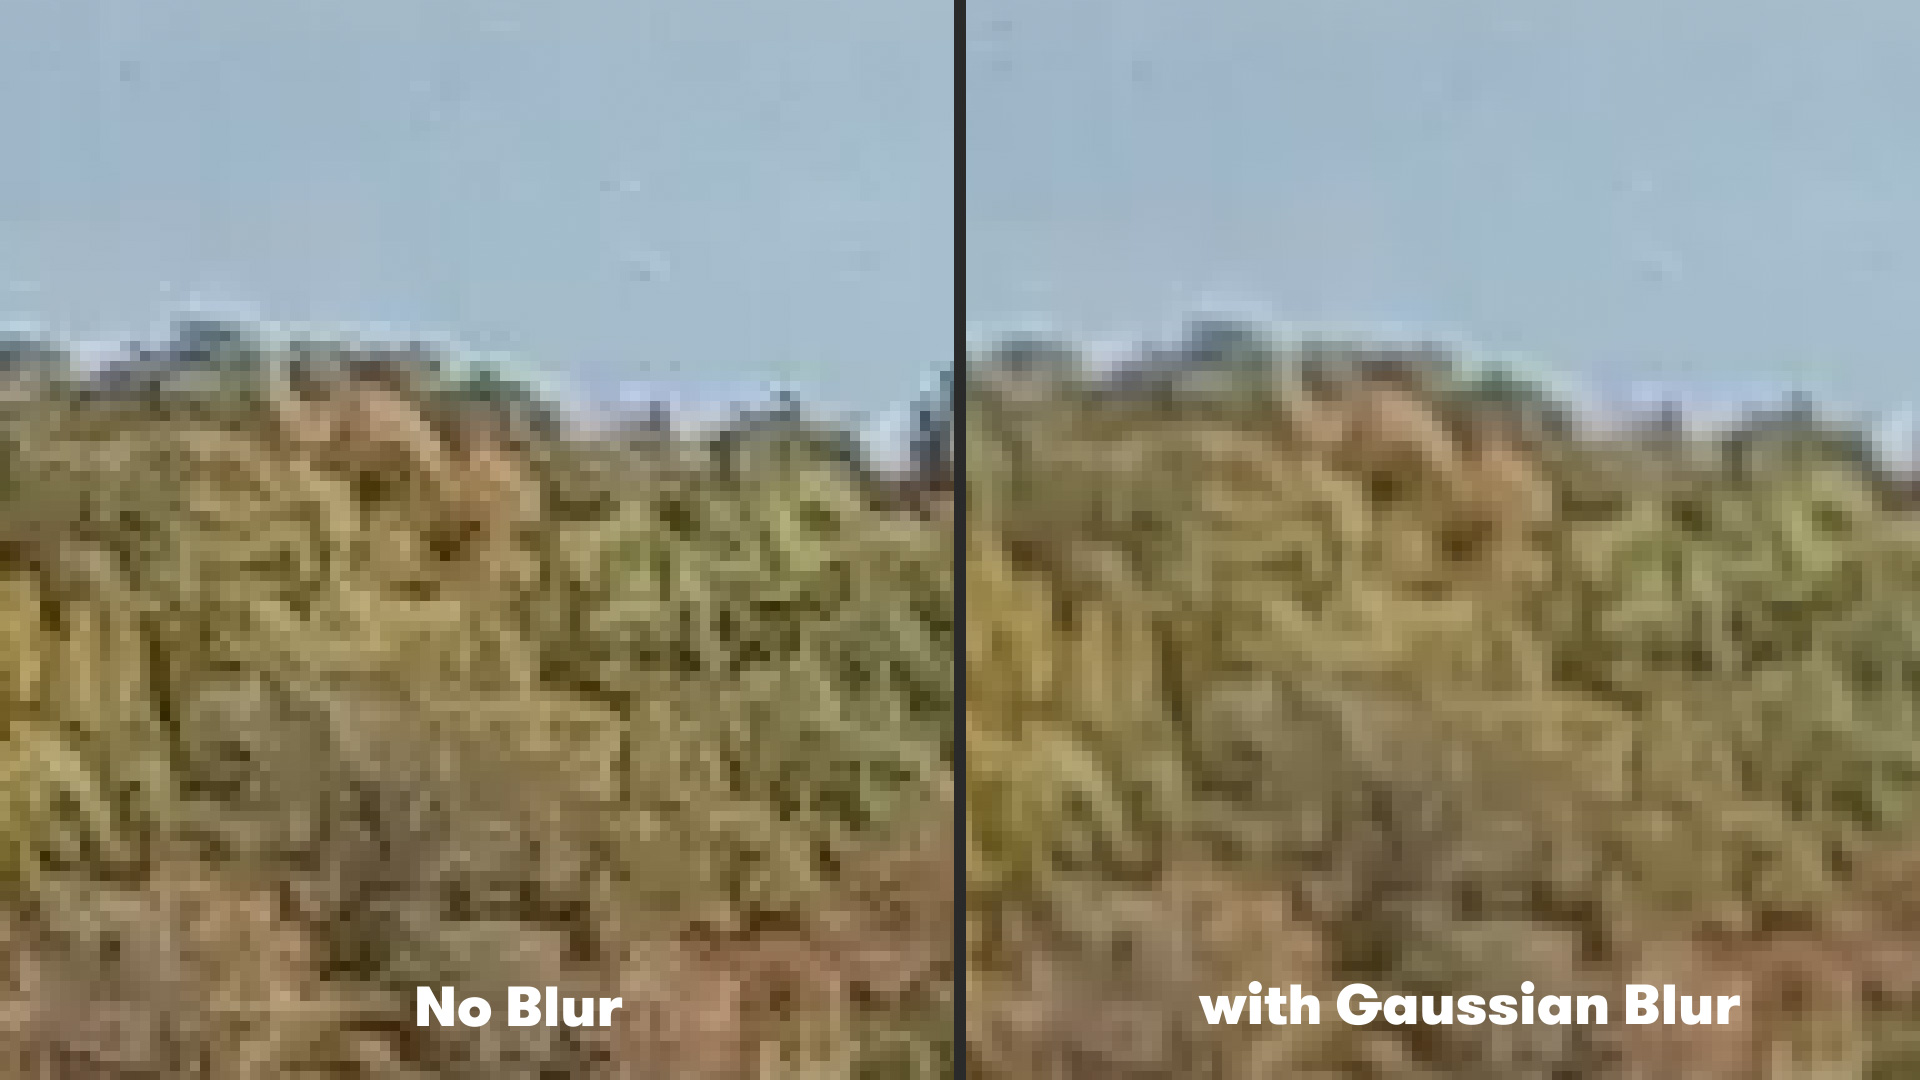
To try this method, simply select your footage and navigate to Effect>Blur & Sharpen>Gaussian Blur. Then set the Blurriness amount to 2. This will apply a subtle blur to the entire shot that will reduce unwanted aliasing flickering.
Using the FXAA Plugin
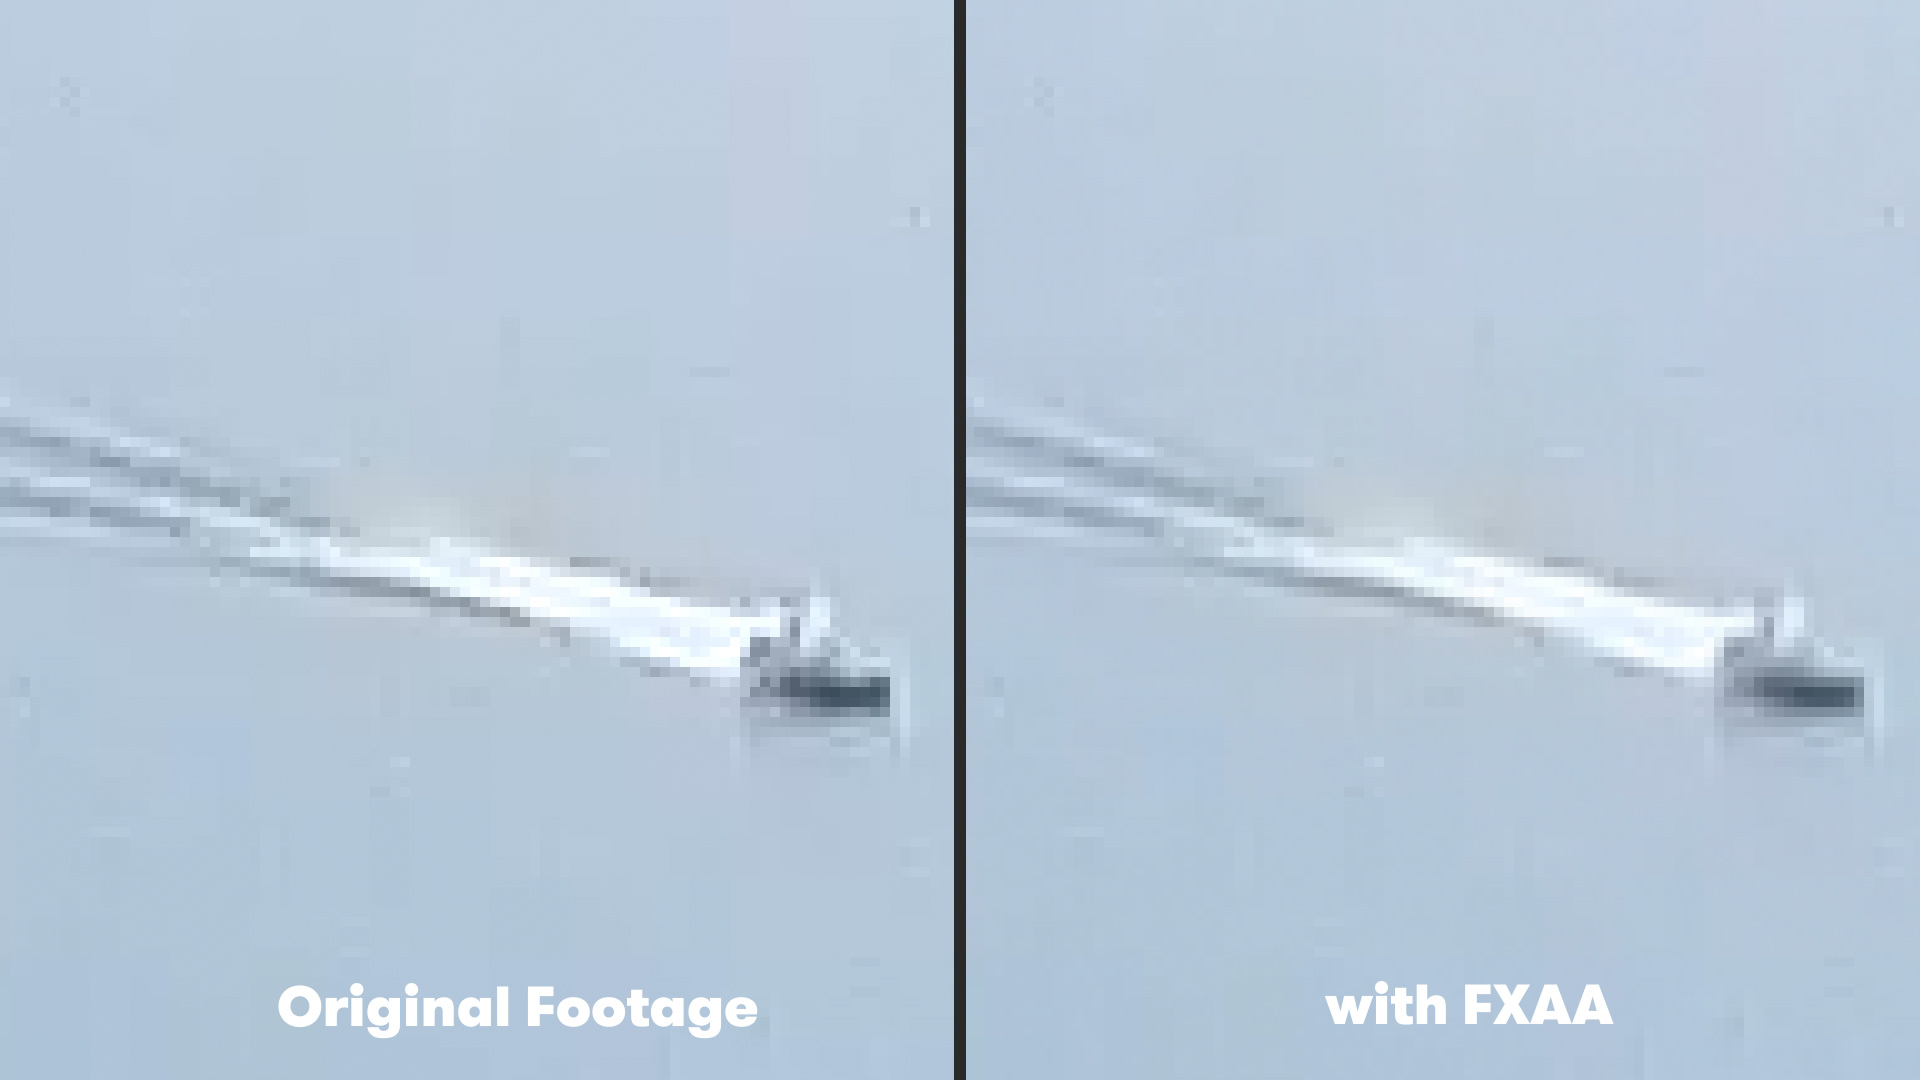
FXAA is a free anti-aliasing plugin from Plugin Everything. The plugin looks at all the pixels on your footage and uses an edge detection algorithm, which then applies a blur that smooths out the jagged edges.
Because of this, FXAA renders really fast, making it great for use on action camera footage.
Using the plugin on your footage is incredibly simple. Just select your footage in the composition, then navigate to Effect>Plugin Everything>FXAA. That’s it!
You should see some reduced aliasing on your action camera footage. You can also apply multiple instances of FXAA to your footage to stack the effect, reducing the aliasing artifacts even more!
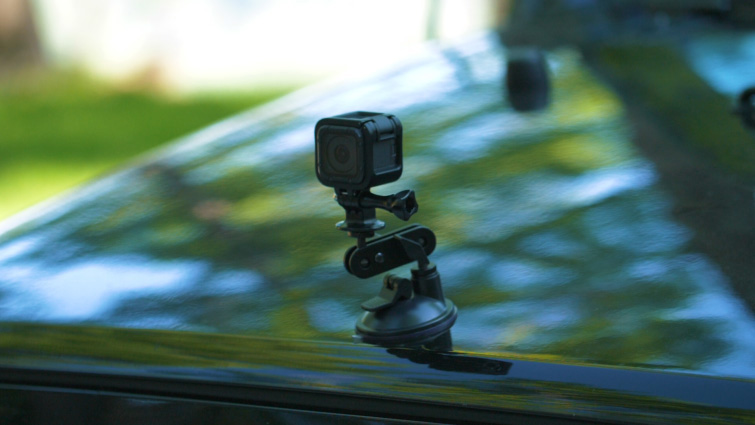
More Ways to Improve Action Camera Footage
Are you looking for more ways you can improve your action camera footage? Check out our tutorial on Stabilizing GoPro Footage with the ReelSteady GO App!
Interested in the royalty-free tracks we used to make this video? Give them another listen:
- “A Chill Rain” by Luciano Music Co.
- “Behind Neon Sky” by Artlss
- “Gelato” by Sunny Tones
License this cover image via Denis Kornilov.