

Audio Workflows in Autodesk Smoke

Smoke is best known for powerful video and visual effects tools, but what about audio editing? Check out these tips and trick for getting the most out of the audio workflows in Smoke.

The workflows explained here apply to the Extension 1 Release of Smoke (2013.2.53). This release is now available in the Free 30 Day Trial and via new 36 month Educational License.
Stereo vs Mono Tracks in Smoke
Smoke works with both Stereo and Mono tracks of audio…but there are some caveats. If you drag and drop your clips, from the source to the record timeline, then the audio will drop on the timeline regardless of whether it is Stereo or Mono.

However, if you like to actually edit audio and use the insert or overwrite commands, then you can only edit stereo tracks to stereo tracks and mono to mono. So, just be aware of your track assignments, as you can’t ever route mix matched audio on to tracks that aren’t equal.
There are some functions that can help you deal with this slightly annoying issue. Under the GEAR Menu in the timeline controls for either the Source or the Record Sequence, there is a STEREO adjustment that allows you to split or merge tracks.
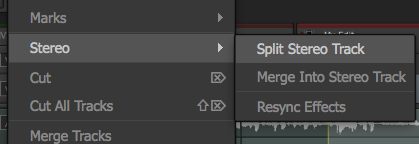
Performing this action on source clips is quite handy. This way you can keep your record sequence track assignments organized the way you like. The only catch is that in order to merge mono tracks to stereo, they need to be in sync. Each audio clip must be the same length as the other, so that they can merge together.
Audio Gain and Level Adjustments in Smoke
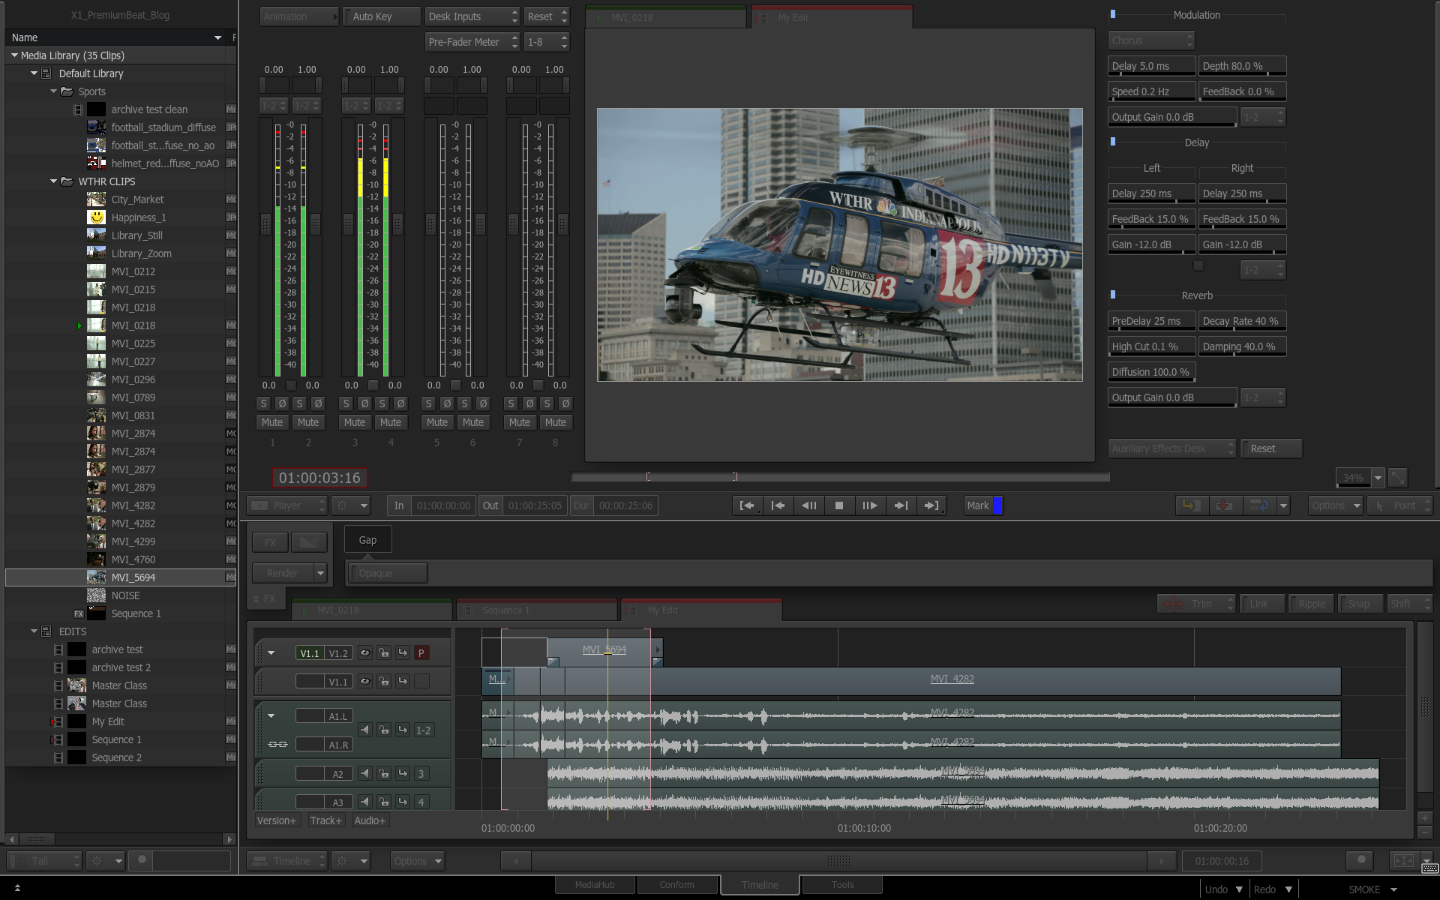
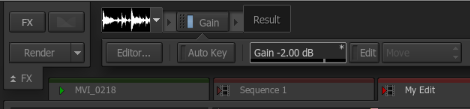
In order to adjust the sound level of a clip in the timeline you must add a Gain Effect to it. You can call up all of the audio effects in the same way that you call up video effects, via the FX Ribbon.

When you have an audio clip selected, you get the audio effects when you hit the FX button or shortcut Shift+Tab to call up the FX Ribbon in place.
Once the Gain effect is applied you can simply adjust the db level via the numeric slider. But as with most things in Smoke, there is often more than one way to do something.
Just adjusting the numeric slider doesn’t give you the amount of control you might need to adjust a clip if the levels vary within it, or in the case of a music track, where you would need to lower the level and raise the audio as it mixes with a voiceover track. Smoke gives you a few options in clip adjustment:
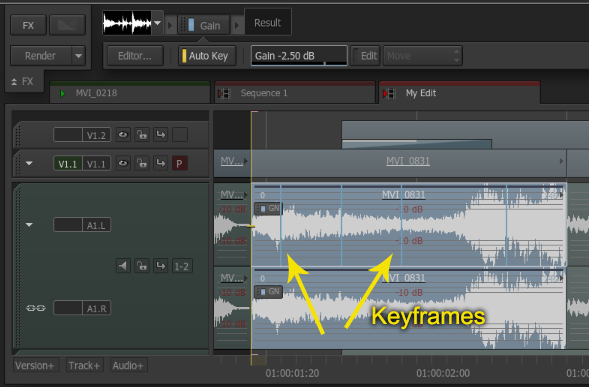
After the Gain Effect is applied, you can activate the AutoKey button in the effects tool bar.
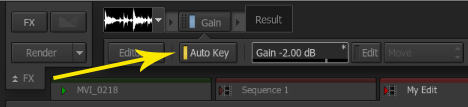
Now you can move the Positioner along the clip and stop at various points in which you would like to make a level adjustment. By changing the db values in the numeric slider, a keyframe will be placed and a blue indicator mark will be seen in the clip.
But what if you need to adjust these keyframes? There are 2 ways to do that. Fire, you can go into the Editor for the Gain Effect. This will bring you to the Animation Channel editor and show you your keyframes and the waveform in the graph.

Now this is ok, but you can’t see the audio in relation to your other clips in the timeline. But don’t worry, there is another way.
In the effects toolbar, activate the EDIT button. Now you can add and move keyframes on the clip itself and see everything in context.

You can use the same hotkeys to control the points that you use for other operations like in Action or Gmask.
Move [Shift+M]
Add [Shift+A]
Delete [Shift+D]
When you are done editing your keyframes, you can turn the edit button off. You will see the waveform in the clip being adjusted, but no other indication that there is a change in level. Extension 1 has a new option to help that.
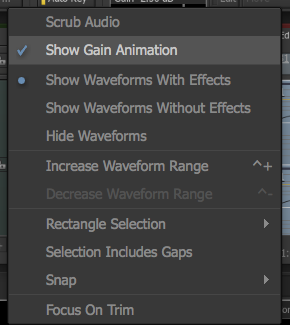 In Extension 1, you now have the option to Show Gain Animation on a clip basis in the timeline.
When you have keyframes created and you activate this option, you will see that there is now a black line that shows you the ups and downs of your adjustments.
You can also use this option in a different way:
If you just have the Show Gain Animation active, you will see a black line and black square on your clip as you select it.
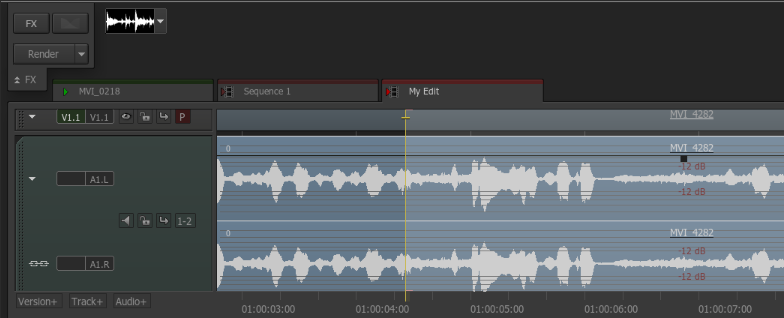
You can grab this black square you can raise and lower the db level, and in doing so a Gain Effect will be instantly applied. So you can use this for quick adjustments to add Gain effects that you can tweak later.
It is also possible, to play a clip and adjust the numeric sliders or the black box, with Keyframe enabled, enabling you to do a real-time mix.
You can also choose to simply make a cut in your audio and adjust the ramp up or down to another clip or even the same clip. You can add audio cross fades in between your clips by selecting a transition point and simply adding a dissolve, just like on video tracks.
More Smoke Audio Effects
The other effects available in the Audio FX Ribbon, are fairly useful for manipulating and stylizing your clips.
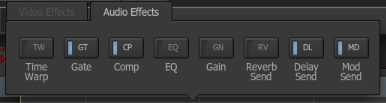
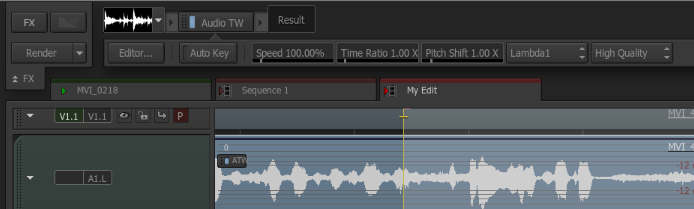
Timewarp is great for speeding up or slowing down audio as it does automatic pitch correction. There are 5 processing algorithms depending on if you applying it to Voice or Music.
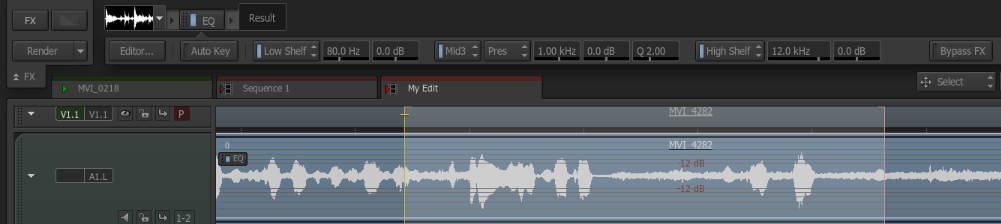
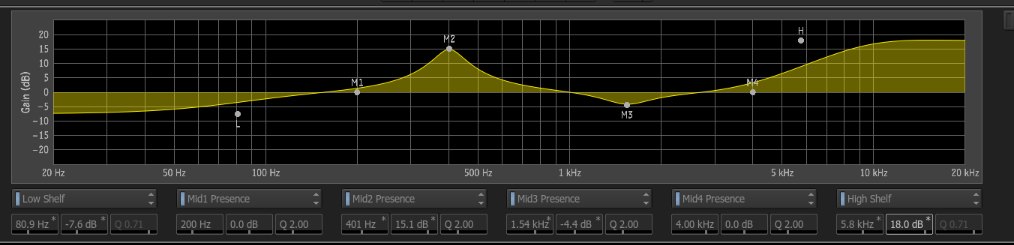
EQ is a 5 Band graphical equalizer that you can adjust in a visual way, perfect for video editors who aren’t audiophiles. You can loop your clip or selection as you adjust the EQ to dial it in perfectly.
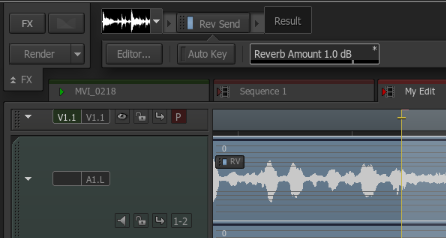
Reverb Send is a quick and easy way to add a bit of echo to your audio.
The other effects like Gate, Compression, Delay and Modulation, allow you more advanced audio tweaking.
Smoke is a video and effects editor first. Smoke’s audio tools don’t make it Pro Tools or Adobe Audition, but for adjusting audio in your video edit Smoke has some very useful features. You can also choose to export out an AAF for Pro Tools, if you need to expand your audio editing capabilities.


