CinemaDNG Post Production Workflows

Check out these great tutorials on how to work with the CinemaDNG format in your next edit.
Learning how to work with newer file formats, like the CinemaDNG format most widely used on the Blackmagic Design cameras, is a fundamental part of any editors job. Even if you’ve yet to work with CinemaDNG, it’s important to know the unique properties and workflow of this format because chances are one day it will wind up in your hands. Be prepared by checking out these useful links on creating offline CinemaDNG proxies, grading CinemaDNG files and real-world case studies of CinemaDNG in action.
Creating Offline Edit Proxies from CinemaDNG Files
In this short tutorial, colorist Denver Riddle walks you through a simple workflow for creating Pro Res proxies from the CinemaDNG files to work with in FCPX (although the workflow is the same regardless of your NLE of choice). If you like Denver’s style of teaching or want to download some free files to play with yourself, then sign up on his website to get access to all of the above.
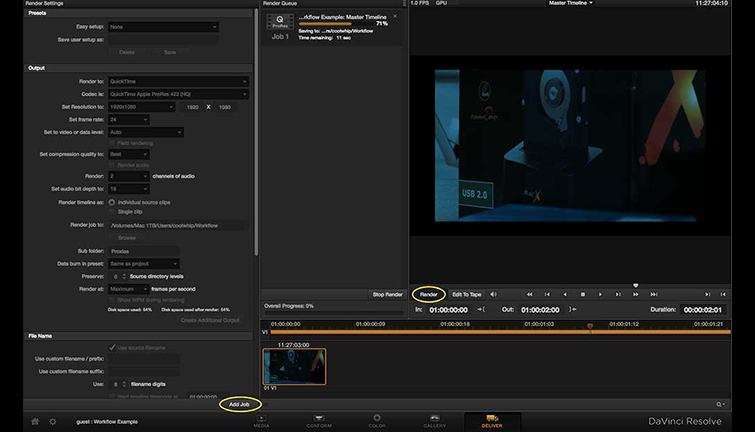
If you prefer to read your tutorials in a step by step, how-to format, then this post from Derek Johnson (Shane Hurlburt ASC’s assistant) will swiftly guide you through the simple process of using Resolve to create editable proxy ProRes files. Derek also covers some other alternatives to using Resolve, such as working with image sequences in Adobe After Effects and links to a free download from Adobe that will handle CinemaDNG files independently of a beefy app.
Real World Case Studies with CinemaDNG
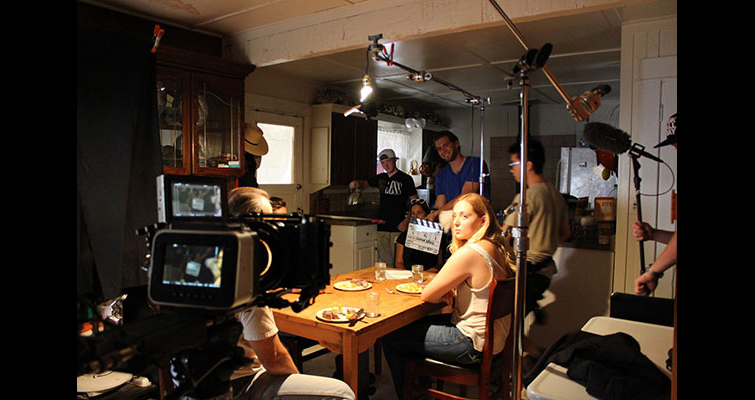
Independent filmmaker Noam Kroll shot his Sundance selected feature film Brother, Sister on the Blackmagic Cinema Camera in CinemaDNG, allowing him to take advantage of 12 bit RAW. He edited his feature in FCPX and graded it in DaVinci Resolve. For a full run down of his experience and a sense of the overall workflow, including exporting .aaf audio, check out his detailed write up over on FCP.co. If you’re interested in how Noam shot the feature on the BMDCC check out this previous post.
Within Resolve I made sure to bring in all of the RAW files first, and none of the ProRes LT files. The XML rebuilt the timeline without a hitch and all of my edits and transitions were perfectly in place. The grade itself only took a single day to do as I wasn’t doing a lot of tracking or power windows. On my own projects, I tend to prefer working with more natural color grades and avoid making things overly synthetic by re-lighting in post. This helped keep the color process on the short side too.
The main challenge with the CinemaDNG file format is the huge file sizes (compared to shooting straight to Pro Res). In this technical post from Brian Hellett on PVC.com, you can learn some useful tips on how to work with CinemaDNG files and Resolve when your computer is less than optimal in terms of spec.
My computer is a 2011 MacBook Pro. It was the first to have Thunderbolt. 4 GB of ram. 2.0 quad core. It easily runs Avid Media composer, Motion, and just enough GPU to run Resolve. When I say “just enough” the software plays the 2.5K at the blazing speed of 1 fps. Not exactly the editing powerhouse, but it gets the job done… it just takes a bit longer.
Brian also shares some tips on grading your footage, having shot with ND filters with or IR filtration on to get the best look you can from your footage.
Grading CinemaDNG Files in DaVinci Resolve
In this short tutorial colorist Denver Riddle demonstrates how to get the most out of your RAW CinemaDNG footage from a Pocket Cinema Camera, by utilizing three different approaches: grading with the RAW settings in DaVinci Resolve, applying a LUT or grading from scratch.
Similarly, this trilogy of tutorials by colorist Jesse Borkowski walks you through a complete CinemaDNG workflow for editing a multi-cam music video in Premiere Pro CC, working with offline proxies then finishing and grading in DaVinci Resolve.