Control Expressions in Adobe After Effects with Sliders
Take your animations to the next level, and save time with slider controls for your expressions in After Effects.
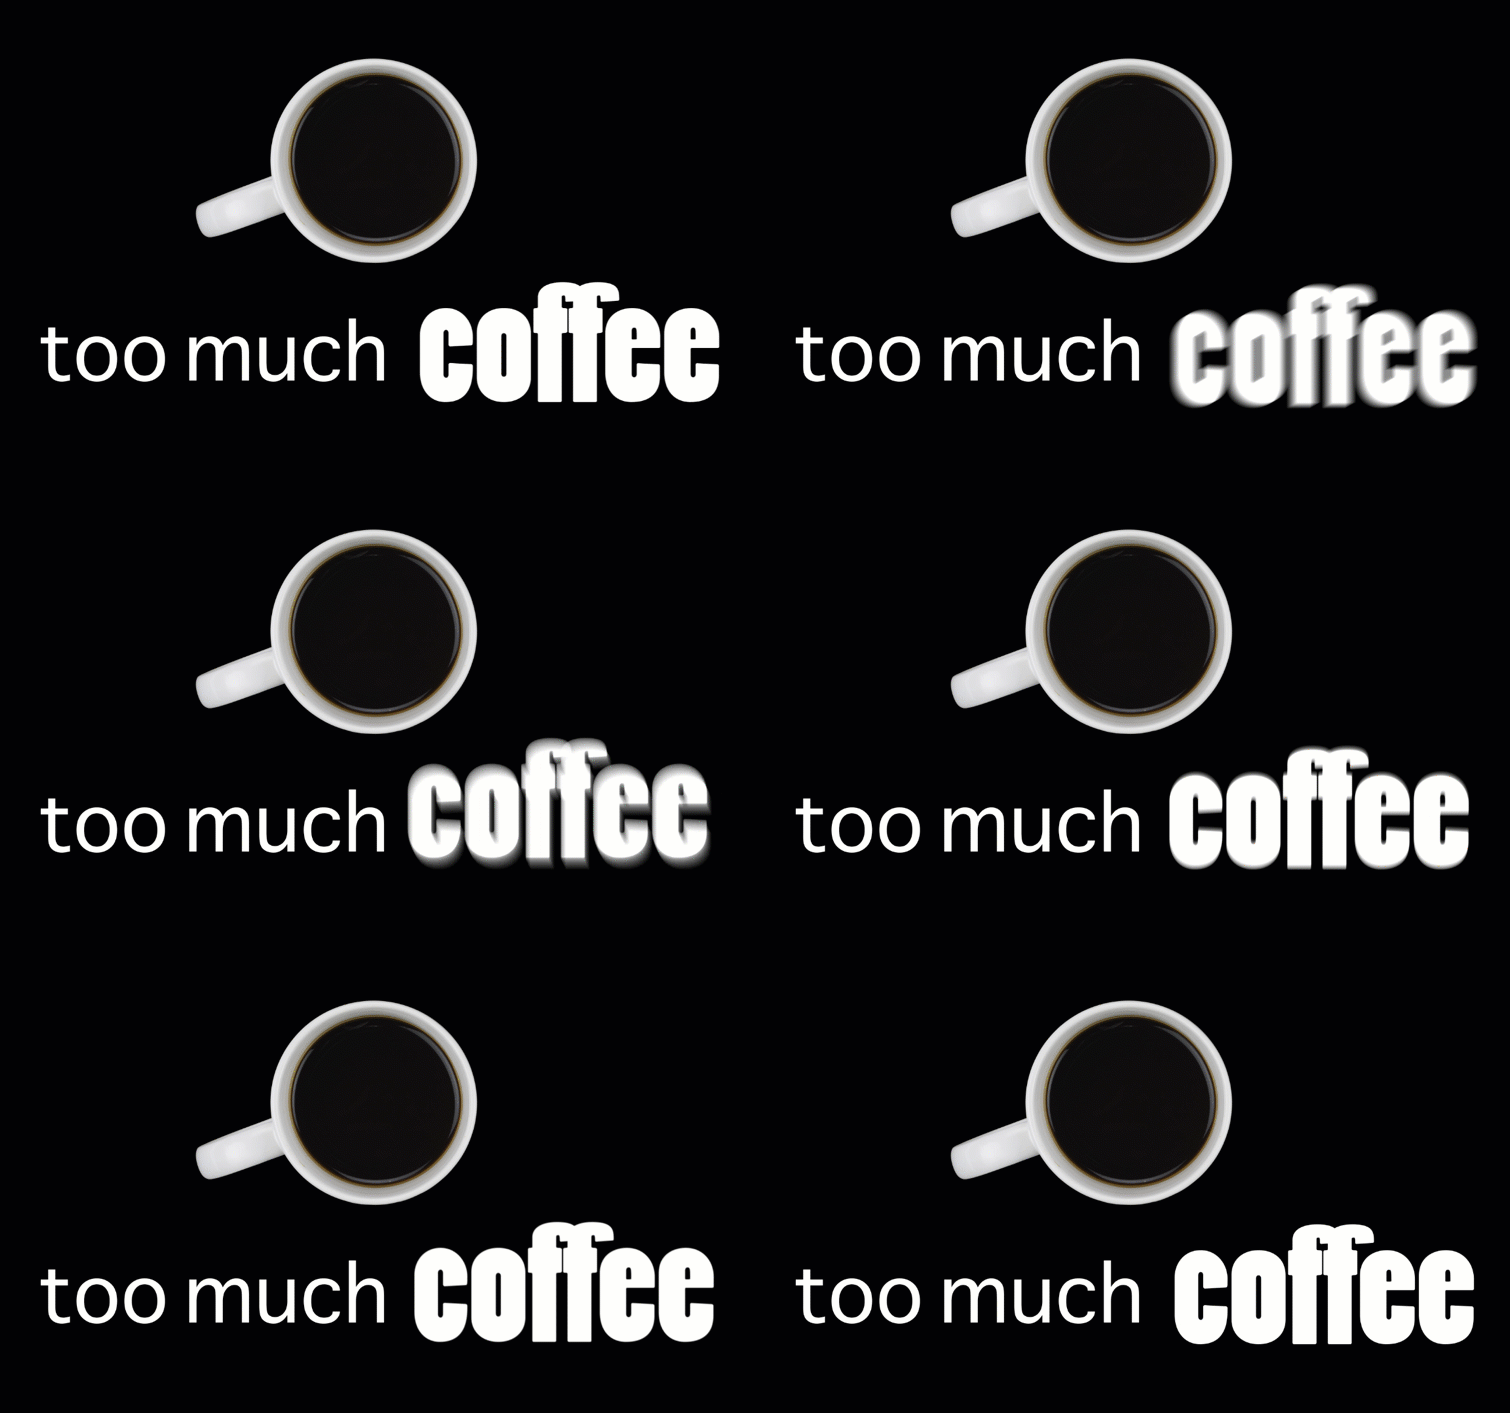
I’m currently working on a very basic motion graphics project. The project is simple: a coffee mug with text that reads too much coffee. I have a wiggle expression applied to the word coffee, giving it a jittery and over-caffeinated look. The client is happy with the look; however, they need an animated GIF version for use on a website. For the GIF, they’ve requested that the wiggle effect animate in and out, from no movement to full wiggle, and then back again. Let’s take a look at how you can accomplish this without setting aside a week of time to learn a bunch of expression language.
Step 1 — Use Null Objects
For the first step, I will create two null objects. These layers will give me control over my expression. So why did I create two? Well, if you take a closer look at the wiggle expression, you’ll notice two attributes: frequency and amplitude. I want to control both of these individually. To achieve this, I’ll create two null objects and rename them Amplitude and Frequency. Next, I’ll add a slider control to each null object by selecting Effect > Expression Controls > Slider Control.
Step 2 — Parent the Attributes
This is the most important step, wherein you give control of the expression over to the slider in the null object layer. It’s easy to mess this part up and suddenly be confused as to why your effect isn’t working. The key is to parent the specific attribute and not the entire expression. To do this, go into the expression text box and highlight the amplitude, and then drag the expression’s pick whip to the slider control of the Amplitude null object layer. Now the slider is in control of the amplitude. Take note of the text added to the expression. Now, I’ll simply repeat this step for the frequency attribute.
Step 3 — Add Keyframes
Now that my amplitude and frequency are parented, it’s time to bring the effect to life. Again, my client wants to create an animated GIF version that animates from no movement to fast jitter and back again. I can do this by adjusting the frequency to a set amount and then keyframing the amplitude. For the amplitude null object layer, I’ll bring the slider to 0 and add a keyframe at the beginning and end. Then I will go to the middle and bring the slider up to 50. Now the wiggle expression is animated. The keyframes at the beginning and end will make the animated GIF loop seamlessly. And voilà: animated GIF.

Looking for more After Effects tips? Check out these articles.


