How to Create A Realistic Lens Flare In DaVinci Resolve
Need a lens flare for your shot? Avoid the unimpressive plug-ins and customize your own flare in DaVinci Resolve.
When VideoCopilot announced their Optical Flare plug-in in 2009 (released in 2010), my heart filled with joy knowing that every single shot from my DV camcorder would now feature a lens flare. They are the icons of blockbusters, right? Nearly a decade later, I now spend as much time as possible keeping my shots flare-free. How times change.
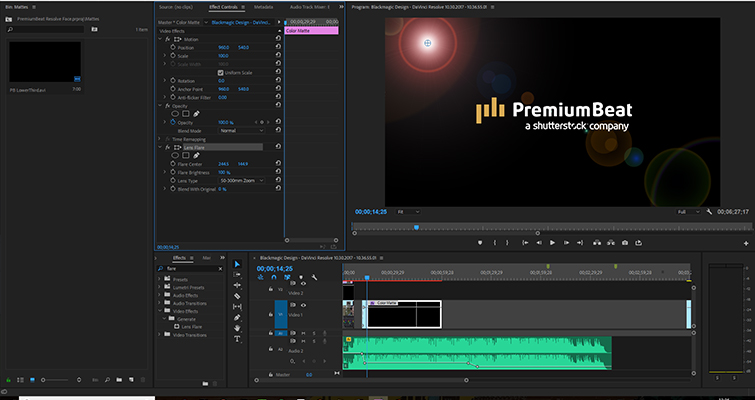
However, if you need to include a lens flare in your shot for creative reasons — see J.J. Abrams‘s reasoning for excessive lens flare in Star Trek — or if you need to match a flareless shot with another flared shot in your scene, you’re typically going to need a plug-in like Optical Flare. The majority of NLEs come with a flare plug-in, but as you can see with Premiere’s below, they typically aren’t that great.
In the studio version of Resolve 14, however, there’s a flare plug-in that’s it’s incredibly powerful. I find tutorials for effects that are very shot specific — such as a lens flare — are difficult to produce properly because everyone’s shot will be different. The flare will differ depending on the light source, lens type, aperture settings, and more. If I document a method on how to produce a flare from sunlight, it may look completely different on your footage. Therefore, we will look at how the plug-in works by fixing a problem I have with a shot, and we will explore the different areas of the plug-in in the process.
The Basics
You can work with the effect on the Edit Page. However, you can’t move the flare around within the viewer, and for that reason, I recommend working with the flare in the color page.
This is the problem that needs addressing. We have a long shot of the musician sitting on his flight case, and it cuts to a close-up, but only the close-up features a lens flare, and the director wants both shots to have the same flare.
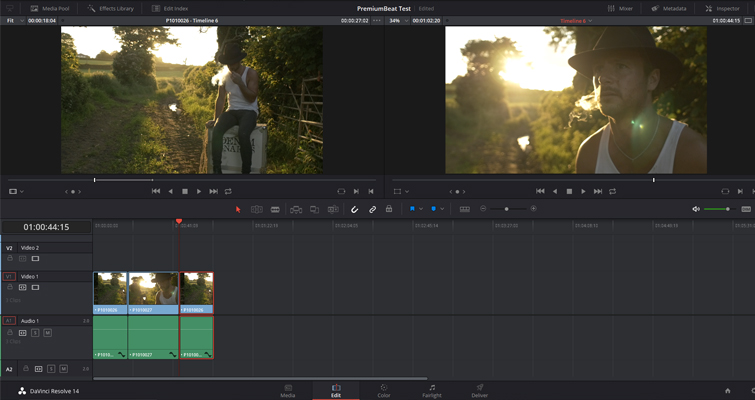
In the color page, add a new node, and add the Resolve Flare effect found under Resolve Light FX to the node.
Now you need to jump over into the effects settings panel. This effect offers an abundance of customizable properties. Since the flare is an optical element produced by the lens, you have to make sure it looks real. Resolve gives us the tools to do so.
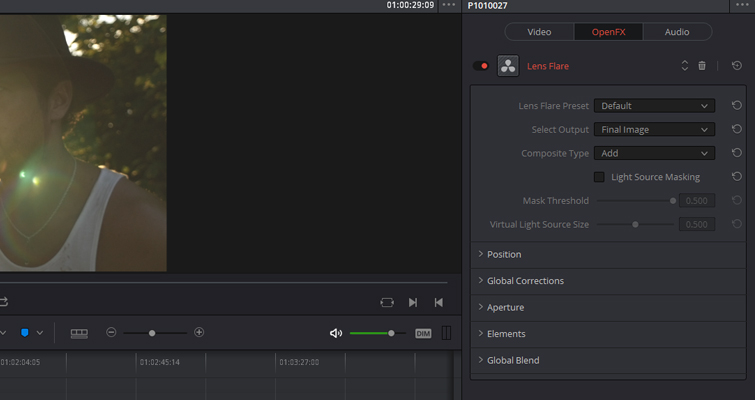
The lens flare settings break down into six control areas: flare presets, position, global corrections, aperture, elements, and global blend.
While there aren’t as many built-in presets available as there are in Optical Flares, the eight presets cover the basics you expect from the most common light sources — and of course, these are all highly customizable.
To replicate the evening sun, I’m going to select the late afternoon preset, which presents us with a flare that mimics the setting golden sun. Initially, it’s not in the correct position, so with the OpenFX overlay activated, I can quickly reposition the starting point of the glare within the viewer. If, however, you prefer to use the sliders, you can do so by opening the Position panel in the settings menu.
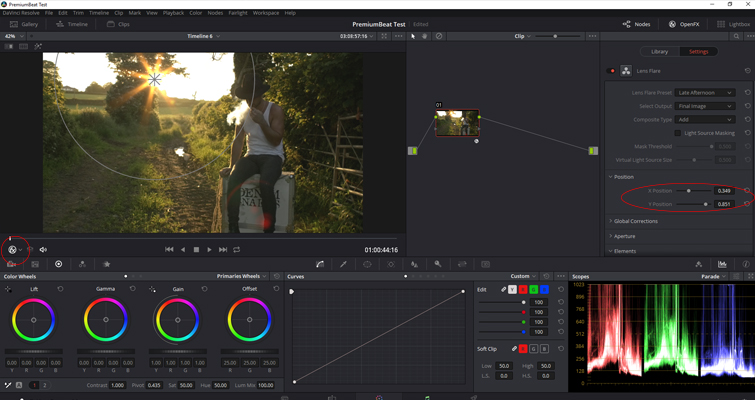
From the edits we’ve made so far, we can see that the two top panels are the control areas that create the foundation of the flare.
Creative Elements
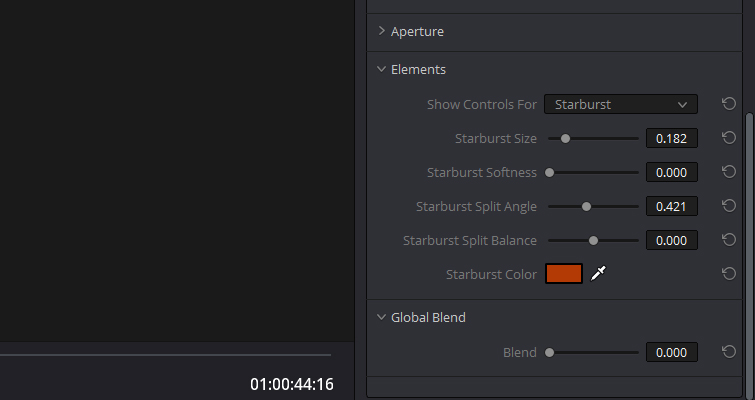
Looking at the shot we need to match, you can see we still have a few steps to complete to make the flares look identical. First, we need to remove the starburst. You can do this in the Elements panel. This panel is the control area for each layer and individual element of the flare. I would argue that this part of the plug-in is the magical component — you can really customize every aspect of the flare. You could even create some sci-fi effects with this plug-in. You don’t often see this kind of power with a plug-in or effect in an NLE.
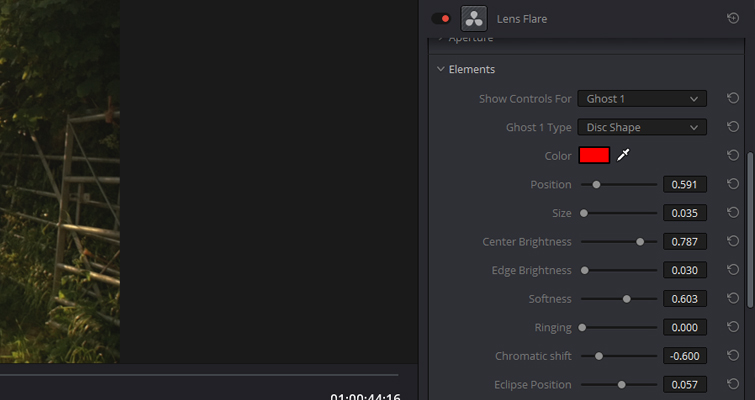
In the Show Controls For drop-down menu, you can find a host of different elements to adjust. Since the shot we are trying to match doesn’t have a starburst, we need to reduce it, so it’s barely visible.
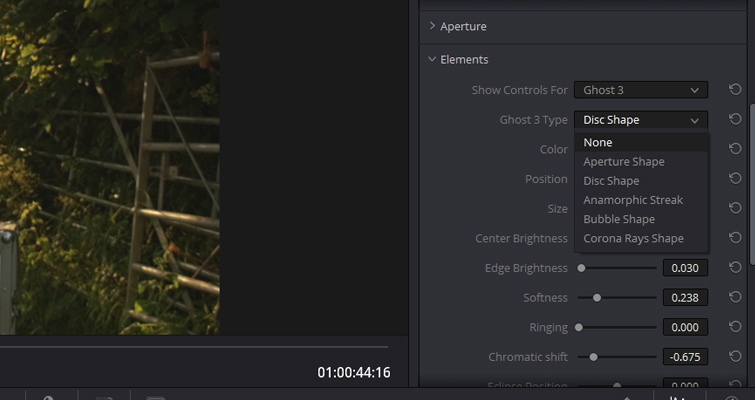
Since we’re already in the Elements panel, I also need to remove the ghost elements of the flare because they are not visible in the shot we are trying to match. We can do this by changing the type to “none.”
This is how the shot currently looks.
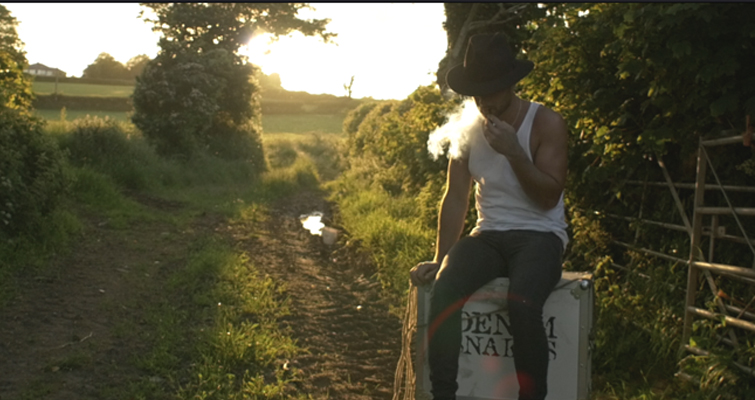
It’s getting there, but we need to increase the size of the flare spot. We can do this with the Global Corrections panel. However, this settings panel affects all areas of the flare. This is great for adding blur or colorizing the entire flare, but for individual element adjustments, you’ll want to stick with the Elements panel.
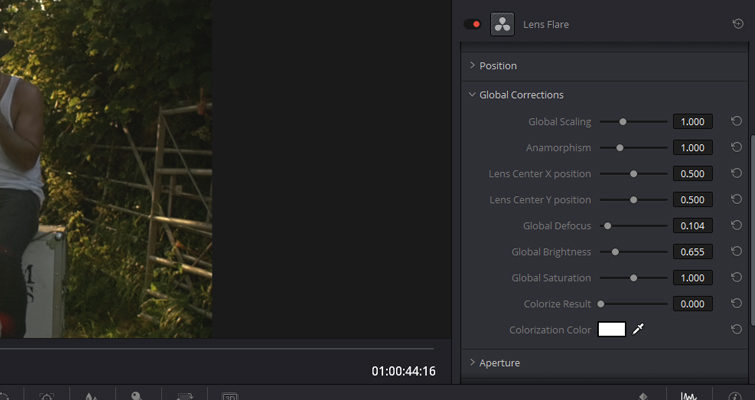
Therefore, we need to reopen the drop-down menu and select Show Controls For Flare Spot. Here, I’m going to increase the size, reduce the irregularity (which will factor for light streaks), enhance the softness, and color the flare similar to that of the close-up.

Finally, I’m going to colorize the ghost elements at the bottom of the composition to better match the close-up, and this is the final result.

Based on what we started with, I think these two shots will now cut together quite nicely, and I’d be very surprised if the audience could tell that the flare is computer generated. While we’ve covered the majority of the functions in the plug-in, we haven’t discussed Global Blend and Aperture. Global Blend has one slider function, and that is to set the amount the flare blends with the source media. The Aperture panel will allow you to adjust how many blades make up the iris. As a six-bladed aperture will create a different starburst than a seven-bladed aperture.
Lewis McGregor is a certified BlackMagic Design DaVinci Resolve Trainer.
Looking for more information on DaVinci Resolve? Check out these articles:


