
Why You Should Create These 5 Keyboard Shortcuts in Premiere Pro

Keyboard shortcuts are essential for any serious editing project. Here are five important tasks that deserve custom shortcuts.
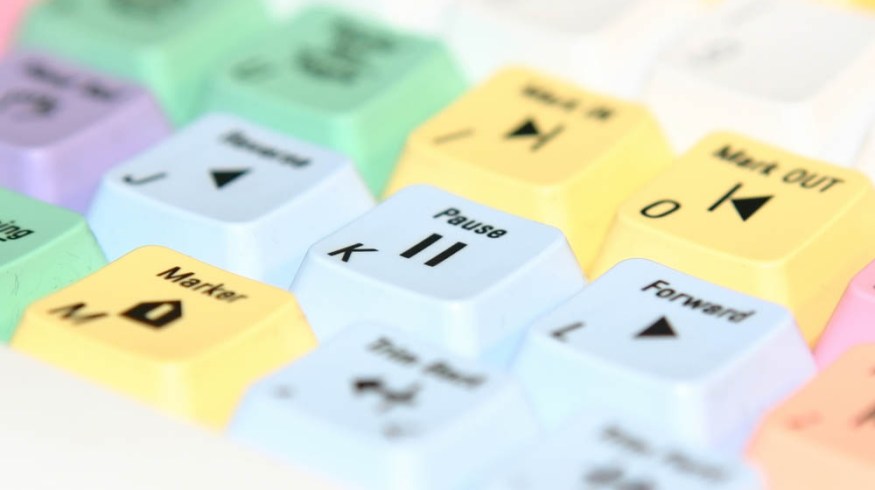
Cover image via Shutterstock.
There are so many shortcuts for Premiere Pro that it could take you just as long to learn them all as it would to learn to use the program. Although there are practical accessories like printout sheets and editing keyboards that will help you learn your shortcuts, many still go unused.
However, there are also plenty of editing tasks without a shortcut that would benefit from one. Thankfully, Premiere Pro lets you customize pre-existing shortcuts and create new ones. Let’s take a look at some features that I think deserve the shortcut treatment. A few of these shortcuts are management-based rather than edit-orientated, but I find having shortcuts for them is very beneficial.
Playback Resolution
The playback resolution dictates the resolution of the footage in the program (or source) monitor. You can decrease the resolution by 1/2, 1/4, 1/8, or 1/18 (depending on the original resolution of the footage). This is a great feature if you’re working with a video file that has a high data rate or high compression, and the file is just too difficult for your system to handle. You can simply lower the resolution down to 1/4, which will enable you to scrub through and play your footage with ease.

If you’re working with 4k files on a 1080p screen, you’re not going to see a significant decrease in the quality. However, a problem arises when you’re working with mixed resolutions. If I’m scrubbing through 4k files on a 1080p timeline, and then I encounter a segment of 1080p stock footage, the stock footage is going to look awful at 1/4, and I’m going to have to keep switching the resolution settings back and forth.
You can eliminate the mouse movement with a few keyboard shortcuts.

If necessary, you can do the same with the source monitor and the paused resolution.
Zoom Monitor In or Out
“Does this shot have soft focus or is it me?” — a line I’ve muttered at least a dozen times while editing. In Premiere, you can zoom in and out of the timeline using – or =, or you can hit Z for the zoom tool. What you cannot do is zoom in and out of the program or source monitor with a keyboard shortcut. You can quickly hit the dropdown menu under the program monitor, but the function becomes cumbersome if you need to zoom in and out while previewing your edit.

I recommend the following shortcuts for quick and easy access to the program monitor zoom function.

Again, you can also assign shortcuts for the source monitor.
Reveal in Project
Right-click on any media file in the timeline, and you can select “reveal in project,” which will take you straight to that media clip in the project panel. When you’re working with a limited number of clips, it’s not an important function. However, when you have many media clips tucked away in bins, finding a specific clip (especially if it carries a default filename) can become a hassle. While the “reveal in project” segment of the pop-up menu is relatively close to the mouse upon right-clicking, you can make things easier by assigning it a shortcut. I use Ctrl +1 (number pad). When I click a clip, I can now very quickly bring it up in the cluttered project panel.

Reveal in Explorer
There may also be a circumstance when you need to find the original media clip on your drive — perhaps to make a copy or transfer the file to someone else. I often find myself searching for a media clip on the drive, so I’ve learned to assign shortcuts for the task. Since this is similar to the reveal in project shortcut, I use Ctrl +2 (number pad). Strangely, you cannot perform this task from the timeline panel with a shortcut. You can only assign a keyboard shortcut to reveal in explore in the project panel window — despite the option to right-click in the timeline.

Move Playhead to Cursor
Effective editors want to keep their hands on the keyboard as much as possible — switching back and forth to use the mouse eats up precious time. It’s always bothered me that if I work backward or forward away from the cursor on the timeline, I have to leave the keyboard to bring the playhead back to the cursor point — or perhaps you’ve just lost sight of the cursor and you don’t want to zoom out on the timeline. Whatever the case, you can eliminate the need to remove your hand from the keyboard with a shortcut. CTRL + P should be available (P for “playhead”).

There are still many functions to which you cannot assign a keyboard shortcut, such as solo or muting individual audio tracks. Hopefully, Adobe will address these functions in the future, but in the meantime, take advantage of as many shortcuts as you can.
Have you customized any keyboard shortcuts in Premiere Pro? Let us know in the comments..


