5 Tutorials You Need for Making a DIY Film Cart

Cheap carts, hand truck modifications, and more. Here are a few camera cart builds you can put together yourself.
I was in need of a new camera cart and portable workstation recently, but had an issue—giant carts don’t fit in my car. In the past, I’ve built and used my own Rubbermaid utility cart that I customized. It was a good solution on flat studio surfaces, but traveling with it was the worst. I even used a cheap hand truck, which I managed to bend by putting too much weight on it.
The first thing I did was look into new camera carts and, to no surprise, they were well out of my price range. So, I did the next best thing and looked at new DIY options. The first step was going to hardware stores and seeing their options.
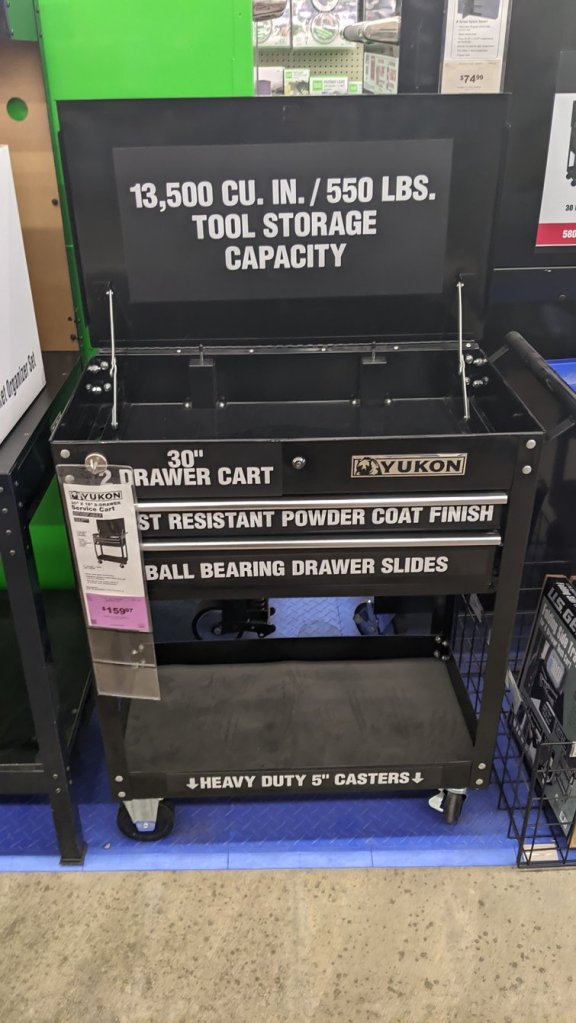
I found a few cheaper options at Harbor Freight that made sense but still wouldn’t work if I needed to travel with them. They had numerous plastic and metal carts and rolling toolboxes that would work nicely in a fixed location, but I needed something on-the-go.
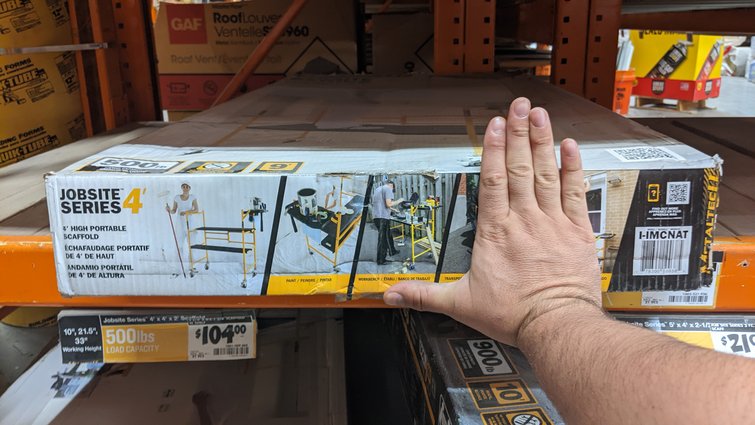
Then I remembered a video I had seen from cinemaK about a build he put together using some scaffolding. I went to Home Depot and found the scaffolding and got to work.
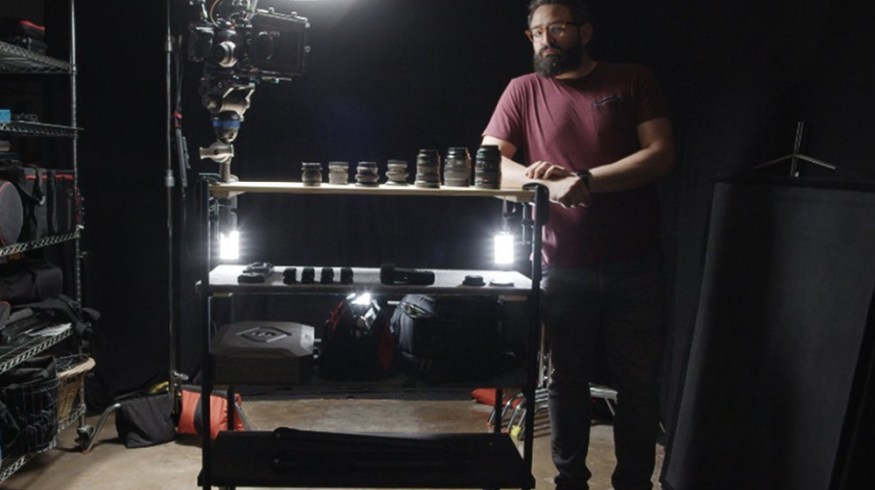
1. Collapsible Camera Cart / Editing Station from Scaffolding – Film Bodega
When I went back to look for his tutorial, it was no surprise that a few other filmmakers were inspired by his build and built their versions of this camera cart. In the end, I went with a hybrid of things I liked from all of these builds and made a few of my modifications because it’s all about building the tools you need for yourself.
You can get the scaffolding for $104 and then upgrade things like wheels and shelving as you need. If you want a complete step-by-step breakdown of building the cart and shelves, check out this post.
There are several more variations of this build you can look at and get inspired by linked below:
- Camera Cart: Folding, Aluminum, CHEAP – cinemaK
- The Ultimate DIY Film Cart – Aram Atkinson
- DIY Film Cart Under – Endure Films
2. The Classic Custom Rubbermaid Utility Cart – cinemaK
This is another great DIY build from cinemaK, and I think one that influenced my original Rubbermaid cart years ago. I feel like the two of us are just intertwined in trying to find solutions for our everyday problems.
If you’re reading this, you are my hero.
One of the huge advantages of using a Rubbermaid Cart as the base of your build—aside from the price point—is the ability to customize the cart without a lot of expensive specialist tools. All you really need is a Dremel and a good drill. Because it’s plastic, it makes it a much easier canvas to work with than a metal cart.
This is definitely more of a heavy-duty customization, and you can go simpler to start by just changing out the wheels or screwing on some hooks for hanging wires or sandbags.
One of my favorite hacks from this video was routing out the lip of the bottom shelf for easier gear loading and removal.
If you’re in any filmmaker groups or online communities, you’ll see dozens of people sharing their DIY utility carts. It’s one of my favorite topics that always comes up because nearly every department on set has use for these carts, and they all customize them in their own ways.
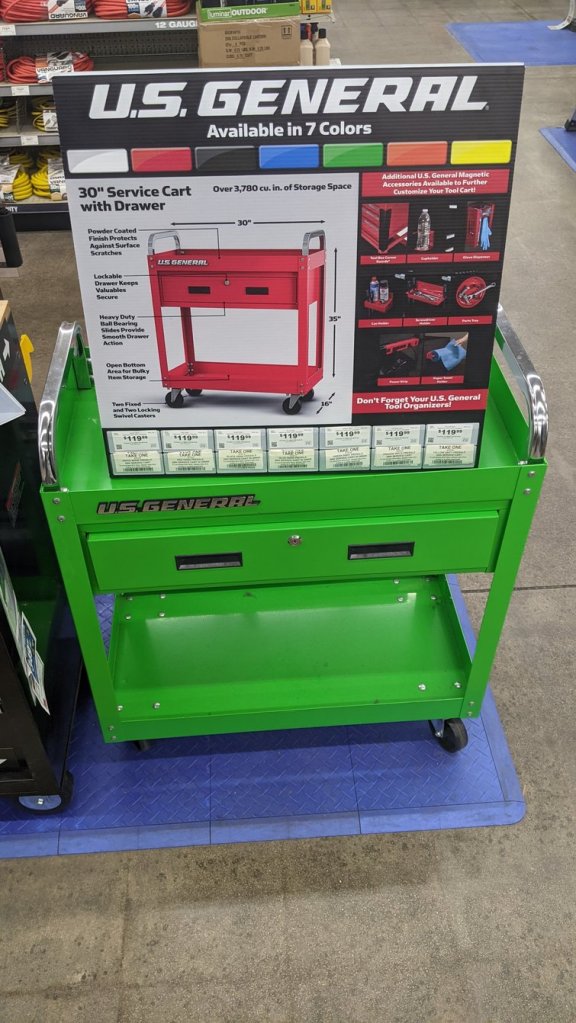
3. Small Metal Equipment Cart – The Film Look
The duo over at The Film Look used a metal cart similar to the ones I first found at Harbor Freight. They added some carpet lining, camera tools, a charging area, and more. It’s a clever build that may work for you, if you have the space to transport it.
A carpeted surface is an upgrade I believe all these carts can benefit from to be a functional tool on set. With any production, you’ll have several lens changes throughout the day. Having a carpeted area in your mobile filmmaking workstation is vital to keeping your glass safe.
Ensure you preserve and maintain your carpeted surface by giving it a shake or taking a hand vacuum to it after each shoot. This build is nice because it provides a lip around the carpeted surface, making it slightly more secure and less likely that a lens could be knocked off of it on a busy set.
4. Converting a Hand Truck or RocknRoller Cart – Cammon Randle
Another popular option is converting hand trucks into workstations, especially the four-wheel Magliners. Those are a very popular on set.
For a “cheaper” option, you can also look at the collapsible RocknRoller R12, which I’ve used several times. RocknRoller makes a good cart, but I don’t care much for their own shelving—you’re better off making your own shelves for their carts.
Making a shelf is more simple than you might think. As you’re making your plans, think about how the different levels might benefit from a lip or specific color finish. Always make sure you add braces on the underside of your shelving so they cannot slide off.
A little wood glue and a few screws and nails, and you have yourself a custom shelf! Home Depot and Lowe’s will trim pieces of wood for you in-store, so even if you don’t have direct access to a table saw, creating shelves is entirely possible.
5. Custom Folding Utility Cart – DSLR Video Shooter
This is an excellent build from DSLR Video Shooter on tricking out a collapsible utility cart into an all-in-one portable studio for online content and quick on-camera setups. It’s just not a cart that’s heavy-duty enough to also transport all of my gear to and from location.
I love this build for content creators who might be in a tight space or don’t have room for their studio. You can easily roll this setup in and out of a garage or closet to store away when you aren’t using it. It also allows you to vary your background. Visual interest is key in digital content, so having dynamic locations with limited space could be a game-changer.
For more DIY filmmaking tips, tricks, and advice:
- How to DIY a Green Screen on a Budget
- The Lost Joys of Using DIY Filmmaking Equipment
- DIY Roger Deakins-Style Ring Light
- 7 DIY Filmmaking Projects You Can Complete in a Weekend
- How Music Helped to Motivate This DIY Coronavirus Documentary
Cover image via FilmBodega.