DIY Filmmaking: Build a $60 Dolly for Lightweight Cameras

Build a very basic dolly rig for DSLR and mirrorless cameras for under $60.
All images and GIFs via David F Sandberg/ponysmasher
Lights Out director David F Sandberg shows you how to build a very simple DIY dolly rig in one of the best tutorial videos ever made. Seriously. Can we just go ahead and make all video tutorials like this? Here is the video from his ponysmasher YouTube channel.
These are the supplies and steps you need to know and follow.

Supplies (~$58.44)
- Wood (Big enough to hold your extended tripod)
- 4 Corner Brackets
- 8 Bolts and Nuts
- 8 Wood Screws
- 8 Skateboard Wheels
- PVC Pipe

1. Attach the four corner brackets to the piece of wood using the wood screws. Trim the excess screws off with a saw.

2. Attach two skateboard wheels to each of the brackets. (Remember to do this after attaching the brackets.)

3. Place the wood platform with wheels on the PVC pipe.

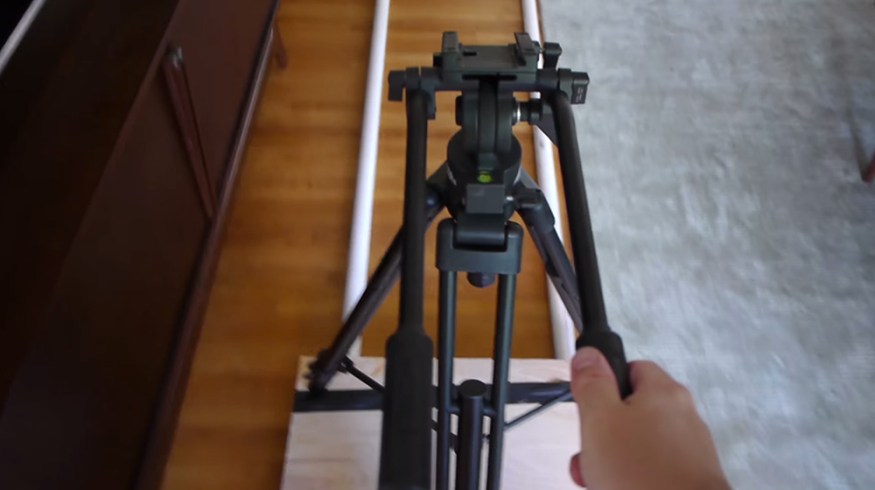
4. Place your tripod on the wood platform. Tape into place to firmly attach it. Add your camera to the tripod and you’re done.

If you need to extend your rails, connect multiple pieces of PVC pipe together. It’s easier to transport shorter pipe with connectors, rather than trying to lug around and transport long pipes. Be sure to connect through the inside of the pipe to keep the dolly smooth.
If the PVC pipe is thin and flexible, you can slice a short piece of PVC open and stick it in between two longer pieces.

If the PVC pipe is thicker, get a smaller pipe to slide inside. You can use gaff tape to make a point for the pieces to connect.

Now, like Sandberg said, this isn’t going to hold an ALEXA or studio camera. It’s great for mirrorless, DSLRs, or lightweight Blackmagic cameras.

Now take Sandberg’s advice and go make movies, not excuses. Well, also make the dolly, too.

You can download both of Sandberg’s posters here.
Want more DIY filmmaking? Be sure to check out all of our DIY posts and keep up with the blog for more.