
How to Export and Import Presets for Adobe Media Encoder
Learn how to export and import presets for Adobe Media Encoder with this helpful video tutorial. Plus, free presets!
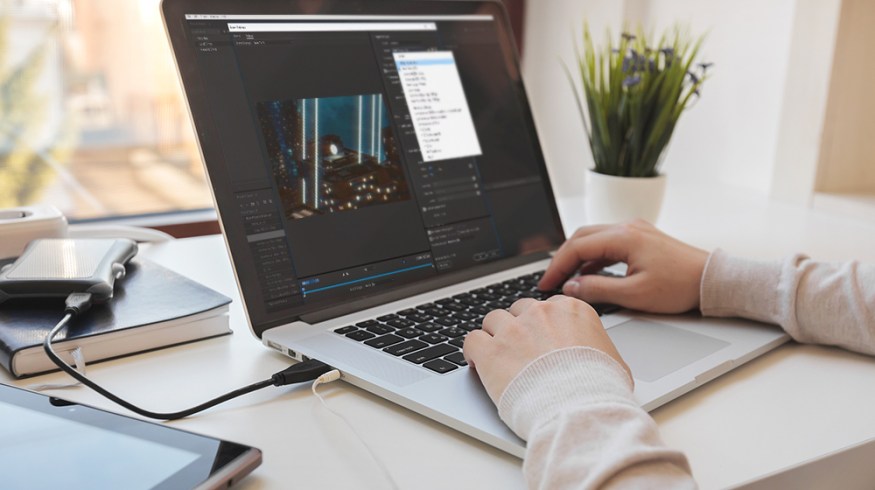
Using presets with Adobe Media Encoder is a great way to save time when you are working with a production team or a client. You may already be familiar with creating your own presets in Adobe Media Encoder, but many people don’t realize you can also export and import custom presets. I do this all the time when I need a client to send me footage with particular specs. It is a lot easier to email them a preset file that they can import into Media Encoder and then simply drag and drop the footage to export it correctly. The alternative would be emailing them a long list of settings, which introduces room for error.
You can also use this method if you switch editing computers and you need the presets from the old machine. Now, you can quickly export all of those presets and import them in Media Encoder on the new computer.
Download the Free Media Encoder Presets
To download the free Media Encoder Presets mentioned in the tutorial above, simply click the following download button.
DOWNLOAD FREE MEDIA ENCODER PRESETS
The Keys to Exporting and Importing Presets
The following points can help you when you create presets with Adobe Media Encoder:
- Before you create a preset, double check your settings (such as frame rate and aspect ratio).
- Check the estimated file size at the bottom of the export settings.
- Keep preset names simple and easy to identify.
Have any tips for creating presets with Adobe Media Encoder? Share in the comments below.


