
Export YouTube-Ready Subtitles Directly from Premiere Pro

Streamline your workflow and expand your YouTube audience by exporting Youtube subtitles straight from your Premiere Pro project.
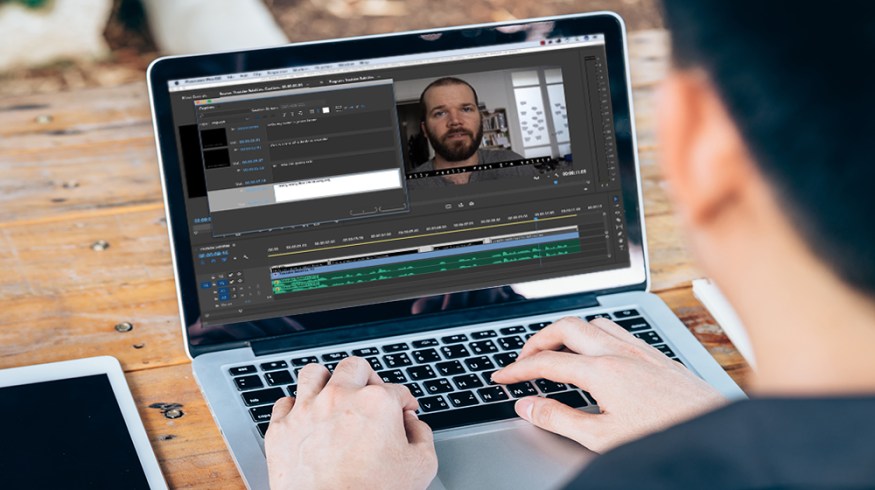
Cover image via Shutterstock.
Adding subtitles to your Youtube videos can help you significantly increase your video’s reach. There are a variety of different ways to add subtitles to your videos, including adding them directly on YouTube. Premiere Pro also offers many tools that let editors quickly add and export captions in various methods. One of those methods includes exporting a caption file that is perfectly formatted and prepared for upload to YouTube. Let’s take a closer look at how we can create a caption file in Premiere Pro and then upload it directly to YouTube.
Create a New Caption File
I have a 10-second test clip in Premiere I’ll be using. To create a caption file, I’ll first click on the new item button in the Project panel and select Captions. I have four different options from which to choose when creating a new caption file. Both CEA-608 and Teletext work best when exporting for Youtube, so I’ll go with CEA-608 and select OK. Premiere will create a new caption file in the Project panel, which I can then drag over my clip in the timeline. Now I’m ready to add text.

Add Text
Working with captions in Premiere Pro is quite nice once you get everything properly set up. In order to add text to my new caption file, I first need to open up the Captions panel. I can do this by simply double-clicking my caption file, or I can go to Window > Captions. Now I can begin to type in text and add additional captions with the plus button. I can time and position each caption by dragging the black slider bars on the caption clip in the timeline panel. To view the captions in the Program monitor, I need to click on the wrench icon and select Closed Captions Display > Enable. After this, I need to go back into the same display settings and make sure to select CEA-608.

Export
Now that I have all of my captions in place, it’s time to export my files. I’ll press command+M to bring up the export settings dialog box. There’s a Captions tab in the middle of the dialog box where I can specify how I want to export my files. For Export Options, I’ll select Create Sidecar File and for File Format I’ll choose SubRip Subtitle File (.srt). This file format is one of many formats YouTube accepts. Once it’s exported, I’ll have a separate sidecar (.srt) file ready for upload.

Upload to YouTube
After I’ve uploaded my video to Youtube, I’ll go to the Subtitles/CC section, where I can select Add new subtitles or CC. Once I select English, I get a window prompting me to Upload a File. I’ll specify Subtitles File and then choose my .srt file. Youtube has already autogenerated some captions for me, so I’ll need to overwrite these with my own file. After the upload, I can see my captions in the Transcribe and set timings window in Youtube. Here I can choose to further edit and retime any captions.

Looking for more YouTube tutorials? Check out these articles.


