
Moving Projects From Premiere Pro to DaVinci Resolve Without Rendering

Color grading long, extensive projects is made easy with this simple solution for moving from Premiere Pro to DaVinci Resolve without rendering.
Top image via Shutterstock
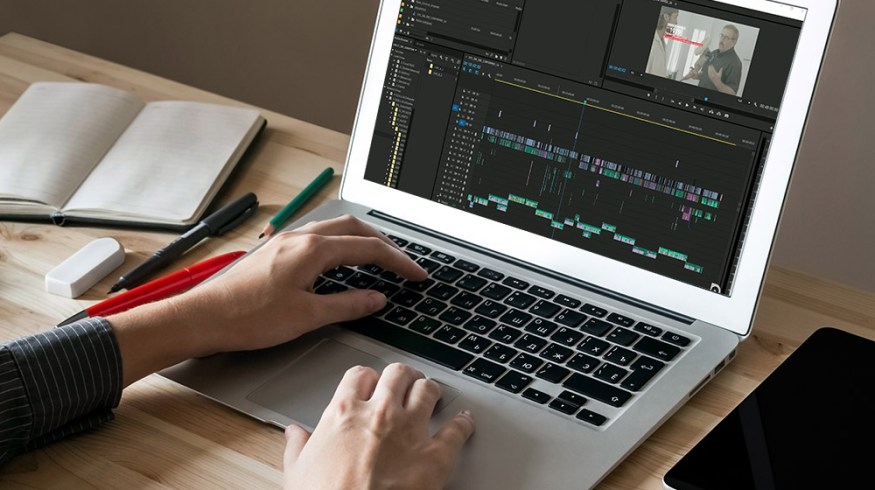
In this jam-packed tutorial, D.L. Watson details the process of working with a long project that needs to be moved from Premiere Pro to DaVinci Resolve for color grading. This process has proven to be extremely tedious and frustrating and there’s plenty of room for malfunctions.
Following the steps below, you’ll be able to edit your video and make changes in DaVinci Resolve before the rendering process, therefor saving lots of time (and sparing your sanity).
How to Move Projects From Premiere Pro to DaVinci Resolve Without Rendering
Let’s take a look at some of the key points made in Watson’s tutorial.
Step 1: Duplicate and Clean Up Timeline

Getting rid of all the extra stuff like lower thirds, audio, and graphics is the first step. Start by duplicating your timeline, renaming the new one for the necessary color correcting identification.
Open up the duplicate timeline and get rid of all the extra media you don’t need in DaVinci Resolve, as well as all audio/music. Make sure you’ve unlinked everything before doing this, obviously. Next, delete all the empty tracks (for cleaning up purposes).
Step 2: Export Project to Final Cut XML
Export the Project to Final Cut XML and save it to your Desktop.
Step 3: Open DaVinci Resolve

Open up DaVinci Resolve. Make sure the drives are associated with the correct clips that you’ll be importing.
For Mac: Go to Preferences. There will be an option to assign the media to the correct drive.
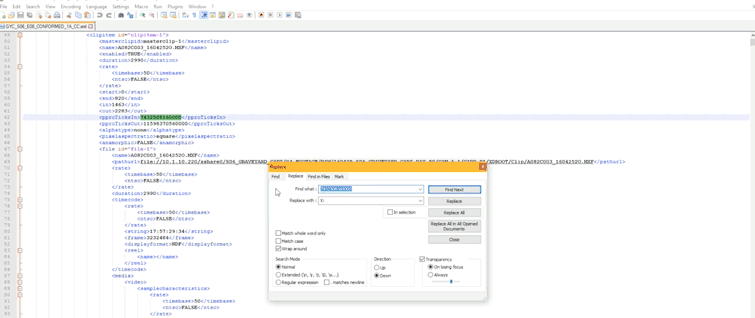
For Windows: Resolve will look for a drive letter. When you import the XML, you’ll most likely see a message telling you that the clips you’re trying to import can’t be found. Don’t fret! Open the XML in Notepad ++, a free program you can download here. Under the PathURL you’ll find the name of your drive.
Since Watson is using multiple drives, he does a quick Find and Replace for the drives, renaming them to what they should be and then does a Replace All. After you’ve done the same, hit Save and then re-import.
This option provides an immediate notation under the clips explaining exactly where it came from and the type of clip its is, whether it be MPEG or H.264. Not only will you be saving two renders, you can work the footage in a more knowledgable, efficient fashion.
Have you run into troubles with making the move from Premiere to Resolve before? Share in the comments below.


