

Create Glass Effects in After Effects
In this video tutorial, learn the basics of creating stylish glass effects in After Effects. Includes free project files!
In this tutorial, we’ll learn the ins and outs of creating different glass effects in After Effects. We’ll learn the basics with a simple glass-wipe accent effect. Then, we’ll dive deeper into creating some frosty-textured glass and learn how to add glass into a 3D tracked scene.
Don’t forget to download the free project file so you can follow along!
Ready? Let’s get started!
Download the free project files from below and follow along with the tutorial to create your own glass effect.
DOWNLOAD THE PROJECT FILE HERE
By downloading, you agree not to resell or redistribute these free assets.
Creating the Look of Glass
Let’s create a glass-wipe accent on our footage to learn the basics. (You often see effects like this on sports highlights.)
First, we need to create an Adjustment Layer above our footage. Next, resize the Adjustment Layer by scaling in the sides, extending the top and bottom, and then rotating it about 30°.
Now apply the Transform effect and set the Scale setting to 110. This will help emulate some refraction.
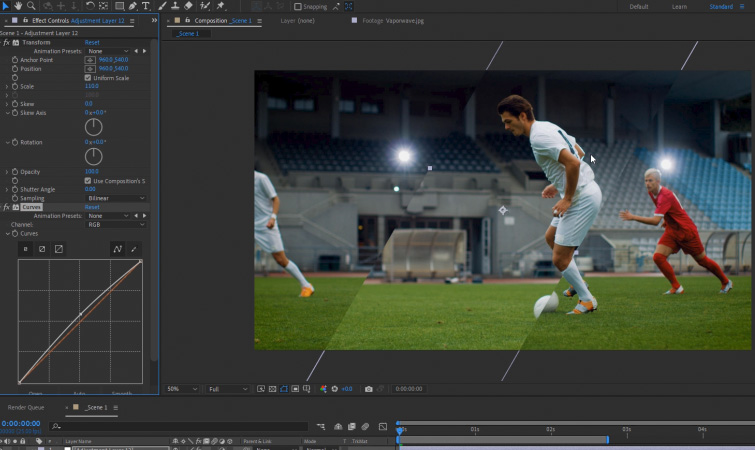
Next, let’s apply a Curves effect and slightly brighten up the footage. This will help our “glass piece” stand out from the background footage.
Now, all we need to do is keyframe the Position of the Adjustment Layer to move across our footage.

To enhance the glass-wipe even more, duplicate your Adjustment Layer and scale it in on the sides, making it a little thinner. I also recommend offsetting the timing of the second Adjustment Layer a little bit on the timeline.
Now, apply a Fast Box Blur effect to the second Adjustment Layer. Set the Blur Radius between 5 and 10. To enhance the look, even more, I recommend applying the free plugin Quick Chromatic Aberration from Plugin Everything.
Now the glass-wipe accent will have a much more layered look!

Adding Texture to Glass
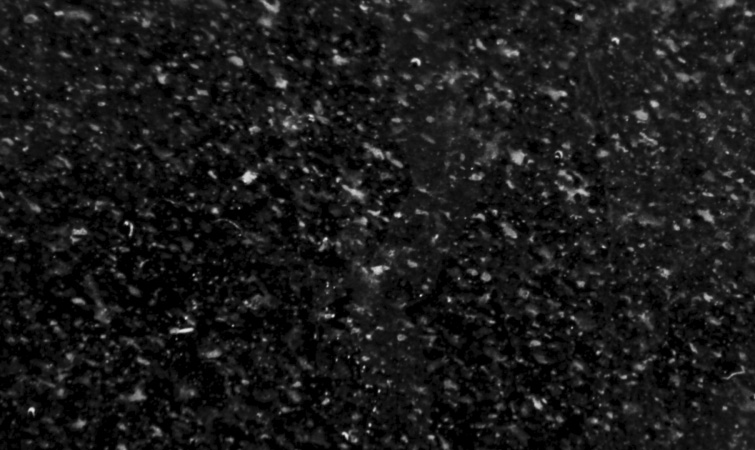
To add texture to your glass layers, first, you’ll need a texture image. (A free one is included in the project file!) The two best effects for adding our texture to a layer are Displacement Map and Compound Blur.
Simply add the texture image into your composition, and then set the Blur Layer for the effect to be the texture image.
However, this method only works if the glass layer is static on screen. More steps are required if the texture moves with the glass layer.
Animating Textured Glass to Move
To create textured glass that moves, first add your texture image into your composition. Then keyframe the animation of the texture image. (This will become the glass layer later.)
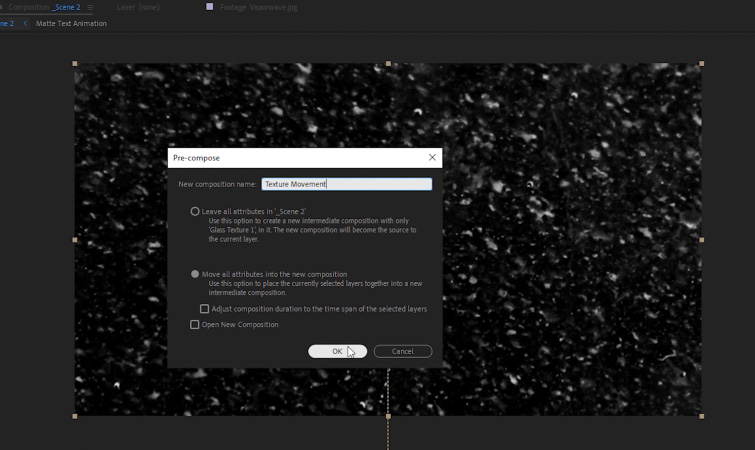
Then, duplicate the texture image, precompose one of the copies, and name it Texture Movement. (Make sure “Move all attributes” is checked when you precompose.)
Now you can turn off the visibility of the Texture Movement comp. Next, convert the Texture Image layer into an Adjustment Layer by turning on the Adjustment Layer Switch for the image in the composition timeline.
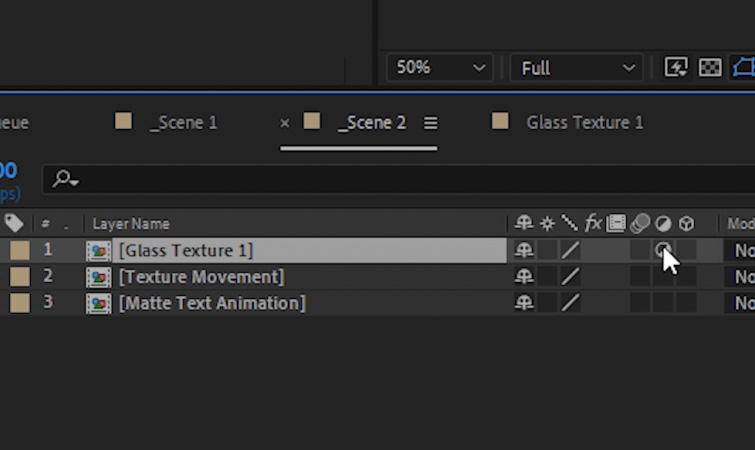
Now the texture image will act as our glass layer. You can apply the same glass effects as before, such as Transform, Curves, and Fast Box Blur.
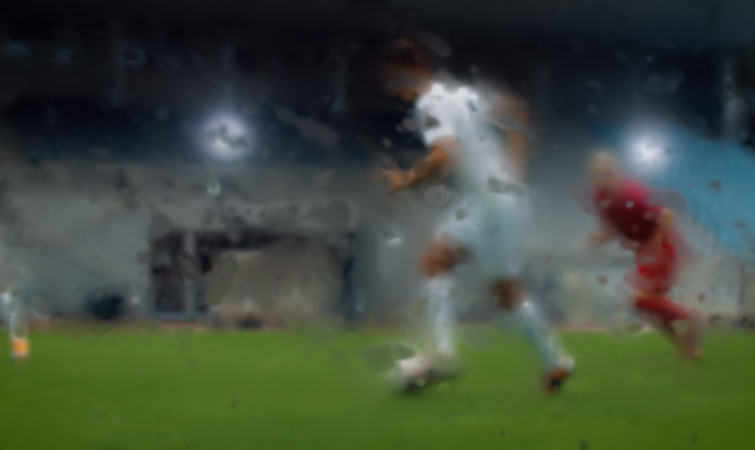
Finally, apply Displacement Map and set the Displacement Map Layer setting to be the Texture Movement composition and set the Max Horizontal Displacement to 25.
Now the glass texture should appear as if it’s “sticking” to the glass as it moves on screen.
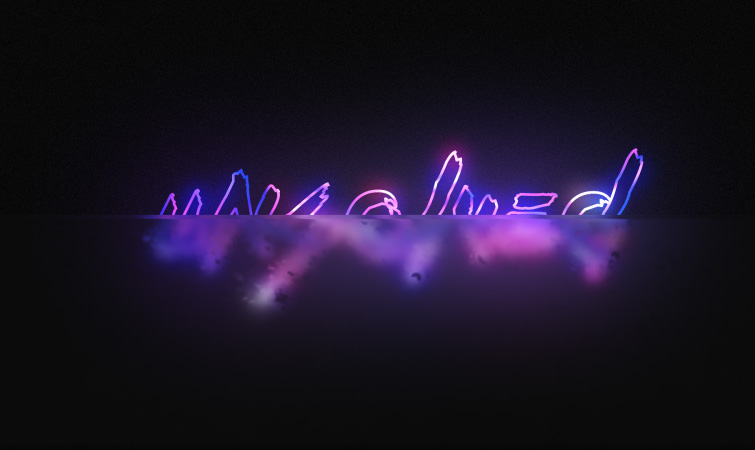
If you’d like to learn how to create titles like the one featured in this tutorial, check out our tutorial for “Creating Matte Text Animations in After Effects.”
Adding Textured Glass into 3D Space
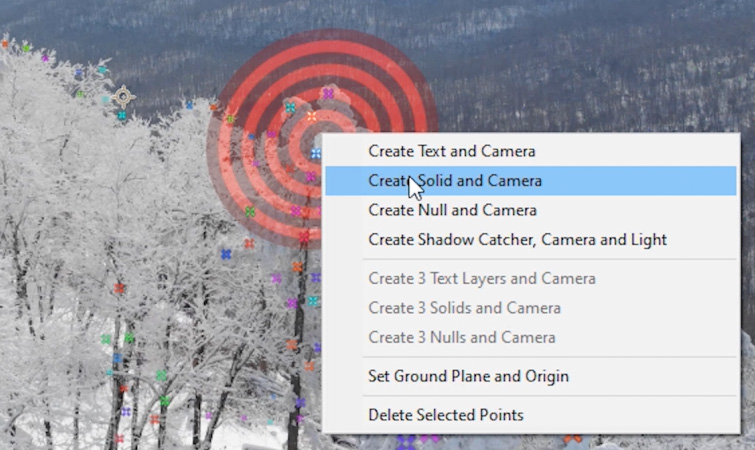
Adding textured glass into 3D space requires similar steps as before. First, you’ll need to 3D Camera Track your footage. (The Solid layer is just used for a reference so that you can delete it at any time.)
Then, you’ll need to right-click on some track points to create a Solid and a Camera.
Next, add in your texture image and make it a 3D layer. Then position it where you want it to be in 3D space. Once you have done that, duplicate the texture image and then precompose it.
Name it 3D Texture Movement. Then turn on the Collapse Transformations Switch for that composition. You can also turn off the visibility for the comp.
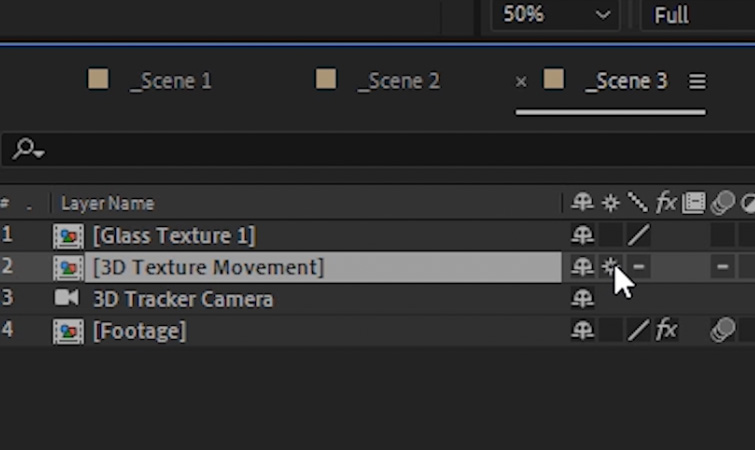
You can now turn it into an Adjustment Layer on your initial texture image by turning on the Adjustment Layer Switch. Now, apply the same glass effects as before, such as Transform, Curves, and Fast Box Blur.
Finally, apply Displacement Map and set the Displacement Map Layer setting to be the 3D Texture Movement composition. You should see the texture sticking to your glass in 3D space.
Interested in the royalty-free tracks we used to make this video? Give them another listen:
- “Only One Day” by Artlss
- “Miami Nights” by Ben Beiny
- “Dream Waves” by Cymatix
- “Chill Off” by Make Music


