How to Key Green Screen Footage in Final Cut Pro X
Trying to get the perfect chroma-key for your project? Learn the best way to remove a green screen in Final Cut Pro X.
As NLEs have become more user-friendly over the years, green screen technology has become more accessible to everyday content creators. You don’t need a studio or a big editing rig to get it done. For most programs, it only takes a few clicks to get the desired effect. In this walkthrough, we’re going to show you how to chroma-key a green screen in Final Cut Pro X.
Let’s get started!
Step 1: Record/Import Green Screen Footage
A good chroma key always starts off with good green screen footage. If you’re recording your own, there are a few key things you need to remember to get a solid shot that will make your life easier in post:
- The lighting must be even.
- The lighting must be soft and diffused.
- The green screen must be lit separately from the subject
A soft, diffused light is going to distribute light evenly across your entire background. If you use a hard source, chances are you’re going to get a hot spot somewhere on your green screen, which is going to make keying a lot harder. With soft light, you’ll get a solid, even color across the screen, which makes keying a breeze. The best way to accomplish this is to use a separate light for your green screen so you can control the source without affecting the subject. In my opinion, Quasar lights are the best option to get a nice, even light across your background. (If you want more tips about how to record green screen footage, make sure to read our definitive guide on everything you need to know regarding green screens.)
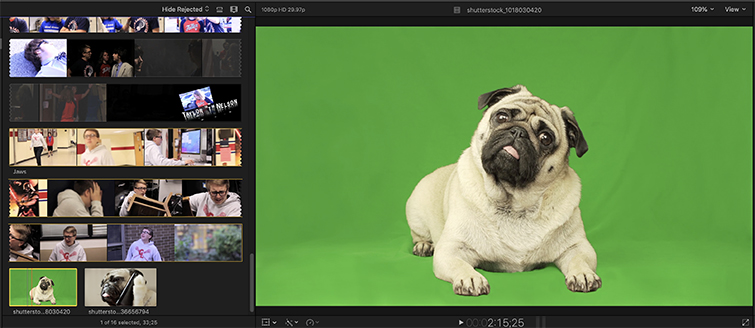
When you’ve recorded your green screen footage (or downloaded it from a royalty free video site), import it into Final Cut.
Step 2: Adding the Keying Effect to Your Clip
Lucky for all of us, Final Cut Pro X has some of the easiest keying features of all the NLEs on the market. 90% of the time, it’s just one simple click, and you’ve got a perfectly keyed image.
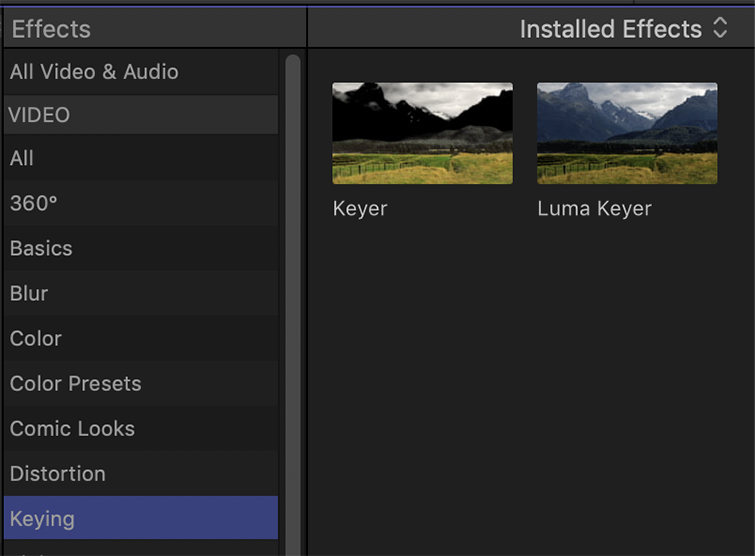
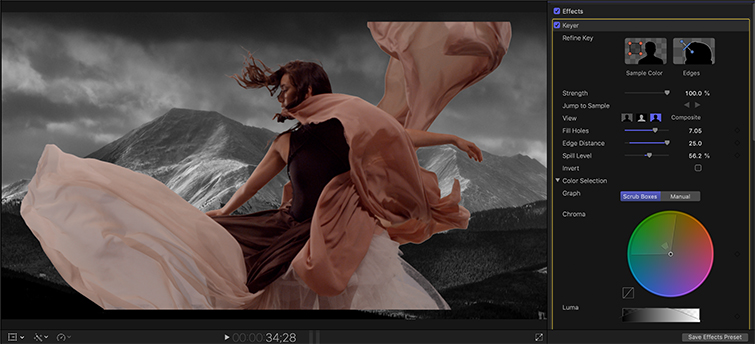
Once you have your clip in your timeline, open up the Effects tab on the right side of the page. Highlight the Keying section, and you’ll find an effect called Keyer. Drag that over to your clip and place it on top. Now hopefully, it should work instantly, but sometimes, you’re going to have to put in some work to get a solid key.
Step 3: Cleaning Up and Managing a Tough Chroma Key
If you didn’t get a clean key on your first go-round, it’s time to hop into the settings and shift some things around.
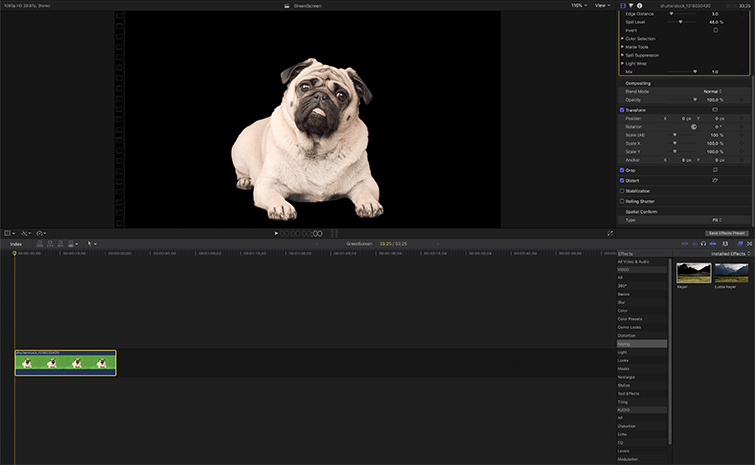
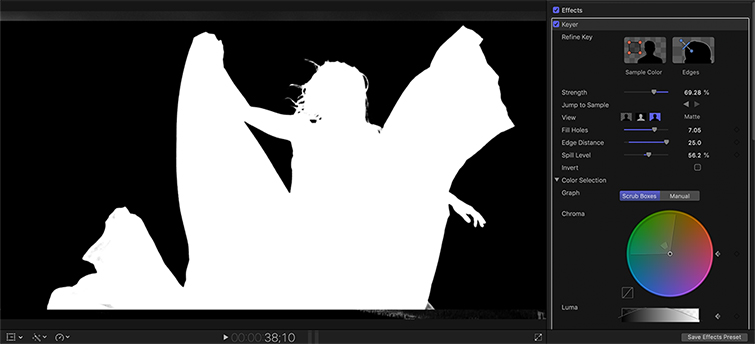
First, you’re going to want to work with the strength slider. This will change the intensity of the key, and hopefully clean up any spill or soften the edges of your clip. To see a high-contrast view of your subject, you can select the Matte button on the effects to get a black and white view of your key to really focus on the edges.
If you have hot spots on your green screen, which changes the color on different areas of the key, try using the sample color box on the Keyer effect. This will allow you to select specific parts of the green screen that may have differences in color. If you’re still having trouble, the chroma wheel is a good tool to use to home in on the scope of your color selection — or you can even slide around the spill contrast slider to really key in on those edges.
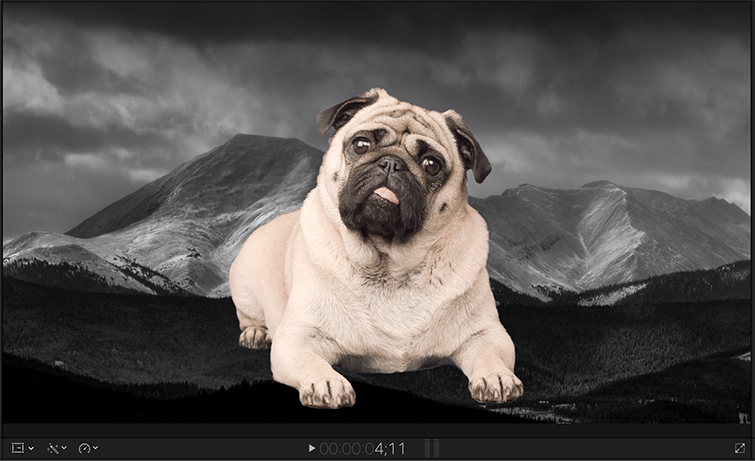
Now, hopefully, you’ve got yourself a solid chroma key and a singled-out subject that will blend in nicely with your background.
A little tip: if you want to separate the subject from the background, add a little blur onto your background to get an in-camera focal distance effect.
Looking for more on working with green screens? Check out these articles.


