5 Production Tips for High Frame Rate Videography
Here are five tips on how to get the most out of your high frame rate videography when shooting at 60 frames per second and higher.
Cover image by REDPIXEL.PL.
When diving into videography with your favorite digital camera — whether that’s a Canon DSLR or a mirrorless offering — you’ll have some decisions to make about the frame rate you’re going to record at. If you’re planning to eventually export your final projects at 24fps or 30fps (the former being your most cinematic choice), shooting at 60fps or higher offers some interesting possibilities for your project, but also a few workflow issues.
Let’s explore the five things you need to know about shooting at 60fps or higher in your video projects.
1. Know Your Pixel Drop-Offs
![]()
Image by ponsulak.
Camera technology is advancing at crazy rates. What once seemed unthinkable has now become the norm: ridiculously high-quality recording at high frame rates. Panasonic’s new GH5, for example, actually offers 4K recording at 60fps, while other comparable cameras offer high definition where they hadn’t before.
So, when looking at your camera’s settings, check your pixel drop-offs. For example, here are your drop-offs for the Sony a7S II, which shows pixel recording sizes at different frame rates. If you’re going to record at 60fps (or in this case, up to 120fps), your drop-off is going to still be HD at 1920 x 1080p.
- 3840 x 2160p at 23.98/25/29.97 fps (100 Mb/s XAVC S)
- 3840 x 2160p at 23.98/25/29.97 fps (60 Mb/s XAVC S)
- 1920 x 1080p at 100/120 fps (100 Mb/s XAVC S)
- 1920 x 1080p at 100/120 fps (60 Mb/s XAVC S)
- 1920 x 1080p at 23.98/25/29.97/50/59.94 fps (50 Mb/s XAVC S)
- 1920 x 1080p at 50/59.94 fps (28 Mb/s AVCHD)
- 1920 x 1080i at 50/59.94 fps (24 Mb/s AVCHD)
- 1920 x 1080i at 50/59.94 fps (17 Mb/s AVCHD)
- 1920 x 1080p at 23.98/25 fps (24 Mb/s AVCHD)
- 1920 x 1080p at 23.98/25 fps (17 Mb/s AVCHD)
- 1920 x 1080p at 50/60 fps (28 Mb/s MP4)
- 1920 x 1080p at 25/29.97 fps (16 Mb/s MP4)
- 1280 x 720p at 25/29.97 fps (6 Mb/s MP4)
2. Choose Your Optimal Frame Rate Performance

Image by structuresxx.
Once you know your drop-offs, you can decide what your optimal frame rate will be. If your goal is to get the necessary information for slow-motion footage, these higher frame rates will be your best option for limiting information loss. The Canon 5D Mark IV for example, offers 60fps recording at 1920 x 1080p, but if you push to 120fps, it can only record at 1280 x 720p. So you may want to stick to the higher-quality 60fps option.
3. Understand Shutter Speeds
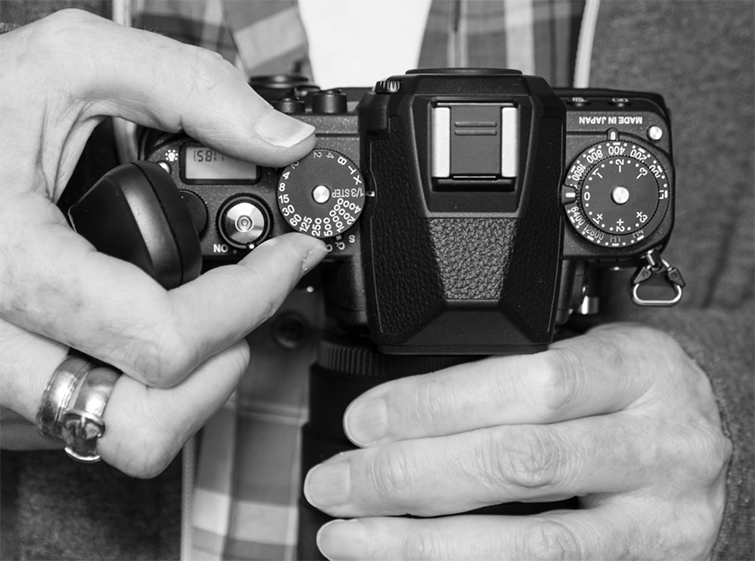
Image by Pepgooner.
From there, if you’re recording with shuttered cameras, you’re going to need to understand and adjust your shutter speed to accommodate your higher-frame rate recording. As a rule of thumb, you’re going to want to keep your shutter speed at approximately double your frames per second. So, if you’re shooting at 30fps, you’ll want 1/60th of a second. If you’re shooting at 60fps, you’ll need 1/120th of a second.
(Here’s a great resource on shutter speeds and how they work.)
4. Converting to 24fps
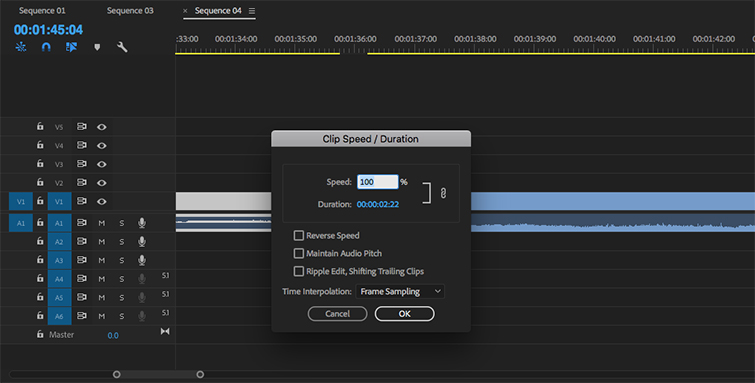
Before dropping your 60fps+ footage into Premiere Pro, you’ll need to decide what frame rate you’d eventually like to export at. If you’re looking for standard cinematic frames per second, creating a 24fps timeline will be your best bet. From there, you’ll be dropping in your higher fps footage, but just follow the prompts to keep the sequence settings as is (not changing to match).
From there, you’ll notice that you can stretch your 60fps+ footage to create slow motion-looking footage. However, you can speed it up to normal rates, too, if you’re not looking for slow motion in every instance.
5. Mixing Different Frame Rates in Premiere Pro
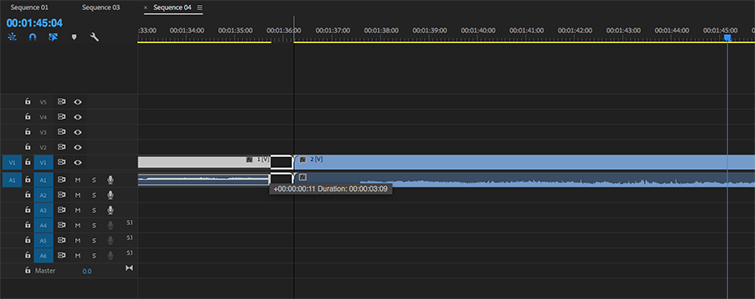
Working with different fps files on the same timeline can get tricky, but as long as your sequence is set to your ideal export frame rate, you’ll be able to work with the different frame rates to get them to match. Try out both manually, changing the speed from the options as well as the rate stretch tool to fill gaps.
For more high frame rate videography tips and tricks, check out some of these resources.


