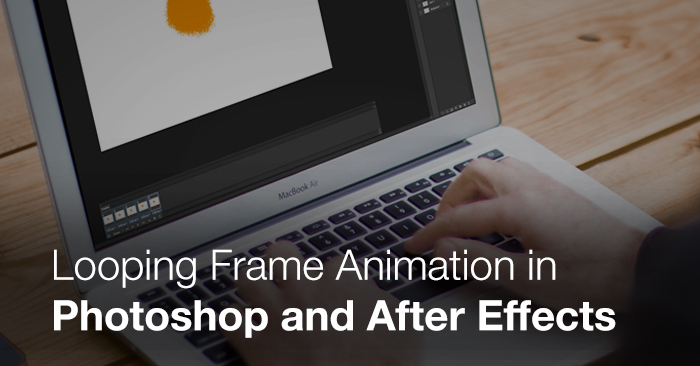
Looping Frame Animations in Photoshop and After Effects

In this tutorial, we’ll give your video a hand-drawn organic look using Photoshop and After Effects.
Creating a looping piece of frame animation that looks ‘hand made’ isn’t as hard as it may appear. Even if you don’t know how to draw, it’s easy to get that choppy classical animation feel from an abstract object….
In this tutorial, the example we’ll use is a simple ‘hand-painted’ squiggle:

Setting Up Your Project
The Photoshop project size is totally subjective (based on the After Effects project you end up working in). As someone who usually works with high definition files in Photoshop around 300-400 dpi, importing a file that big is usually unnecessary and slows the application down.
I went ahead and set this project up at 1920×1080 at 100 dpi. Click any of the images below for larger view:


Set Up Your Layers and Frames
In Photoshop, open up the Window>Timeline toolbar and make sure you are on ‘frame animation.’ The idea here is that you want to show a single layer per frame. Discounting the background layer, I make the same number of each (in this case five) and go through highlighting each frame and making only its corresponding layer visible.


Drawing on the Frames
Here is where you let your creativity shine. If you aren’t an illustrator, but still want that organic painterly feel, you can use preset brushes for a simple texture like I did here. I find it effective to change the shape just a little while drawing in the same spot for each frame, and saving all of the movement around the screen for After Effects. Once you draw your frames you can preview the animation by hitting the space bar.
Note: If you are familiar with Photoshop and would like use multiple frames to create a desired effect for a single frame, be aware that with this method you will need to merge your layers before exporting.

Prepping for Export
Next, change the frame rate of your animation by highlighting all your frames and right clicking at the bottom of one. You’ll want to change to a custom .08 per frame which translates to 12 frames per second (this is the standard animation frame rate). Before you export you’ll want to make all of your layers visible except for the background layer.


Layers from Photoshop
Dedicate a folder on your computer to this project and go to File>Scripts>Export Layers to Files… then check “visible layers only”. Choose a filename and export.


Import Frames into After Effects
Open After Effects and choose File>Import>File… then go to your folder and choose the first image. Click the “Photoshop Sequence” and “Force alphabetical order” boxes before importing. Then import it as footage with merged layers.


Now that you have your animation file in After Effects make some quick changes by right clicking on the file and choosing Interpret Footage>Main…
With this window open change the frame rate to 12 frames per second and loop the animation however long you need.


In this example we used a simple splatter, but this technique can be applied to simple character animation or title reveals as well. Experiment in Photoshop and After Effects to create your own unique animations.