

Photoshop Importing Workflows for Autodesk Smoke

There are few options when working with PSD files in Autodesk Smoke. Check out these workflows for importing your Photoshop files.
Working with Photoshop (.PSD) files in Smoke is very robust. You can import and work with multilayered files in the timeline and in Action via ConnectFX (CFX). Depending on what you need to accomplish, these unique workflows can offer some quick and easy ways to maintain the original PSD layout and use the layers independently. Click images below for larger image.
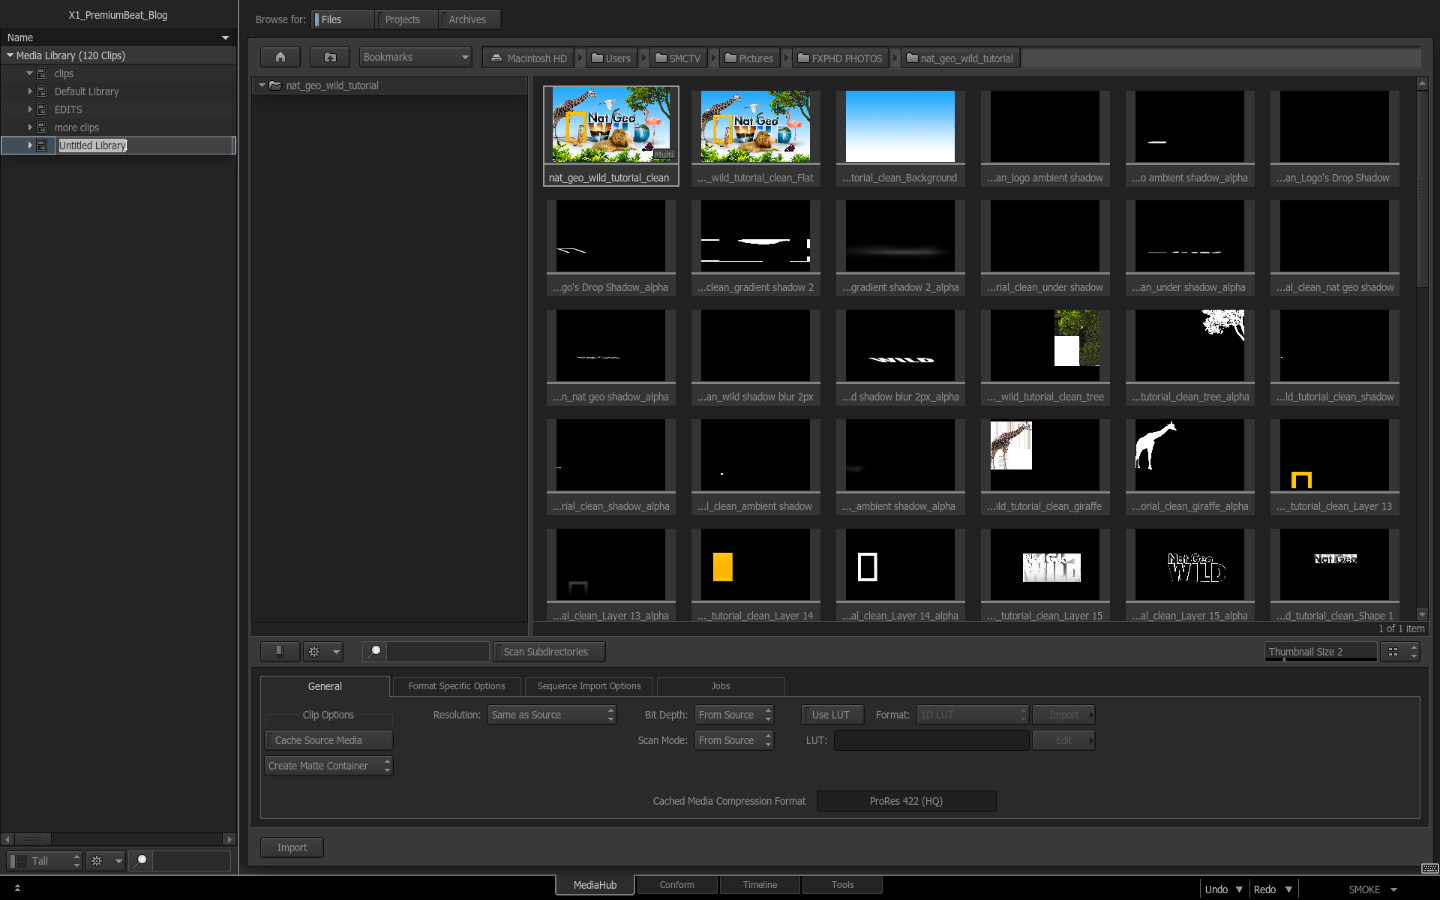
Importing via the MediaHub:
Using the MediaHub, navigate to your folder containing your PSD file. Multilayer Photoshop files will have a MULTI icon in the lower right of the proxy tile.

If you simply import this file as is, you will get all of the layers and their alpha channels. If there are multiple layers, and a lot of them, this will result in the creation of a large number of clips. Here are few best practices that will help your organization of PSDs in Smoke.
Import with the Create Matte Container Option
With this option enabled each layer will get imported with it’s alpha channel as a single clip. The clip will be a matte container and will have a ‘film strip’ icon in the Media Library.
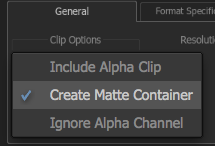
If you didn’t activate this option, then you will get a clip for each image and a separate clip for the alpha as an RGB clip. This was fine in the previous versions of Smoke (2012), but now that effects are timeline centric, a combined image/alpha clip works better on the timeline and in ConnectFX.
Create a New Folder or Library for the PSD
It would be nice if Smoke would create a new folder on it’s own, however you can drag and drop the file in to the empty area of the Media Library and it will create a new Library for your file.
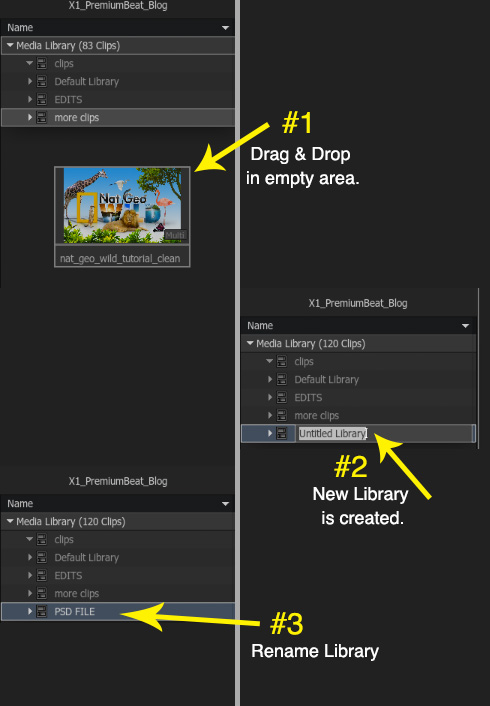
 Since PSDs can have 10’s of layers, keeping them separated in their own folder or library will greatly help your organization.
You will notice that when you import the files as layers, you also get a flattened version of the file with it’s combined alpha as well as the individual layers.
If you just want the flattened file, because you don’t need every layer separately, then you can click the MUTLI icon in the MediaHub and the clip will open up and display all of the layers so you can import just what you want. See how flexible Smoke is?
One other important option is that by default your PSD layers are imported to match the background or image size of your PSD file.
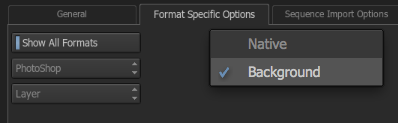
If you adjust the Layer option in the Format Specific Options Tab for Photoshop, you can import the layers at their native layer size. This will lose the relative screen position, but can make the image more useful in repurposing layer elements.
As great as the above workflow is, it isn’t very helpful if you need to maintain the composition of the PSD and keep the layers separate. In my opinion it’s better to import via CFX.
Import via Action and ConnectFX:
You can simply create a new sequence or find an empty GAP to create a ConnectFX on.
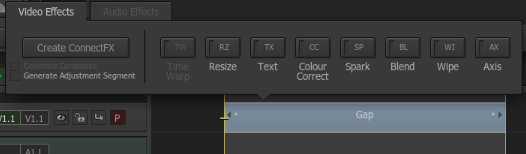
Add a CFX effect and add an Action to the CFX output.
Enter the Action Node Bin and double click the IMPORT Node.
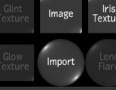
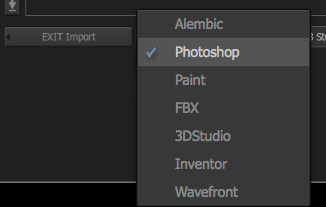
The Import Node is used to import Photoshop files as well as 3D models. Make sure that it is set to Photoshop as you navigate to the PSD file.
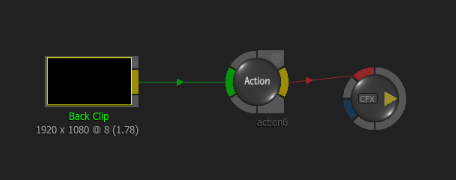
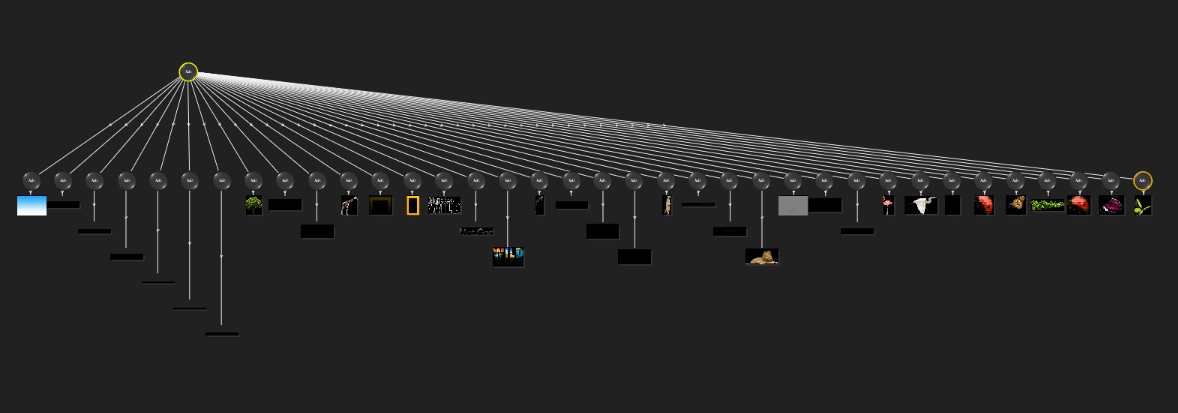
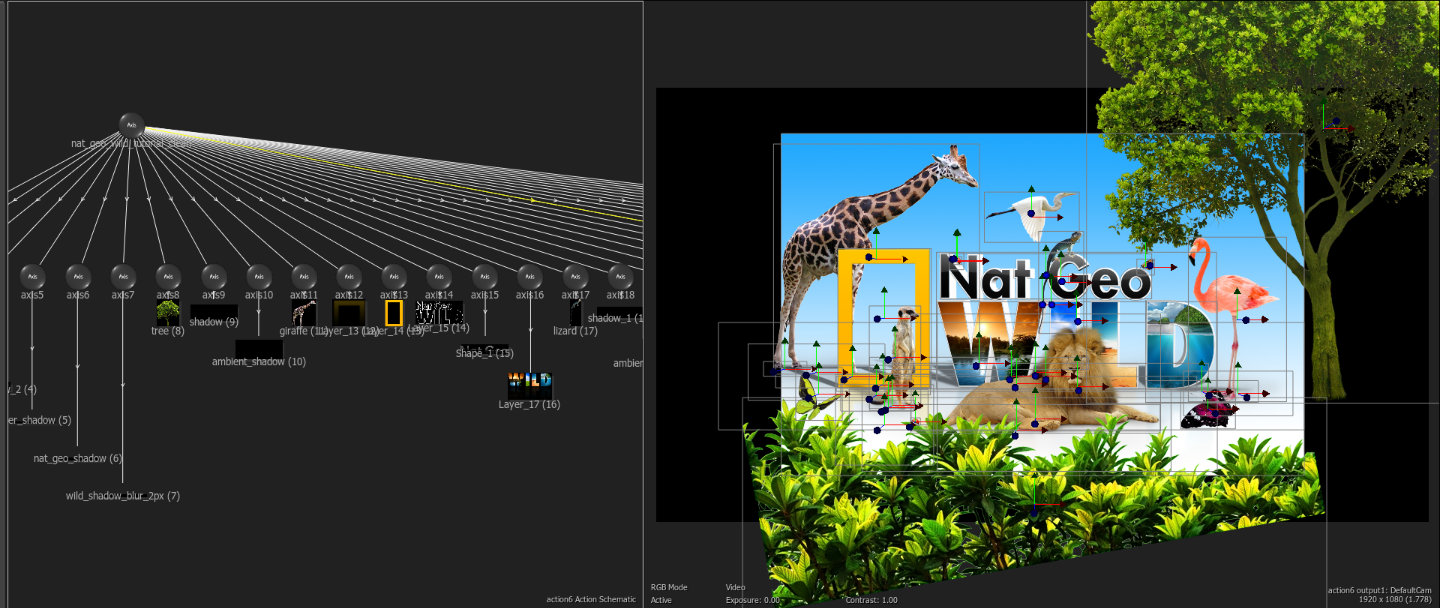
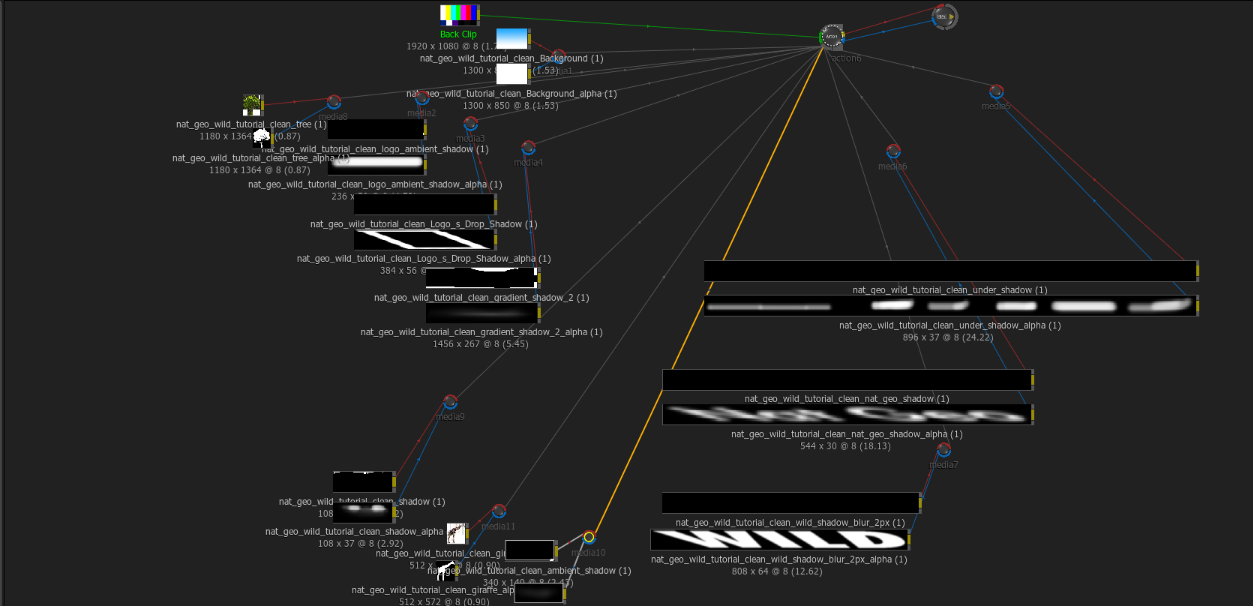
Once you find your file, click LOAD and Action will import each layer with this alpha and layer blend mode. Each layer will be linked to an AXIS and there will be a master controlling AXIS to move the entire comp.
Each Image layer has it’s offset positioning so that it matches the original file. You can use the axis for each layer to move it’s position and keyframe an animation.
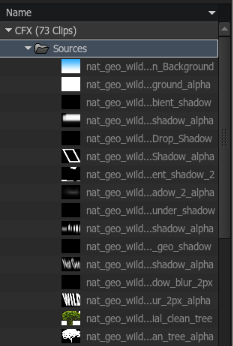
Now, these images/alphas are loaded directly into ACTION, you can see the clips in the Sources folder for your CFX Effect, but they are not a part of the Media Library, they exist only as media inside this CFX effect.
This is both good and bad. It’s good in that Smoke is managing the clips so you don’t have to, and bad in that you aren’t managing the clips, so you can’t use them in the timeline. You can simply copy the clips in the Sources folder into the Media Library if you do need the clips, to use on the timeline or inside other CFX effects.
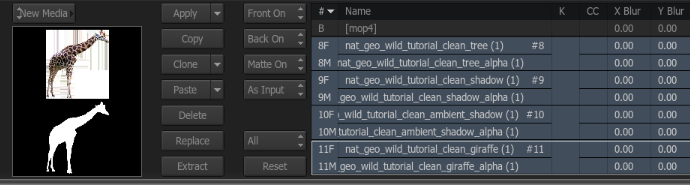
You will also notice that the clips aren’t accessible outside of Action. This can be easily addressed by selecting the layer or layers in the Media List and hitting the EXTRACT button. This will pop out the clip into your CFX schematic so that you can add other nodes to affect the image.
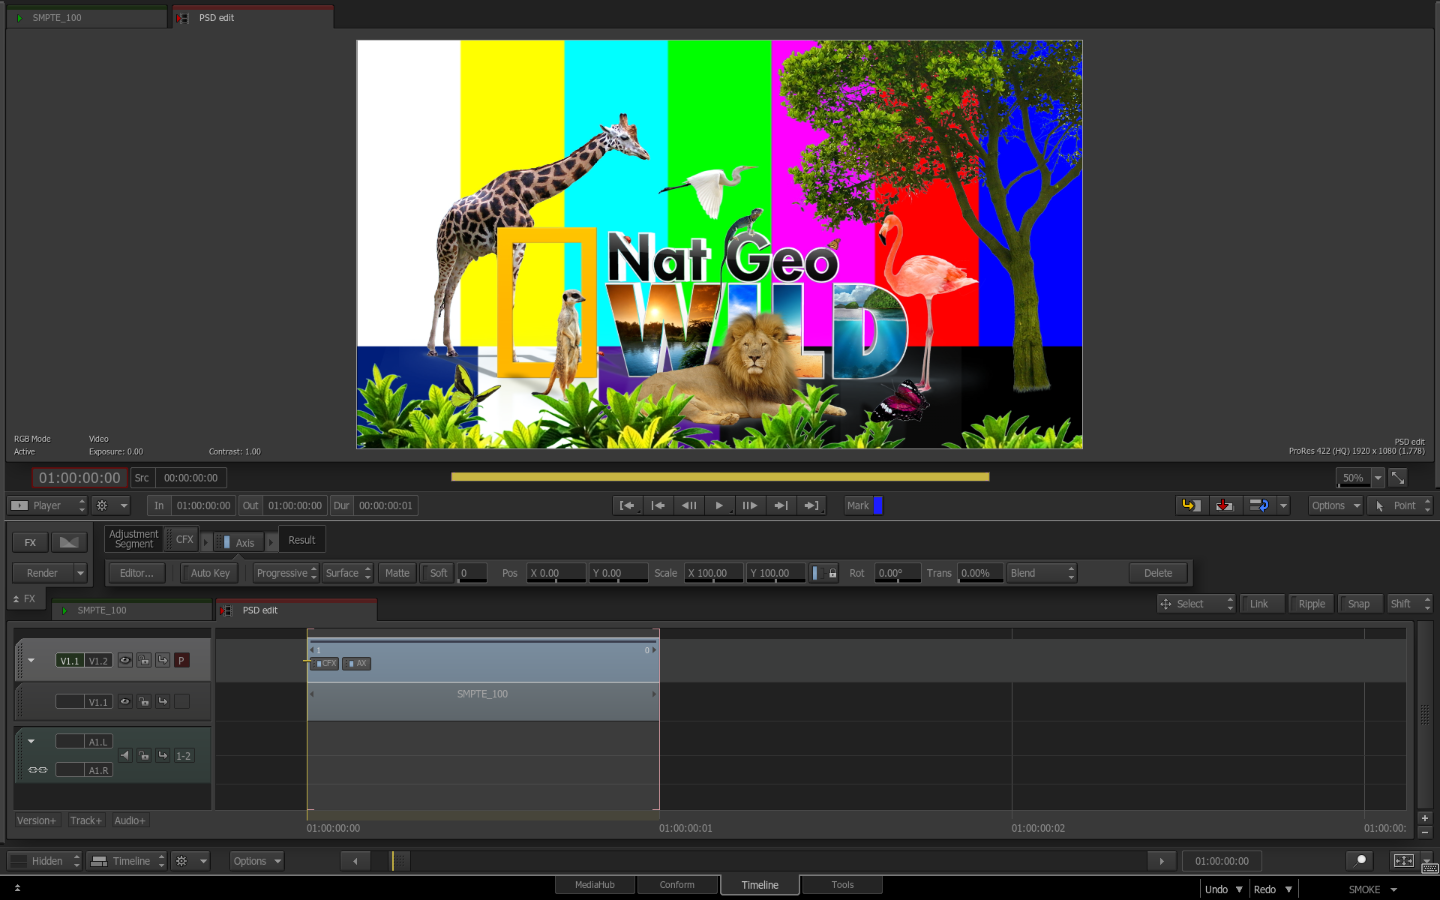
Depending on your needs you can create an output for Action and output a matte and create a CFXalip . You can also pipe that into the CFX result, which will create a CFXa clip on the timeline.
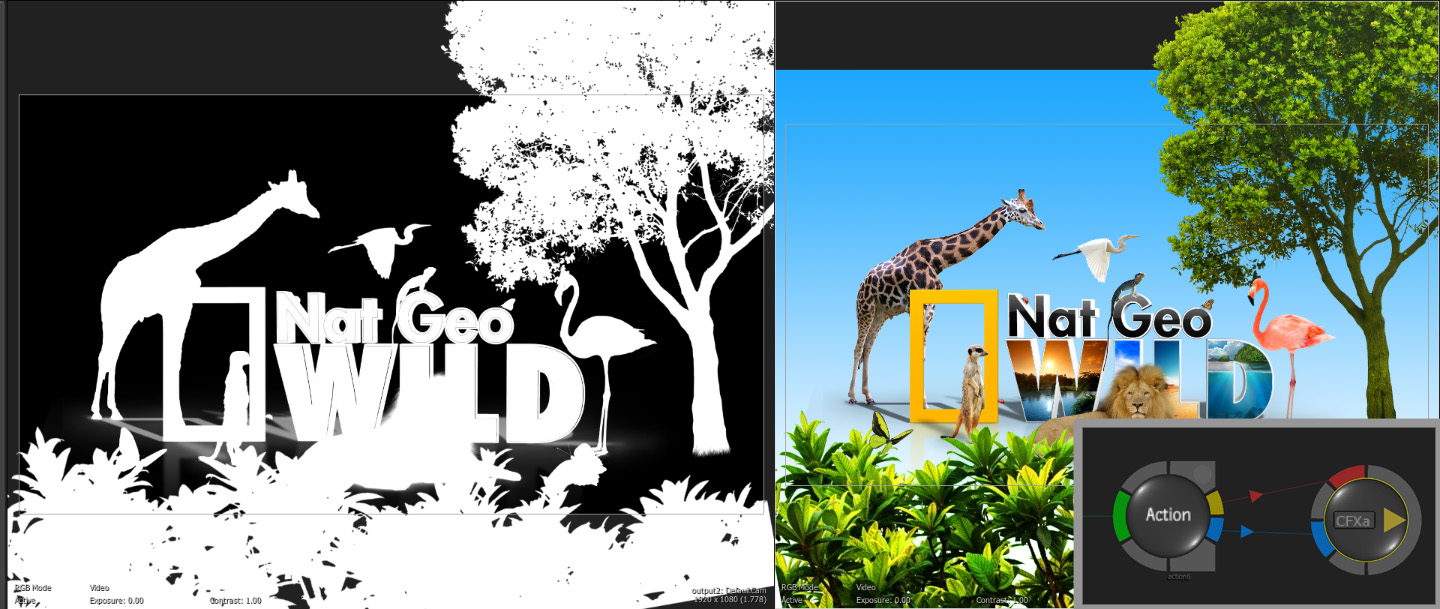
This will allow you to have an animating PSD clip that you can key over other timeline clips. Just add an AXIS to perform the composite key.
You can also import PSD files inside ConnectFX with the Read File Node which I talked about in a pervious blog post.
So pick the best workflow that works for you, depending on what your edit requires. If you need to animate your layers, then import directly into Action, and if you need just a simple timeline graphic layer, then a direct import to the Media Library will work. Smoke is very flexible with PSDs.
One final note. Make sure that your PSD layers are flattened with their alpha layer so that Smoke will import it correctly. Smoke can’t import Photoshop layer effects or masking layers. Type however, can be raw and will get rasterized on import. Smoke only imports RGB files and not CMYK.


