How To Share Projects Between Multiple Smoke Systems
Learn the secret to sharing projects and clips between multiple Smoke systems.
A lot of credit goes out to Robert Adam of Autodesk who helped explain this workflow to me… and now I am sharing it with you.
There is a concept in the 2013 releases of Smoke and the 2013 Extension 2 release of Flame Premium of WORKSPACES. Workspaces allows 2 or more different Smoke or Flame systems to access and work on the same project at the same time, using the same clips. In the Project hierarchy, a Workspace will fall in-between the Project and the Media Library. Each Smoke or Flame system connected to the same project at the same time, will create it’s own workspace.
If you just want to open a project that was created on Smoke A with Smoke B, then you can choose to use the existing workspace. When you load the project, (remotely) the Media Library, Desktop layout, Clips & Sequences will all open up as they were on Smoke A.
So how does all of this voodoo work? Let’s walk through it.
How to Open a Smoke Project Remotely
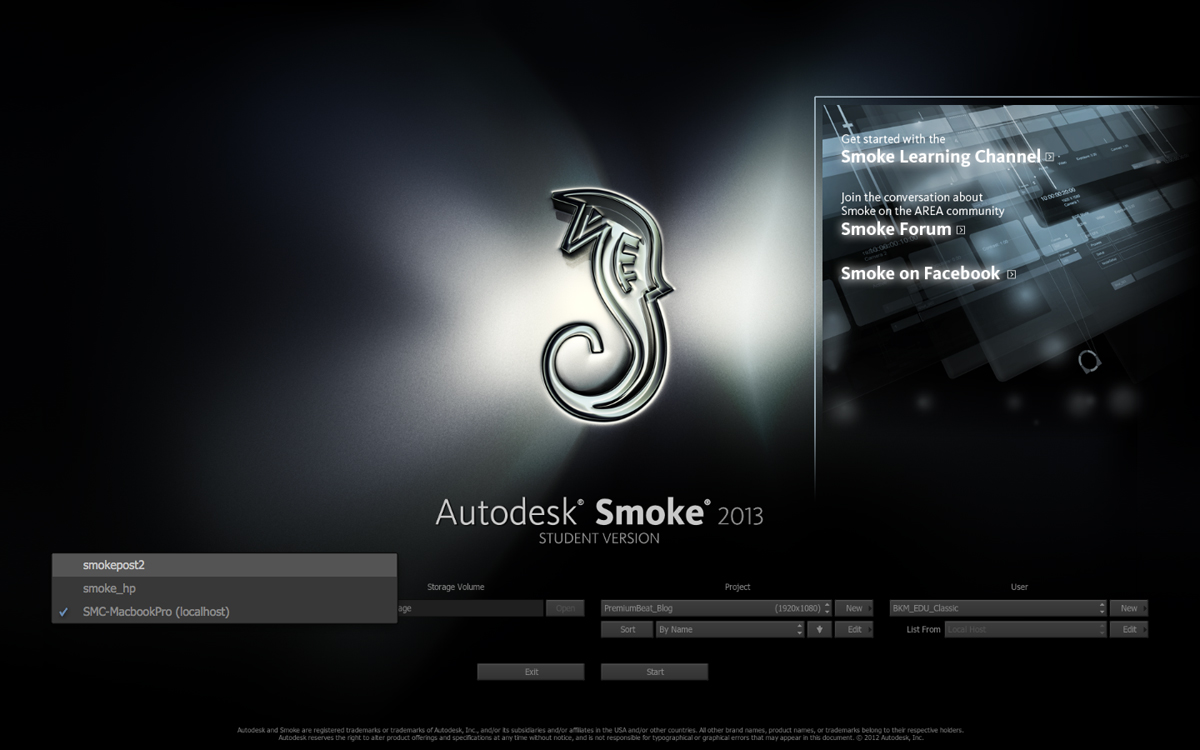
- At the Smoke start-up screen you normally have your own localhost selected with it’s Media Storage Volume (Firewire, Thunderbolt, Fiber). Press Open and your list of Projects appears in the Project list. Click on images for larger view.
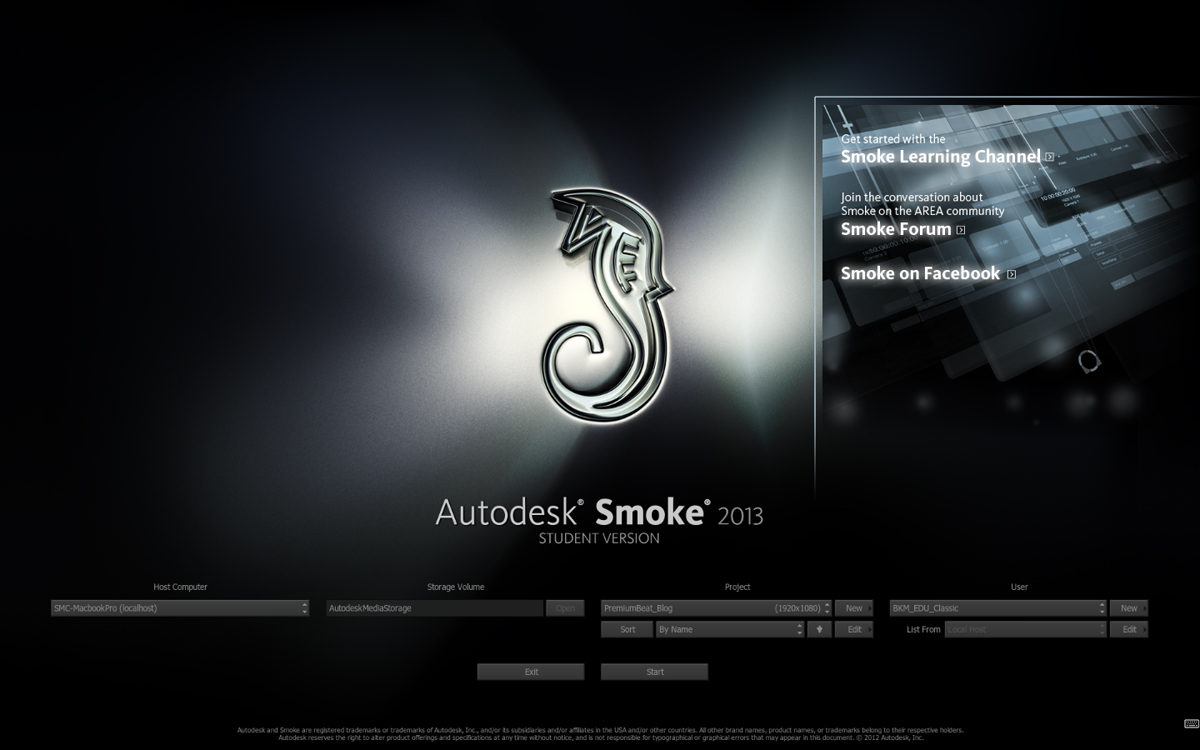
- To access another Smoke system, select the system name in the Host List. My Mackbook Pro is SMC-MackbookPro (localhost) but I will select Smokepost2 which is one of our Linux Smoke’s at the TV station I work for, WTHR-TV.
- After you select the Host, move to the right and OPEN the Media Storage Volume assigned to that system.
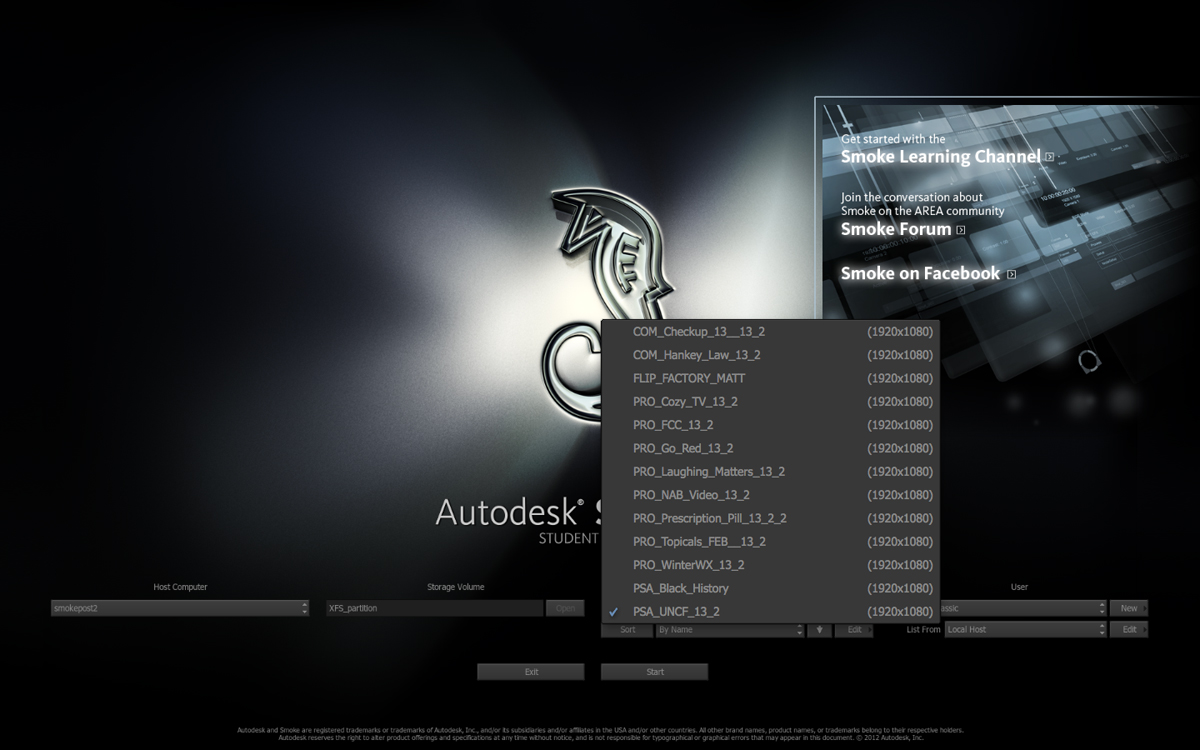
- You will now see all of the Projects available on the Remote System (smokepost2). In this example, we will select the PSA_UNCF_13_2 Project.
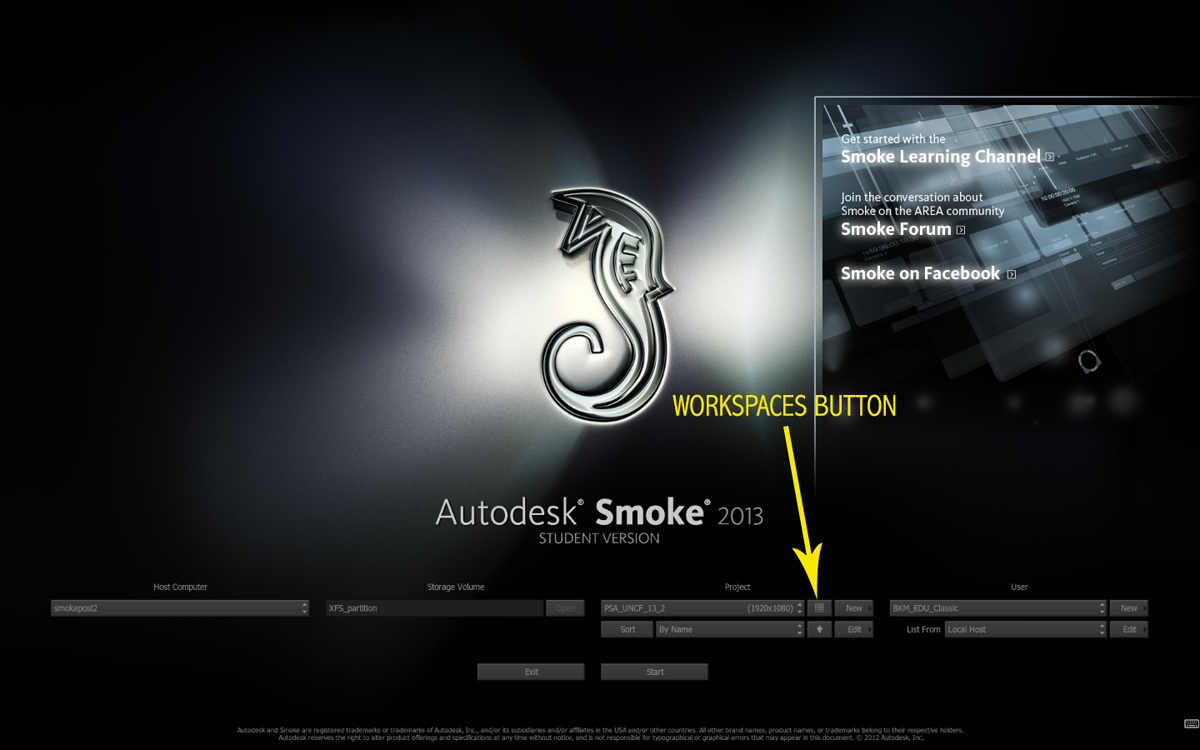
- You will now see a little box alongside the Project Name. This is the Workspace Selector.
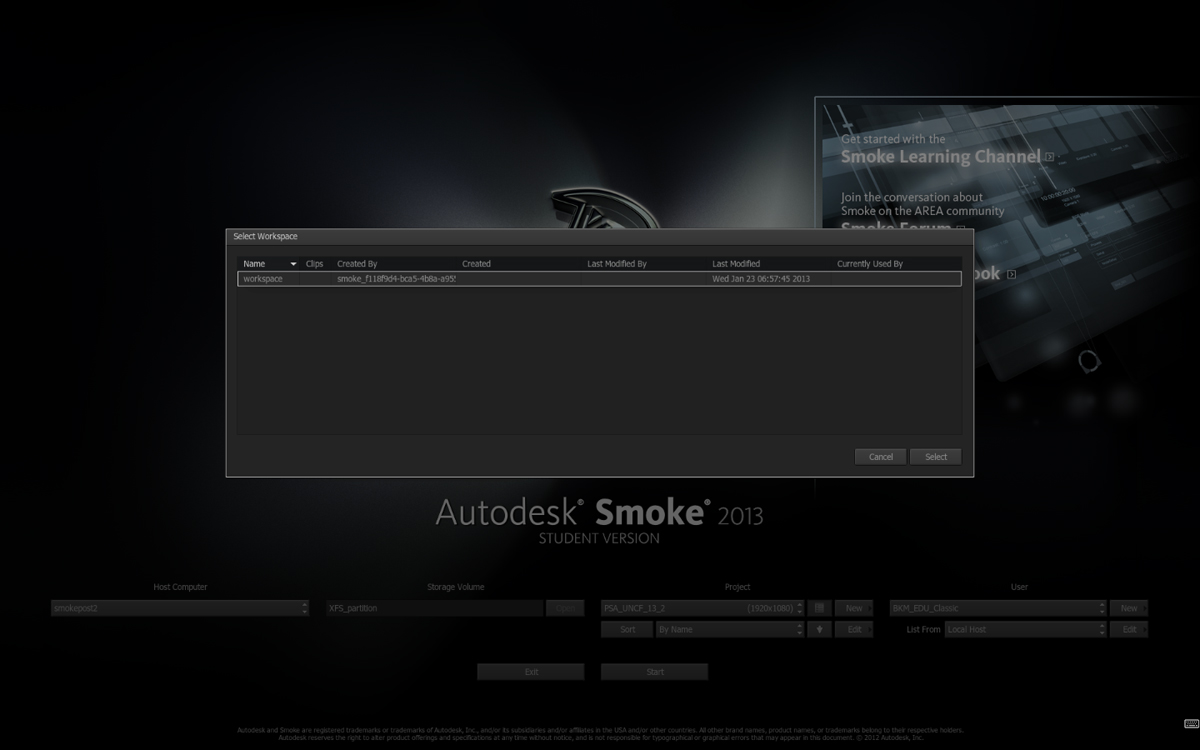
- Press the Workspace Selector Button and a box will open showing you the available Workspaces for the Project. In the case of project PSA_UNCF_ 13_2 there is only 1 workspace which was created when the editor created and worked in the project originally.
- Select the Workspace.
- Start the Project. After the project loads you will now see the Media Library and desktop layout, as well as all of the clips and sequences. You can begin to edit, revise, or create new sequences. You can import new media or export clips. You are magically working within the project remotely… just as if you were sitting at the system.
What if you want 2 or more systems working on the same Smoke project at the same time?
- Perform steps 1 thru 4 above. However, instead of opening the Workspace Selector…just hit Start and launch the Project. [click on images for larger view] When Smoke starts, you will be in what appears to be an empty project, and it sort of is. It’s an empty workspace in the existing project. Think of it as an empty room in a house, where the project is the house.
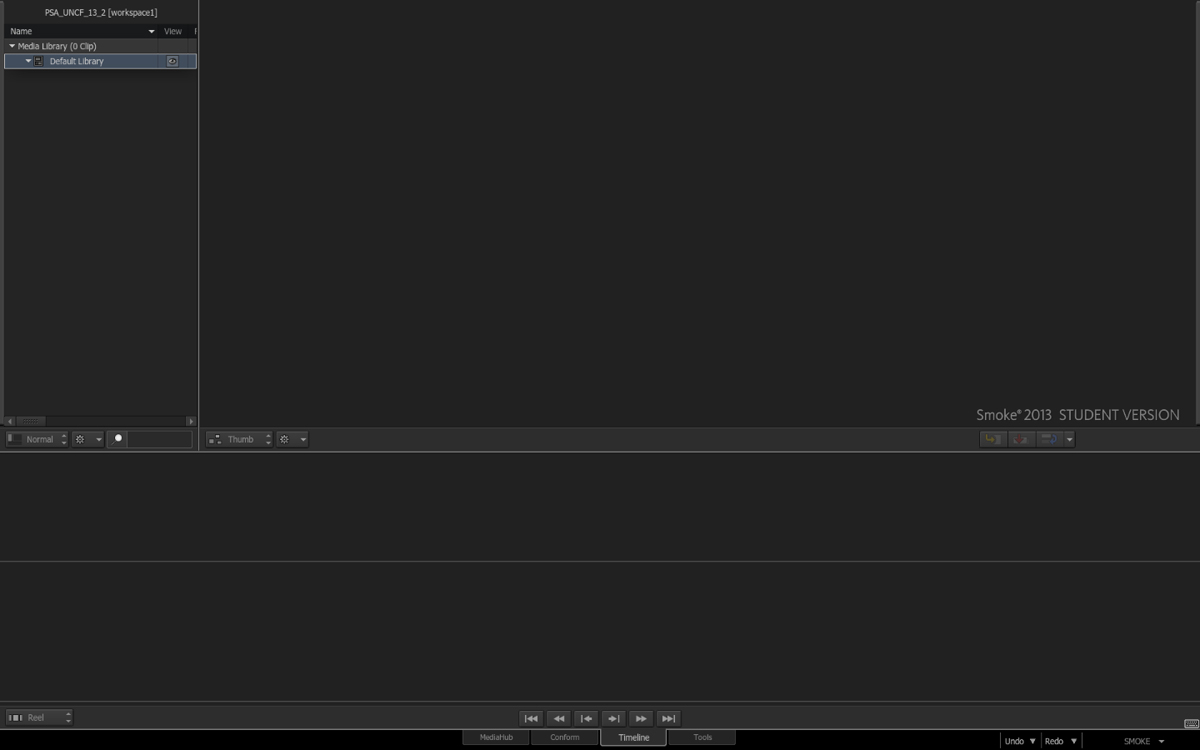
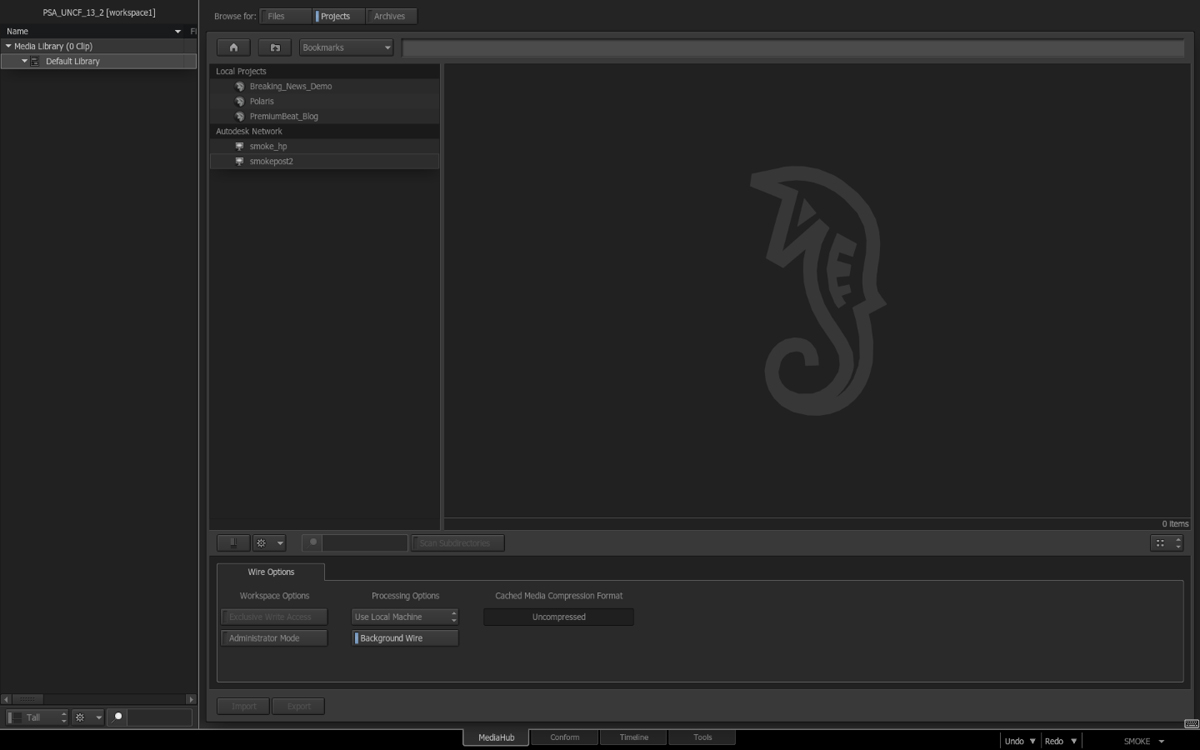
- Enter the MediaHub and switch from Files to Project at the top. You will now see all of the other Projects you can access on the remote system.
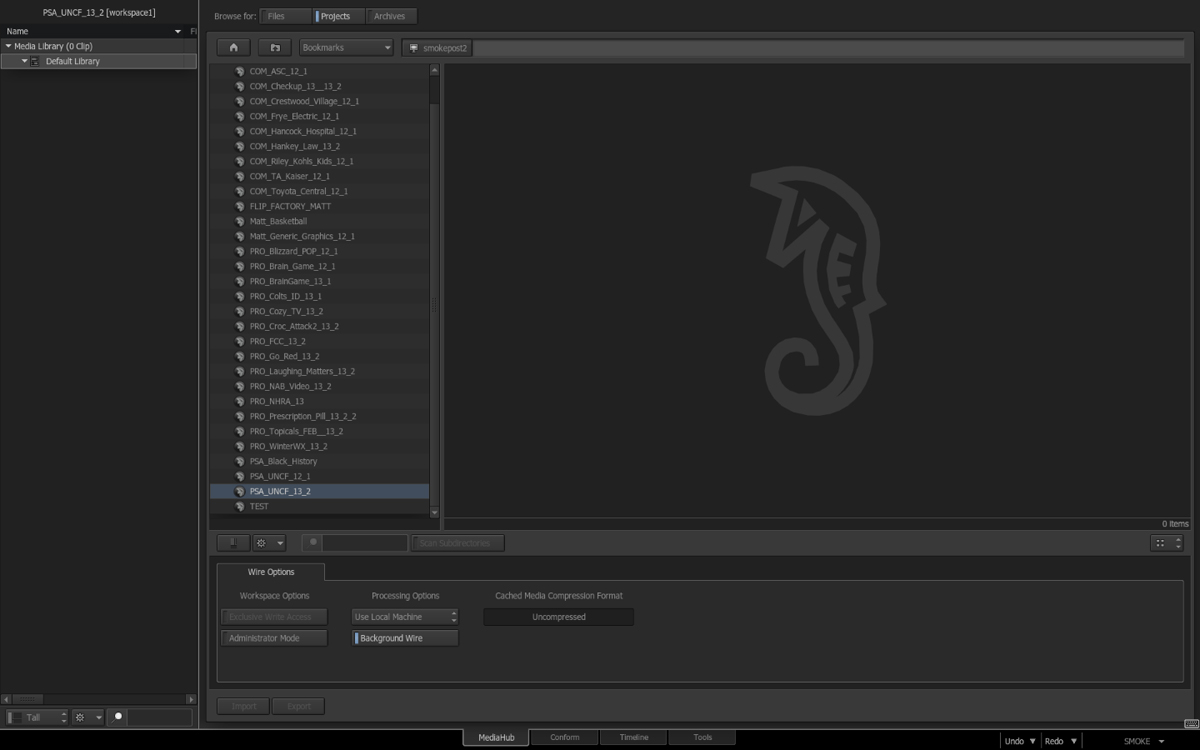
- Find the Project you are working on. PSA_UNCF_13_2 for our example. It seems a bit odd to navigate to the project that you are in, but what you are looking for is the other Workspace for the project that was created.
- When you navigate to the workspace you can copy clips from the Media Library folders in to your workspace. These are copies linked to the original media. You can also copy a sequence over and work on it. It will be a copy and the original sequence is still intact and editable in the 1st workspace.
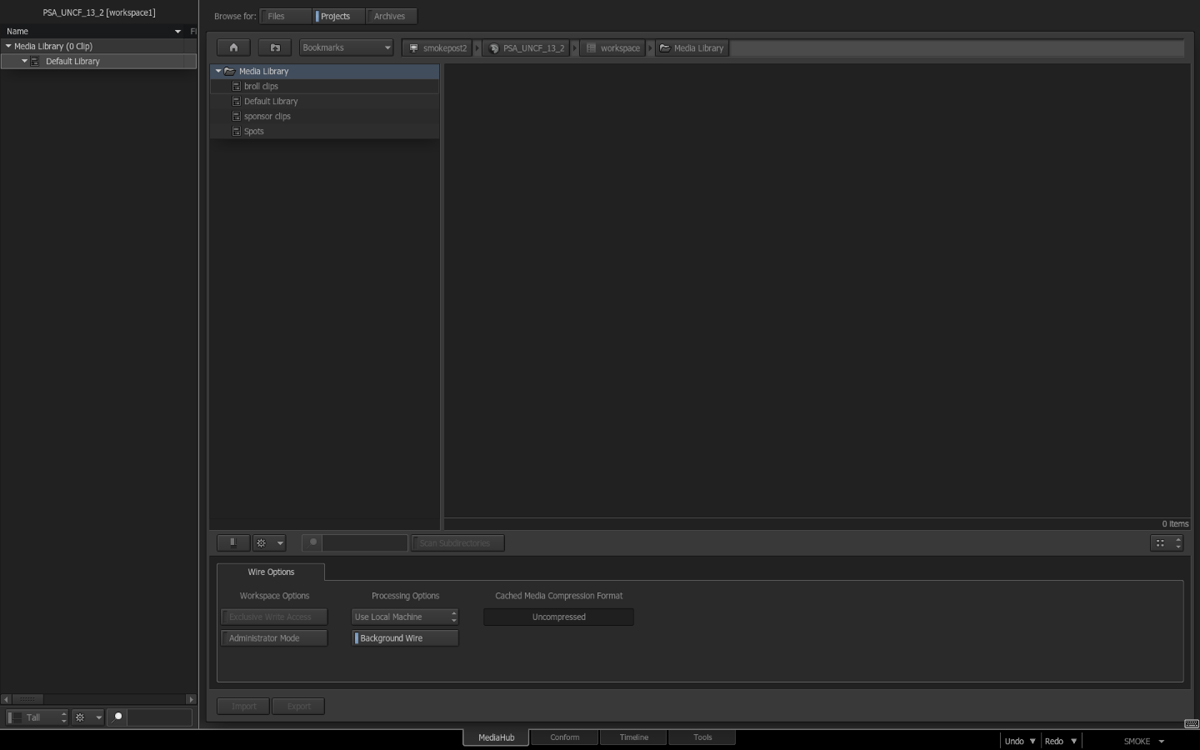
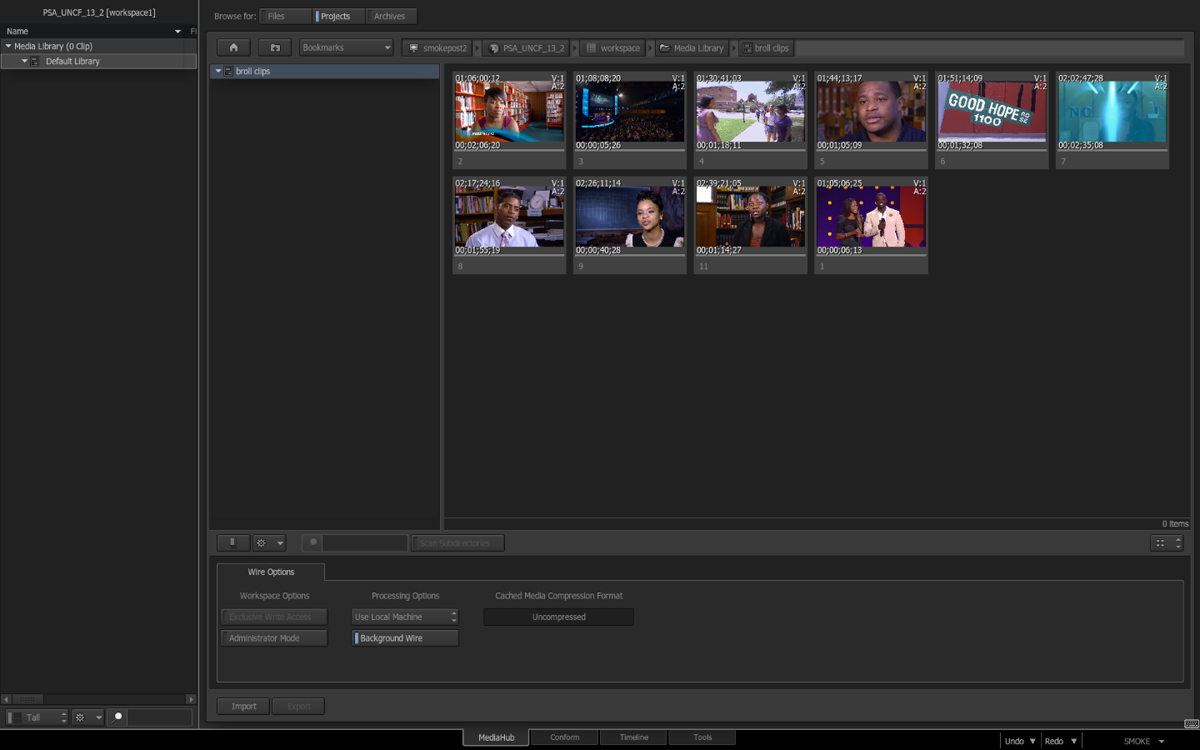
-
At this point you can work in the same project with the same media, as another editor on a second Smoke system. When you exit and eventually render the project, you will have the option (on either system) to pick the Workspace you want to work in. Workspaces are a very efficient system, allowing multiple Smoke or Flames to collaborate on the same project or share the same media easily.
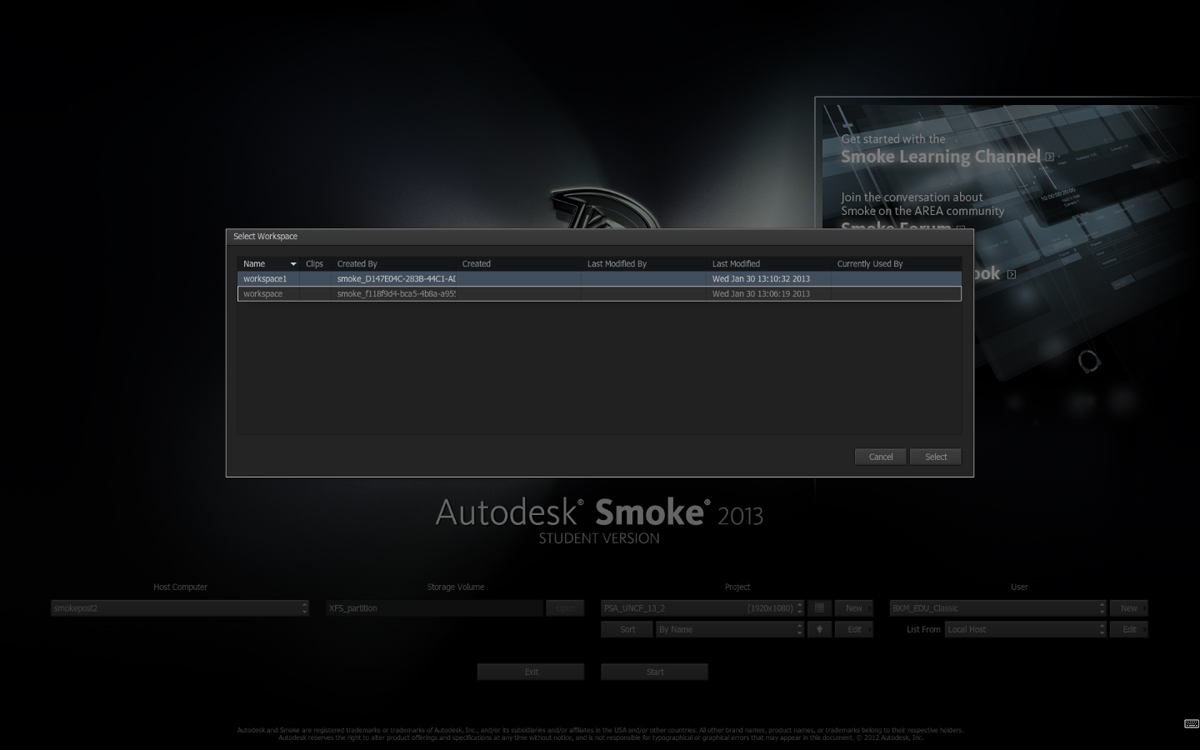
You can work on the same project and workspace on either machine, but you can’t select a workspace if another system is working on it. This avoids two workstations working on the same workspace at the same time and overwriting each other’s work. Both computers must be on the same network and must run the same version of Smoke.
Got Autodesk Smoke questions? Thoughts on collaborative video editing?
Share your thoughts/experiences in the comments below!


