A Cheap Trick for Lighting a Daylight Interior Car Scene
Here are a few techniques to master the subtleties of lighting a car interior in daylight — without breaking your budget.
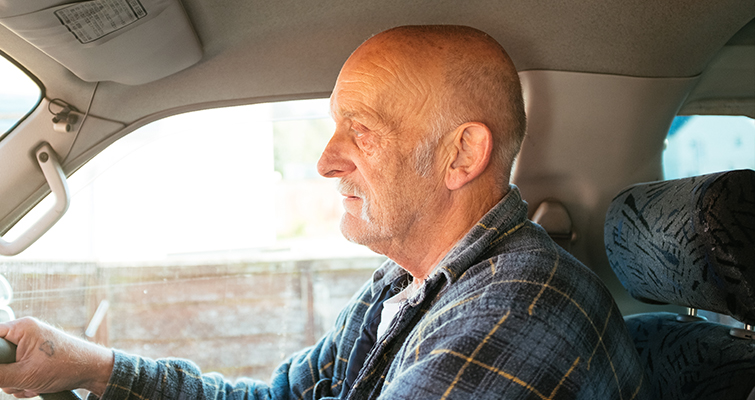
Lighting an interior (stationary) daylight car scene on a no-to-low budget project presents more of a problem than you might initially expect. The car, by design, is going to block direct overhead lighting. And, unlike shooting an interior car scene at night, you can’t flood the car with lights imitating streetlights. Likewise, pointing any form of directional lighting straight into the vehicle is going to be very apparent to the viewer. By all accounts, if you were to direct light straight into a car, a more preferred setup would be to have a Joker — or light similar in power — directed into a diffusion sheet, and light the car with a diffused light source. However, these tools are not very budget-friendly.
If you’re shooting without any additional tools, you have two options:
1. Expose for the actor and let the bright, sunny background clip . . .
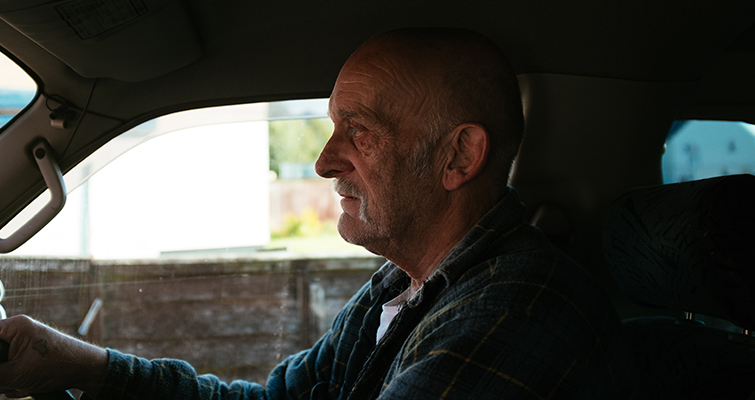
2. Bring those highlights back into control, but have the actor drop into unflattering shadows.
Instead, let’s take a cue from great cinematographer Darius Khaondji — but budget-friendly, of course. Earlier this year, I received the book Conversations with Darius Khondji. The film Se7en is an all-time favorite, as is Khondji’s photography. So, I was disappointed to discover the section covering Se7en was quite short. I decided to search for more behind-the-scenes material myself and found this photography, which spurred a variety of ideas.
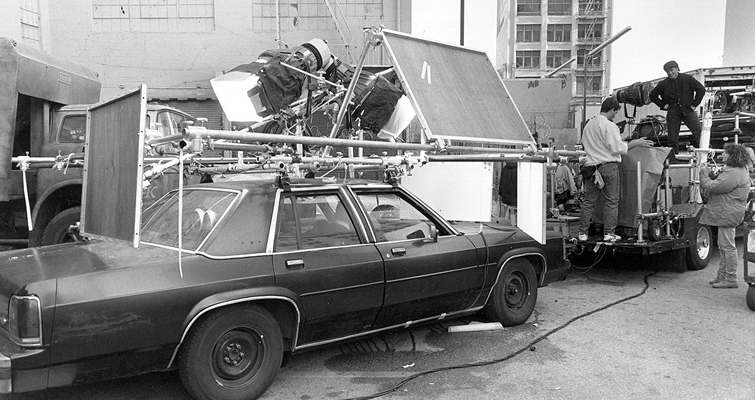
Image via American Cinematographer.
The Low-Budget Method
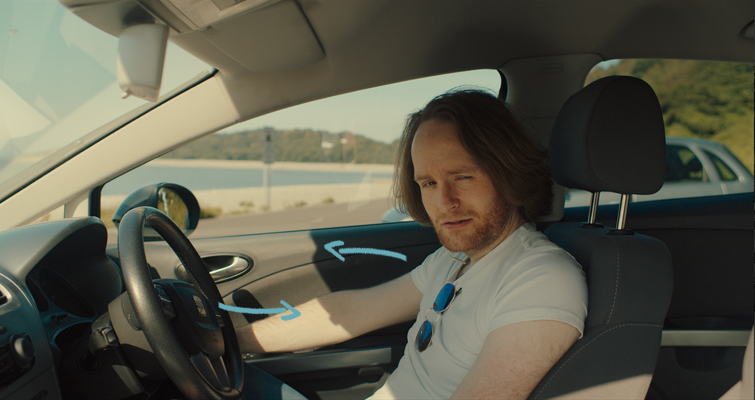
I had a short to film inside a stationary car in broad daylight, and the budget was zero. (The short was for one of these annual competitions that seemingly every company is doing each month. R∅DE’s competition has just closed, Aputure’s has just opened, and FilmSupply has just announced their 2019 edit challenge. It’s a great time to make short films!)
The idea, based on Se7en‘s behind-the-scenes photo, was to fill the car with ambient bounce. You could always position your car so it’s front-facing the sun, with the sunlight brightly lighting the actor. However, in doing so, the illumination of the actor may be brighter by a stop or two than the exterior background. Therefore, I would suggest positioning the vehicle so the sun enters the windows at an angle. In doing so, you’ll also get shadows from the curves and edges of the car and interior elements, making for a layer of shapes in the vehicle.
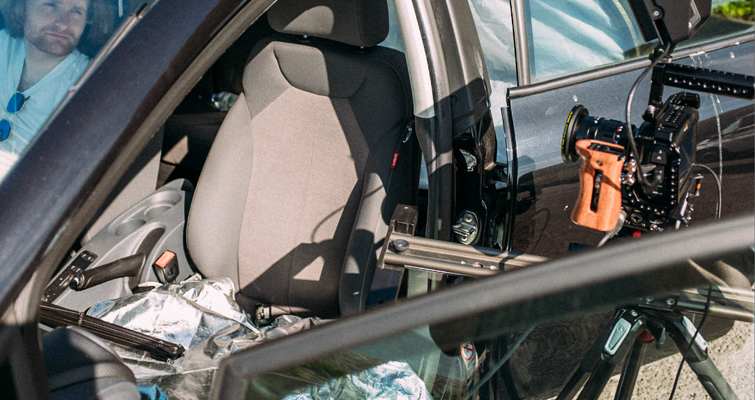
So, the almighty inexpensive tool we’re going to use? The reflection sheet from Westcott’s Scrim Jim kit.
While their scrim kit is primarily for diffusing and bouncing light, most of their packages have a reflective silver sheet for more direct reflection.
Take your reflective sheet and place it on the passenger seat of the vehicle, in direct view of the sunlight. Usually, I find the silver side of a reflective sheet to be somewhat overpowering. But, if in the bright conditions, you’ve brought your exposure down to save the background from burning out, it should balance nicely.
Immediately, your car should be incandescent with a soft light. It’s not at all noticeable or distracting, but you’ll certainly miss it when you remove the sheet. However, you have to be careful with the placement of the reflection sheet — if it’s crinkled, it may cast unwanted bounce streaks within the vehicle. Depending on the available space and position of the camera, you may also find it beneficial to place a bounce board, or reflector, in the back of the car to bounce light onto the actor’s face. Since the reflective material on the seat illuminates the vehicle as a whole, the bounce board will provide more direct keylight to the side of the talent’s face.
Of course, let’s discuss the elephant in the room. In my example, there’s only one actor in the vehicle. So, suddenly, this tip becomes less viable if you need to film two actors in a shot. Likewise, if I’m using a scrim kit, surely it would have been more productive to set up the scrim and actually diffuse the bright sunlight correctly. And, while that would have been my preferred setup, we were filming in a public car park with limited time and space before it became busy.
Alternatively, if you wanted an entirely soft light and the windshield isn’t in shot, you could just place a diffusion sheet across the windscreen. Roger Deakins offered this tip on his forum when answering a question about Revolutionary Road.
I think I had some diffusion on the front windscreen and that was giving the soft, warm effect. I can’t specifically remember but that is what I imagine I would have done . . . All it is an off white cloth. You could use bed sheets for that matter.
You can watch the final result in the video below.
Want more lighting techniques? Check these out.
- Free Practical Lighting Techniques for a Cinematic Look
- Three Quick Tips for Filming in the Midday Sun Without Diffusion Tools
- Nature’s Lighting: A Guide on Shooting With or Against the Sun
- Lighting in a Pinch: Five Tricks Using Your Mobile Phone
- Production Tips for Shooting in Outdoor Lighting Conditions


