

Smoke ConnectFX: The Paint Node

Learn how to paint with images and how to get the most out of the Paint Node inside Autodesk Smoke.

I am not an artist…I freely and honestly admit that. But the Paint Node in Smoke, gives me the power to paint with pictures and create some artistic images. The Paint Node is often misunderstood and is also unfairly compared to the old desktop Paint Tool, which you can find in the Tools Tab.
Although the two tools share the same name, each has its own unique features and each serves its own purpose. The Desktop Paint can create Vector Based Graphics and shapes as well as Autopaint.
Autopaint allows you to record and playback paint strokes, as well as track them, which makes it excellent for clean up of moving images. The Paint Node in ConnectFX can also do clean up, but it’s more setup for quick frame clean ups in a moving clip. It’s also good for creating complex blending using moving clips.
Smoke’s Paint Node:

The Paint Node in Smoke ConnectFX is unique because it has a scalable painting, retouching or restoration workflow. The Paint Node automatically scales strokes when changing the resolution, ratio or bit depth of input clips, or when switching from Full Resolution to Proxy mode. So the strokes are more vector based, where the Paint Tool is raster based and does not scale and strokes are not repeatable based on new inputs. This scalability makes it ideal for working in the ConnectFX environment because you can change input clips, and the paint strokes are reapplied over the new images.

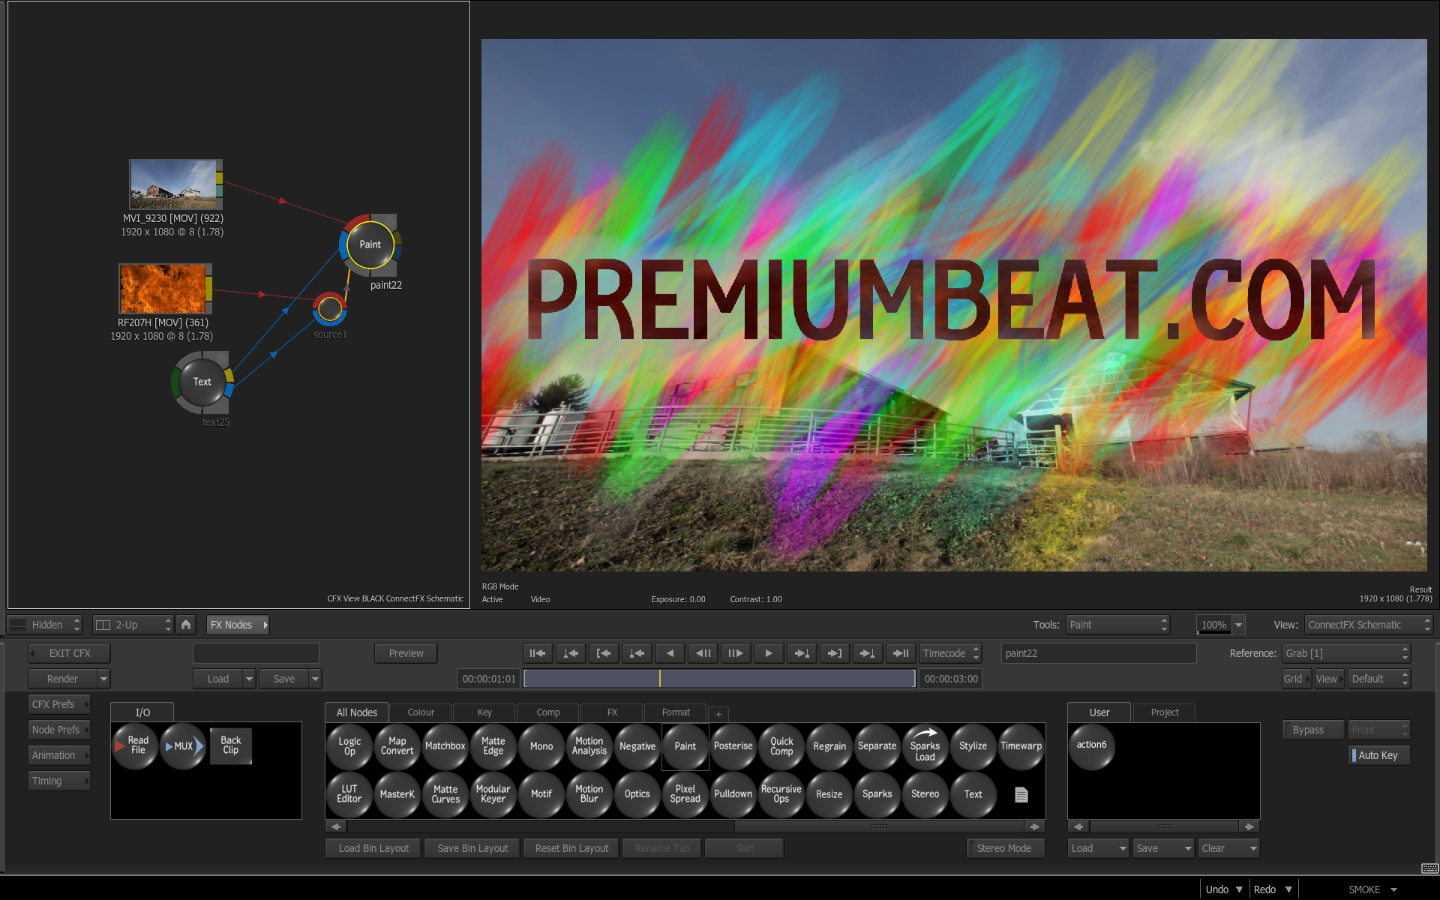
The Paint Node accepts a front and matte clip as input, and creates a result and output matte clip. You can paint on on either the Front/Result and Matte Inputs with a variety of brushes and painting modes.
The Smoke Paint Node’s most powerful feature is that you can add multiple Source and Matte inputs and use those inputs to create and isolate brush strokes on the result image. The mattes can also animate, which will reveal the paint strokes on the final result. By using moving mattes, your paint result will animate on.
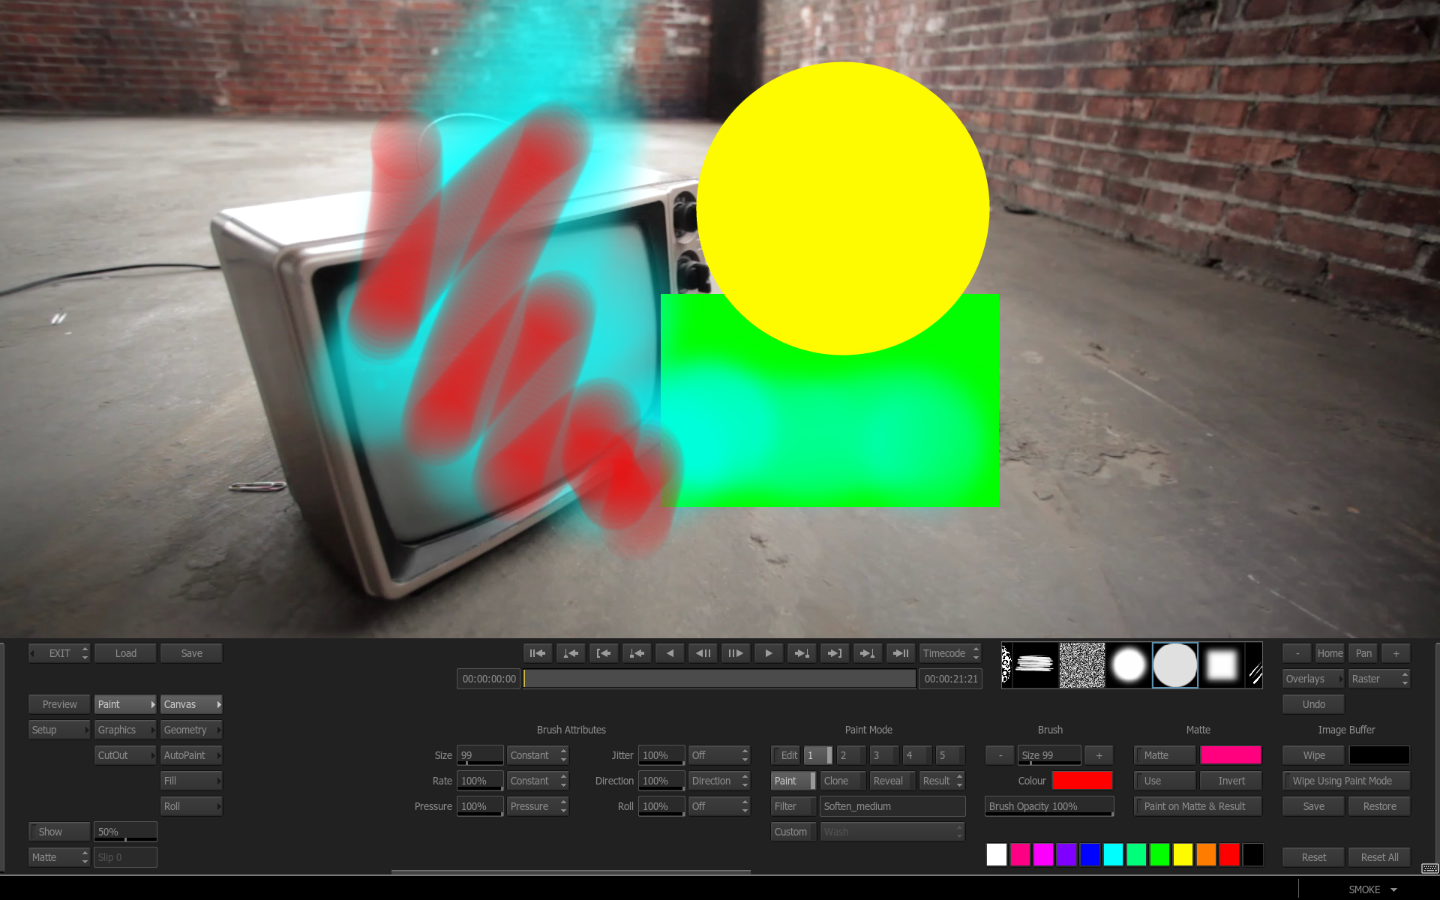
The UI of the Smoke Paint Node sort of breaks the normal left to right workflow of the other nodes. I would start at the Paint Mode Menu and first choose the Mode you want to Paint in. You can paint in Color, Clone, Reveal to other sources, Blur, Smear, and use an Impressionistic paint style. You can also choose the Blend Mode for your painting, reveal or clone.
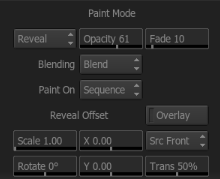
And the most important selection is the Paint On options. You need to change this to Sequence or From Frame if you want your paint strokes to be duplicated on more than just the current frame. The default is Current Frame, and there have been many times I have painted and cloned on frame 1 and forgot to change this setting, only having to paint it all again because I forgot to change the Paint On setting first.
![]()
The Smoke Color Menu allows you to pick or dial in a color, or you can hit CTL+Click and sample a color from the image. You have a preset selection of brushes to work with.
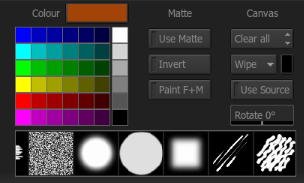
Under the Brush Attributes Menu there are many properties that you can set to give personality to the brush. You can set the Size, Rate, Pressure, Jitter, Direction and Roll of the brush by adjusting the percentage and how that stroke is applied based on Pressure, Direction, Constant, or Fade. You can also use the Luminance of the Front or Matte Clip to define how the brush is applied.

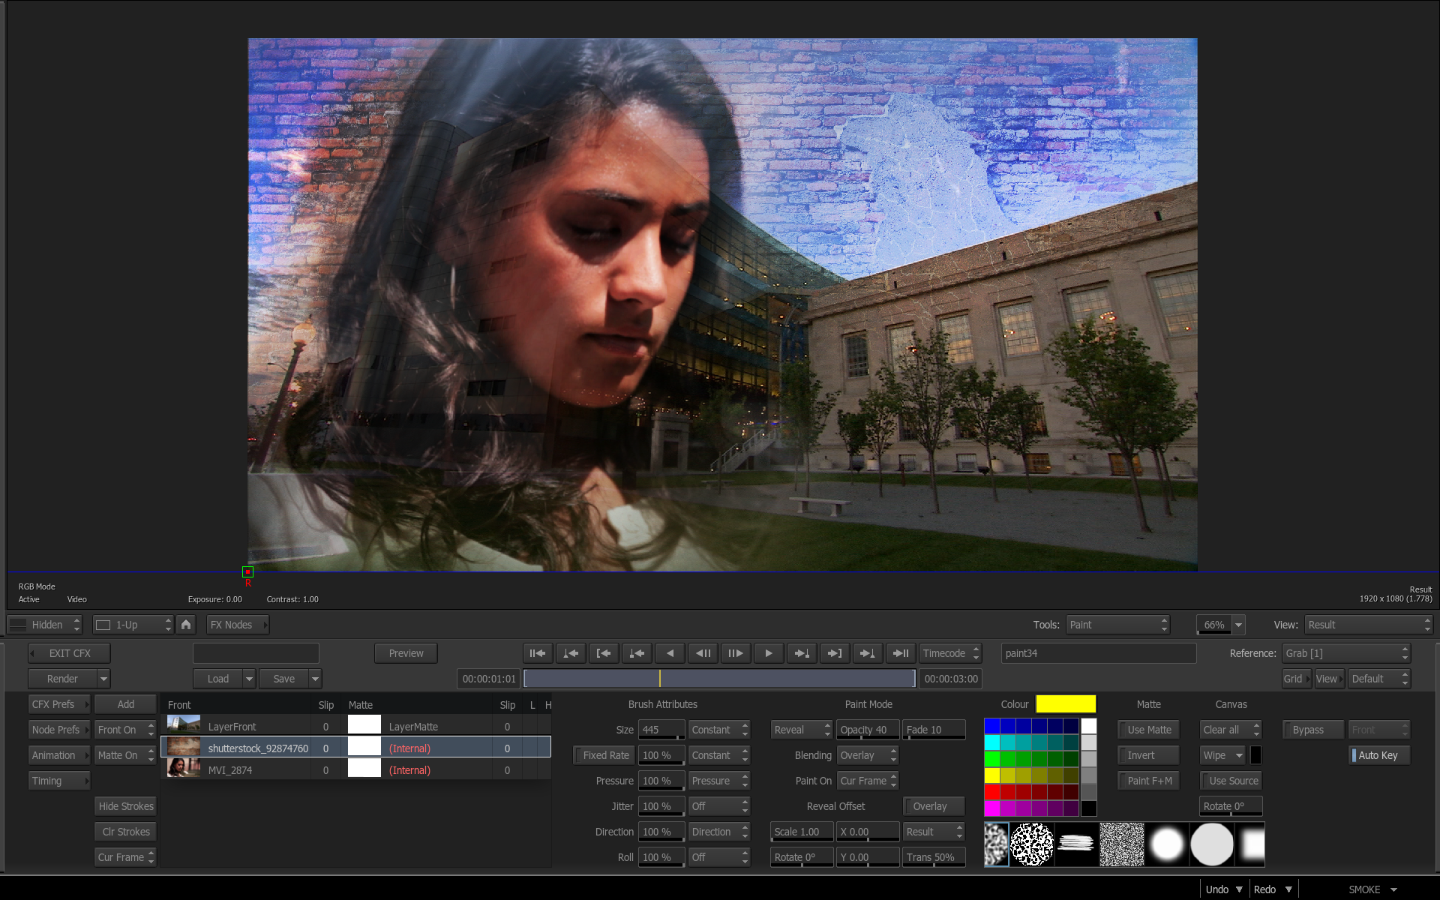
Painting with Image Layers/Mattes and Reveal:
Follow these steps for painting with layers in Smoke. Great for compositing work:
- Add a new layer by selecting the Paint Node and using the shortcut CTL+N. Connect a Front image and Matte image to the Media Node.
- Inside Paint, select Reveal under the Paint Mode Menu. You can adjust the opacity and Blend Mode of the stroke as desired.
- Select Sequence to paint on every frame of the clip.
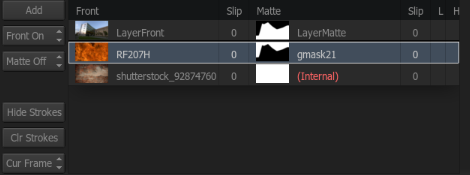
- Select the media layer you want to reveal. You can chose the main layer or any layers you added.
- Set the Brush Attributes as desired.
- Paint on the screen.
Your final result should be a reveal of the layer chosen in the media list over the main image. You can then toggle the media selection back to the main image and reveal back to itself to “erase” and strokes you want to undo. Or your can use another media layer and reveal it into the result.
The Smoke Paint Node allows you to blend images much faster and with more detail and precision than you could just by keying and masking.
You can use the Smoke GMask node to create a matte for your image to just paint or reveal within the matte area.

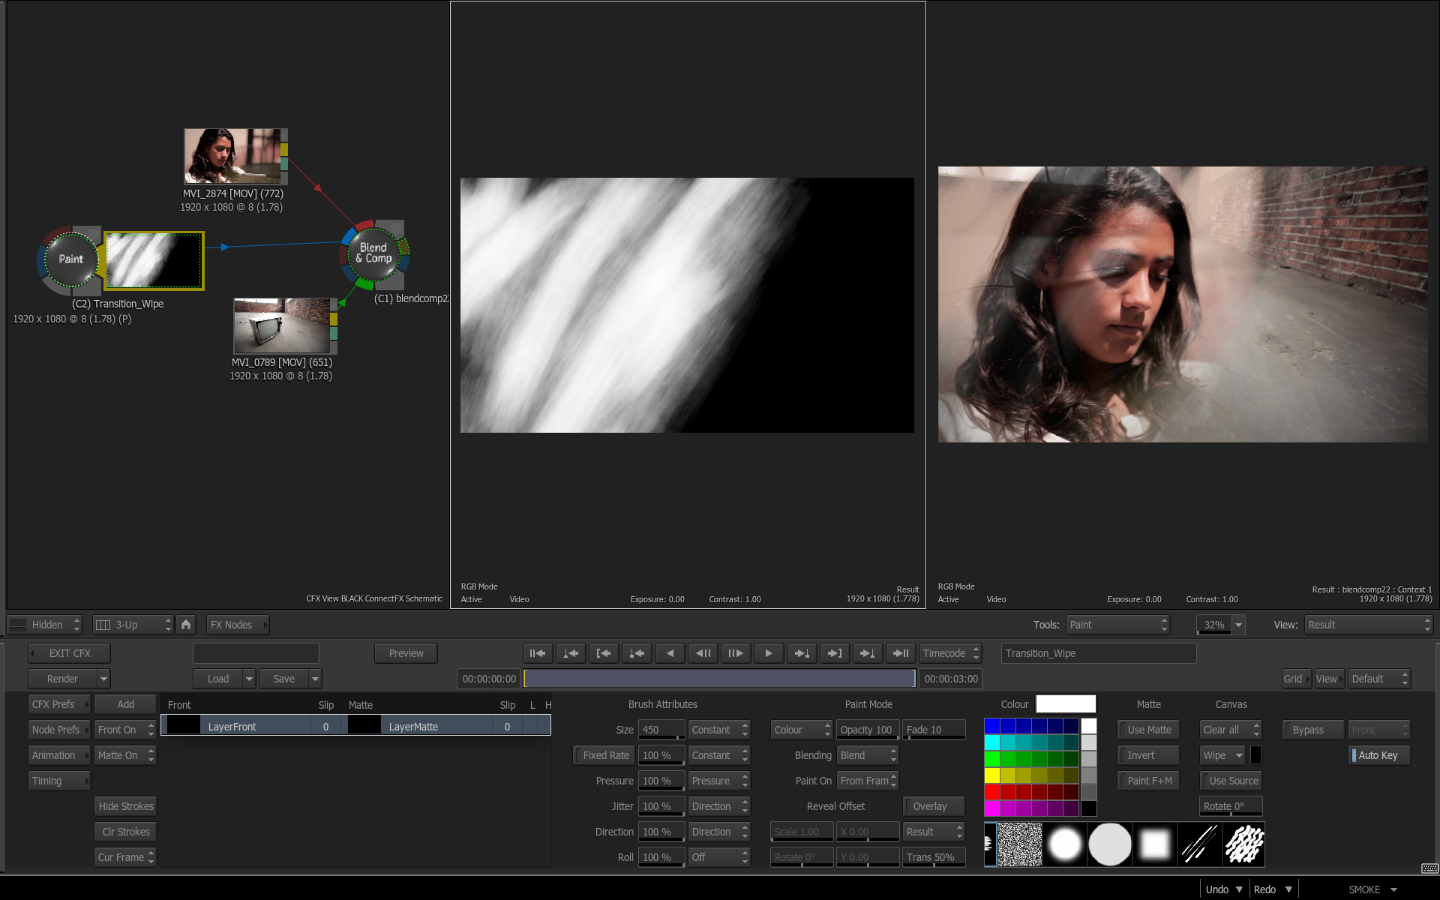
Just by painting in simple Black, White & Gray, you can create animated masks that you can use to make unique and organic transitions. By saving the Smoke Paint Node setup you can recall this special transition anytime.
By combining the Smoke Paint Node, and by using different brushes and paint modes like Smear and Impress with the Text Node as an input, you can can uniquely stylize your text as well as any plugin. By gradually painting the Text frame by frame, you can create a one-of-a-kind effect.

Again, by saving the Paint Node you can reuse this effect on other clips.
I wish I was more of an artist. But using the Paint node in Smoke ConnectFX, helps takes my compositing to a more artistic level.


