

ConnectFX Nodes: Bump Displace & Nodes that Burn

In this post we continue our analysis of Smoke ConnectFX, exploring the Burn-In Letterbox, Burn-In Timecode and Bump Displace nodes.
In our ongoing coverage of the new Smoke 2013 we take a deeper look at three more ConnectFX nodes. Let’s dive in….
Smoke’s Burn-In Letterbox

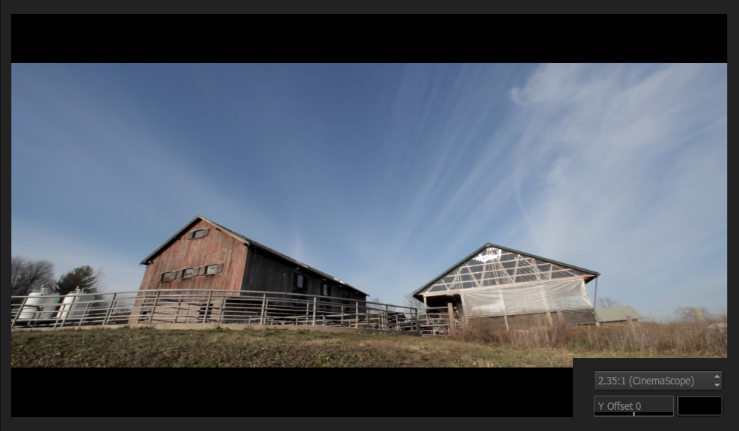
You may still be working or exporting SD clips. Or you may be working in HD or 2K and want to format your final output for more of a film ratio like 1.85:1 or 2.39:1. You may even just want to be creative and apply a letterbox to your 16×9 HD sequence to give it, that classy film look that editor’s used to give to SD material back in the day. Whatever your letterboxing needs, use can achieve them with Smoke’s Burn-In Letterbox node. Now you can use this node to simply add a letterbox to a clip or sequence. The node has all of the common video and film ratios that you would need. Simply, just select one and choose the color for the letterbox, in case you want something different than classic black.
[Click image for larger view]

Smoke’s Burn-In Timecode
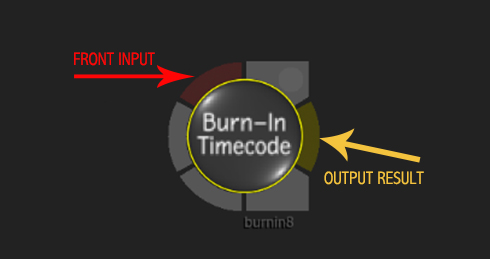
Everyone’s workflow and editing is different, but since I moved to a completely file based workflow I have replaced Timecode with Clip Name. However, if you still deal with tape or want to offload a sequence to a DVD, you may want to Burn-In Timecode into a clip for the viewer. Normally, this would be so that they can log the footage, and then give you the proper frames for reference. If you need to make a burn-in timecode window on your clips or sequence, then you can add the Burn-In Timecode node before the ConnectFX output.
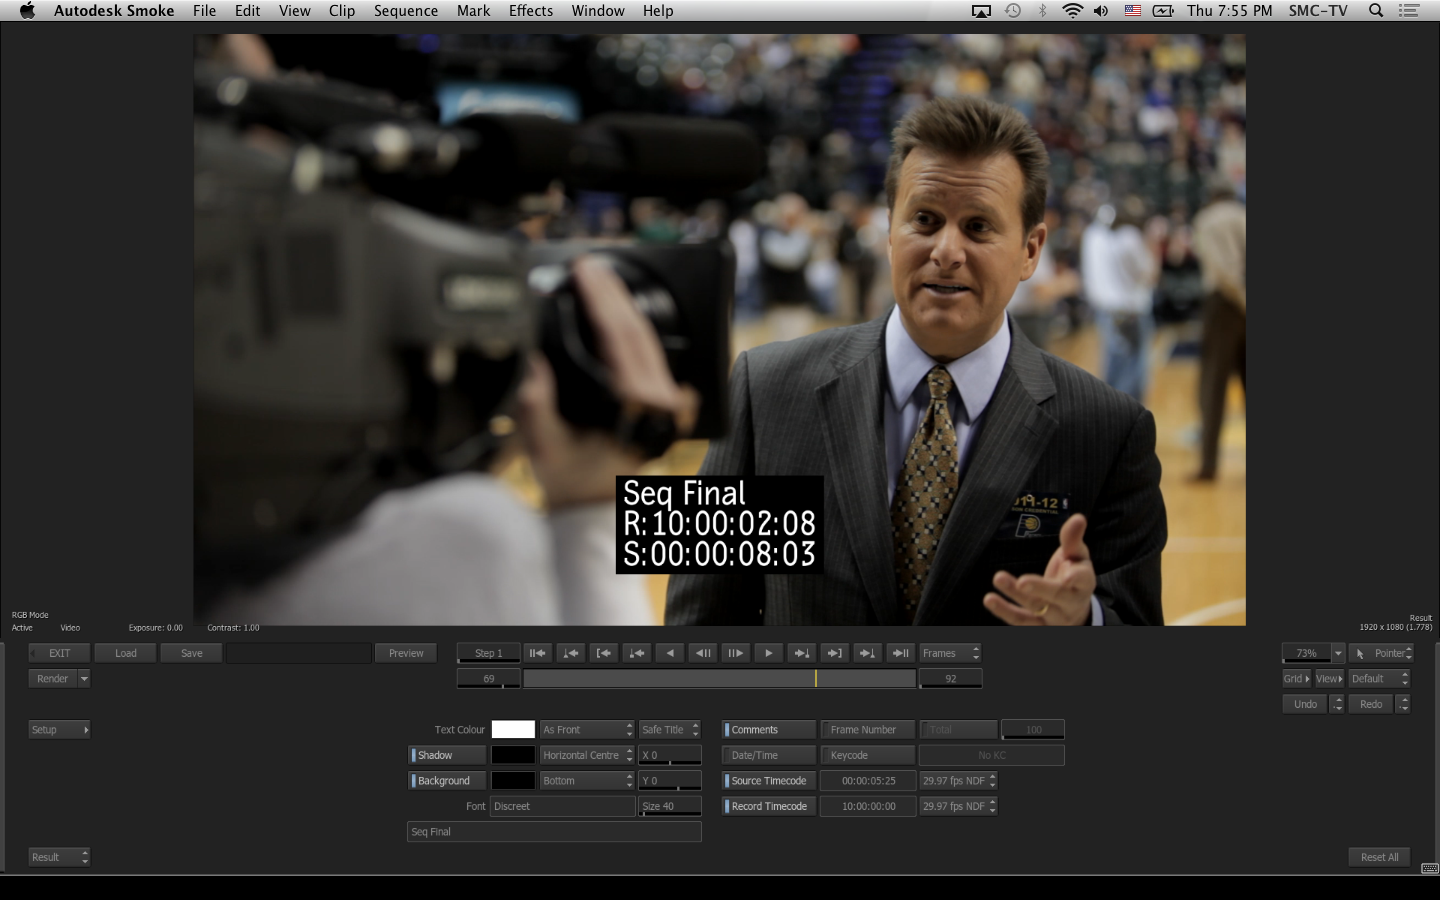
Now, as non-exciting as timecode windows are, at least the node is Smoke 2013 has every feature you could possibly want. You can set the font and color of the text as well as the background. The burn-in info can be placed anywhere you would like on the screen. You can choose to display the source timecode and the record timecode if you are using it on a sequence. You can even display comments or have the clip count in frames instead of timecode.
I may have only exported Burn-In TC for someone about once in the past 3 years…but if you do need it, it’s there.
[Click image for larger view]
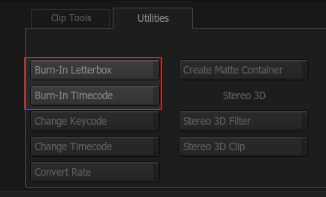
NOTE: Since CFX is frame rate agnostic, the node does not automatically pick up the timecode from the source or edit sequence. I realize that that sounds ridiculous, and in fact it is. So without a lot of manual work, this node is somewhat useless inside of Smoke’s CFX. But there is a bright side – both the Burn-In Letterbox and Burn-In Timecode are available as tools on the desktop. In Smoke’s Tools tab it does respect both the sequence timecode and the source timecode.
Smoke’s Bump Displace

The Bump Displace node is great for adding that little bit of depth to a graphic or text to make it pop, without having to work with 3D geometry. The bump displace in Smoke 2013 creates an effect similar to an emboss effect in Photoshop or After Effects. The node will use the matte input to generate the bump displace or emboss. The end result looks odd when you are working within the node, but you have to remember that the output is generally used again with the matte in another node downstream in your CFX schematic.
[Click image for larger view]
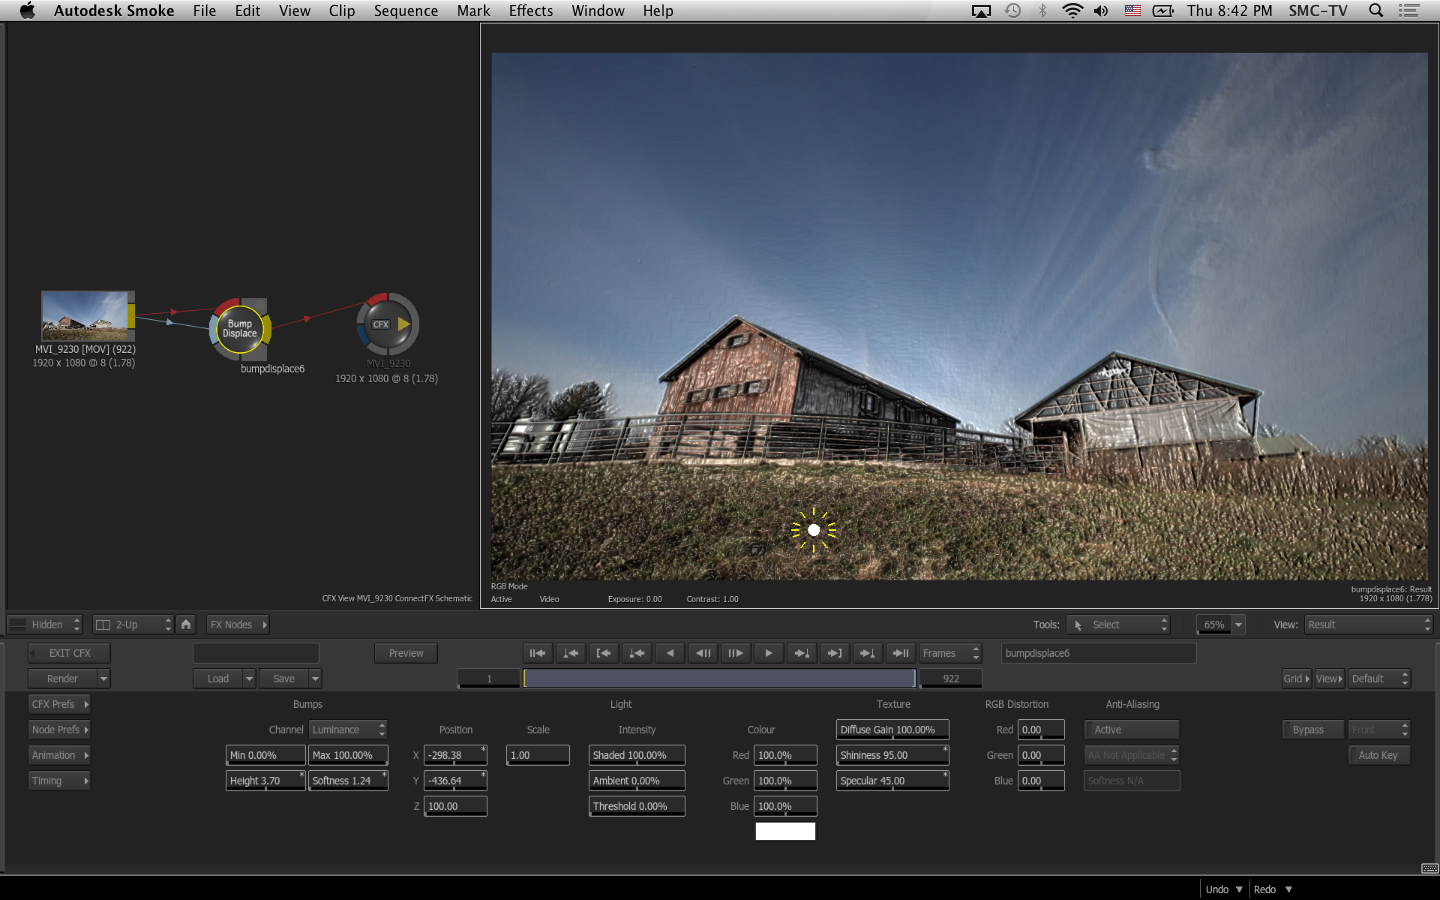
You can set the minimum and maximum values for the matte input, much like in the 2D Histogram, and set the height and softness of the bump displacement. A high softness, will give you a more bubbled or rounded look to the emboss.
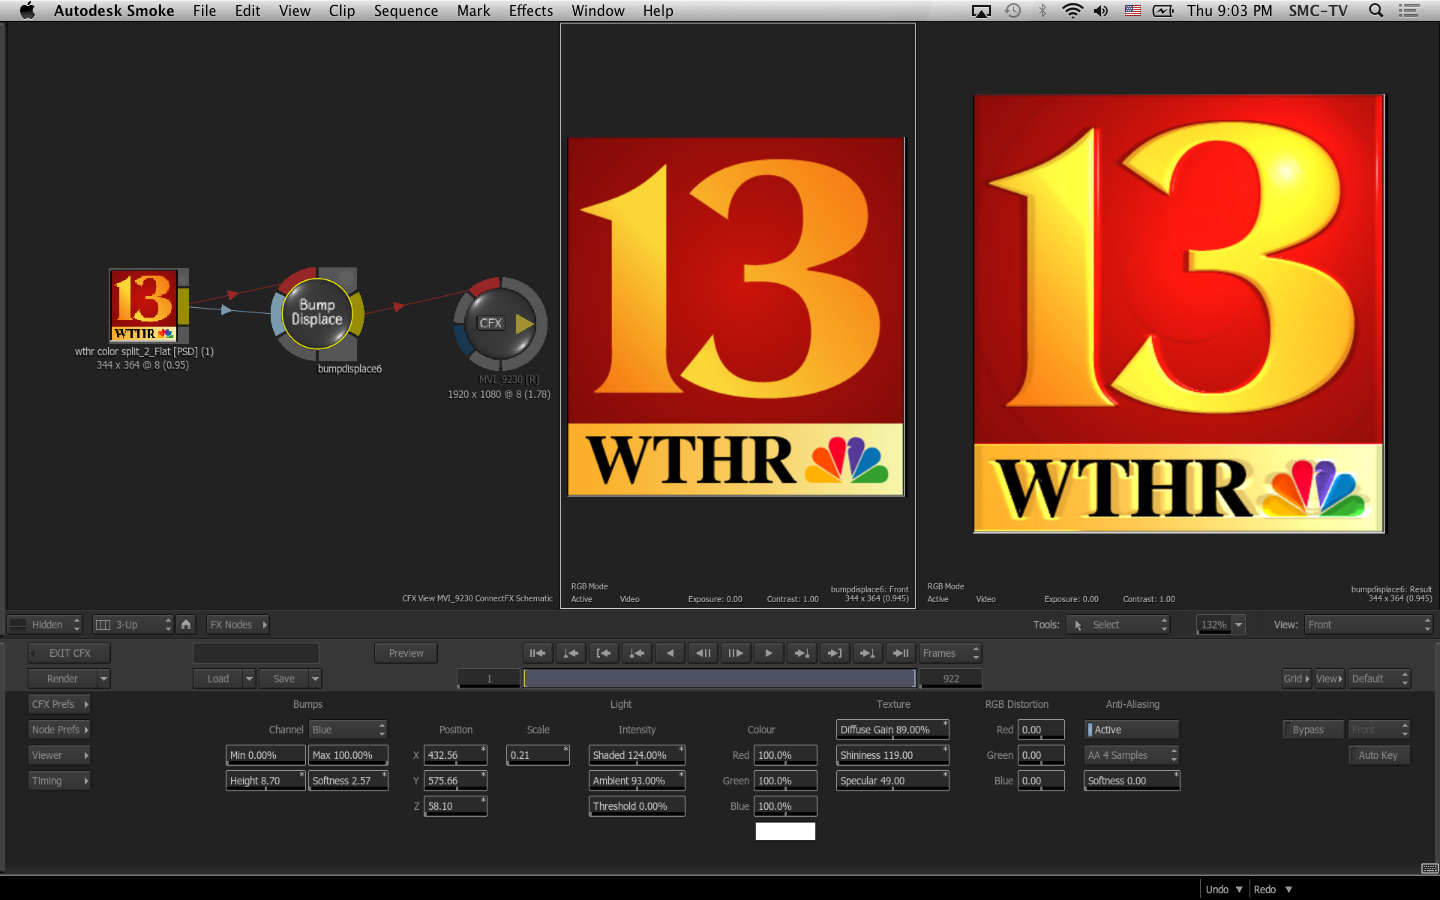
You have full control over the lighting in the scene to finesse the look of the emboss. You can adjust the position of the light, as well as the color. The image texture controls allow you to adjust the shininess, diffuse, and specular highlights. One nice feature is the ability to add a little chromatic aberration to the bump displace to give it a more realistic feeling. This is achieved by adjusting the individual RGB channels of the displacement.
[Click image for larger view]
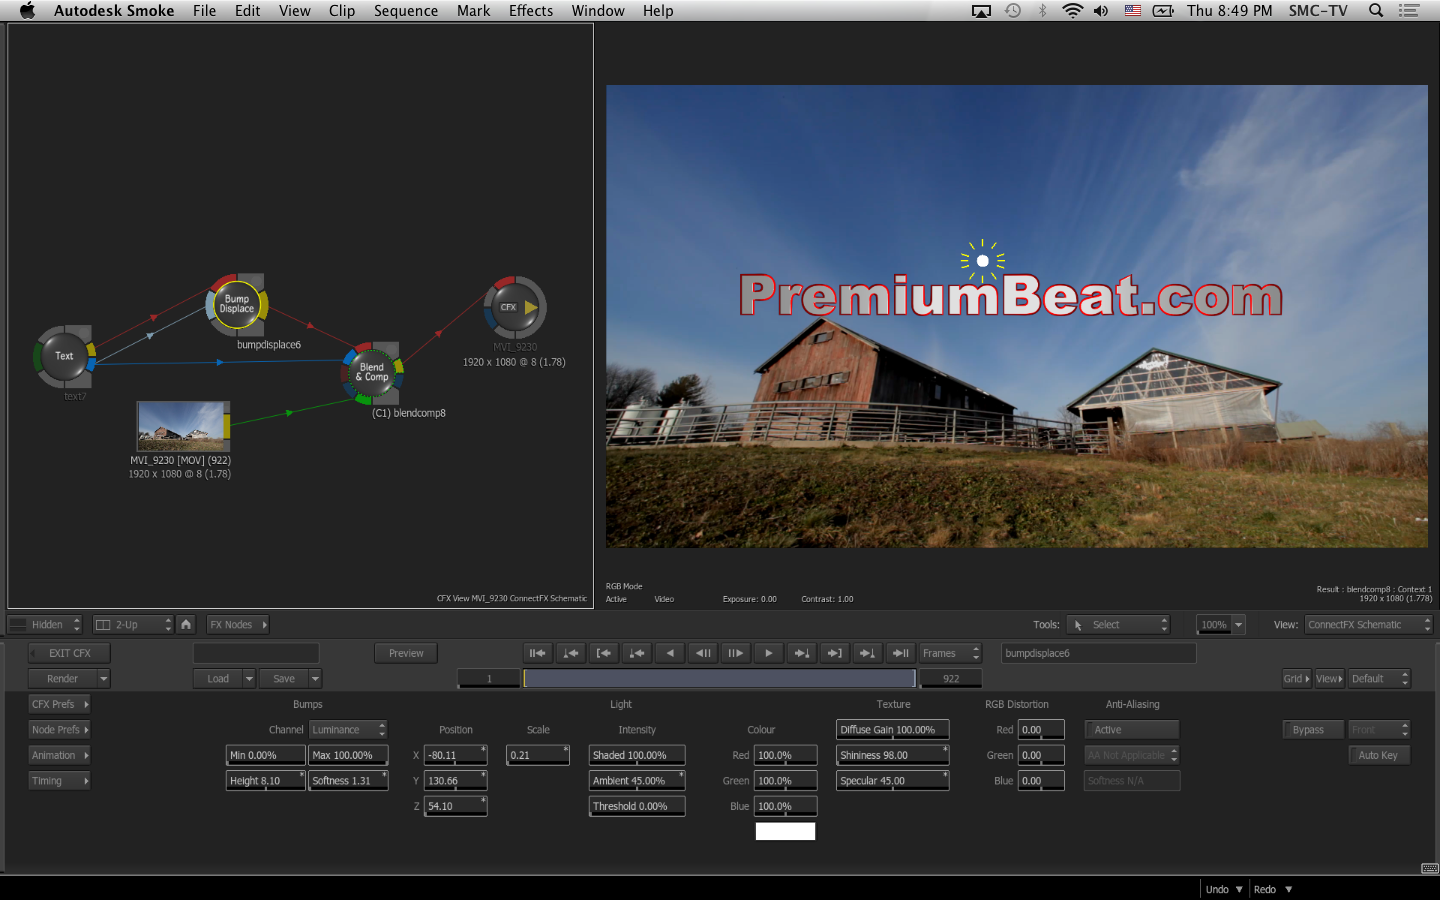
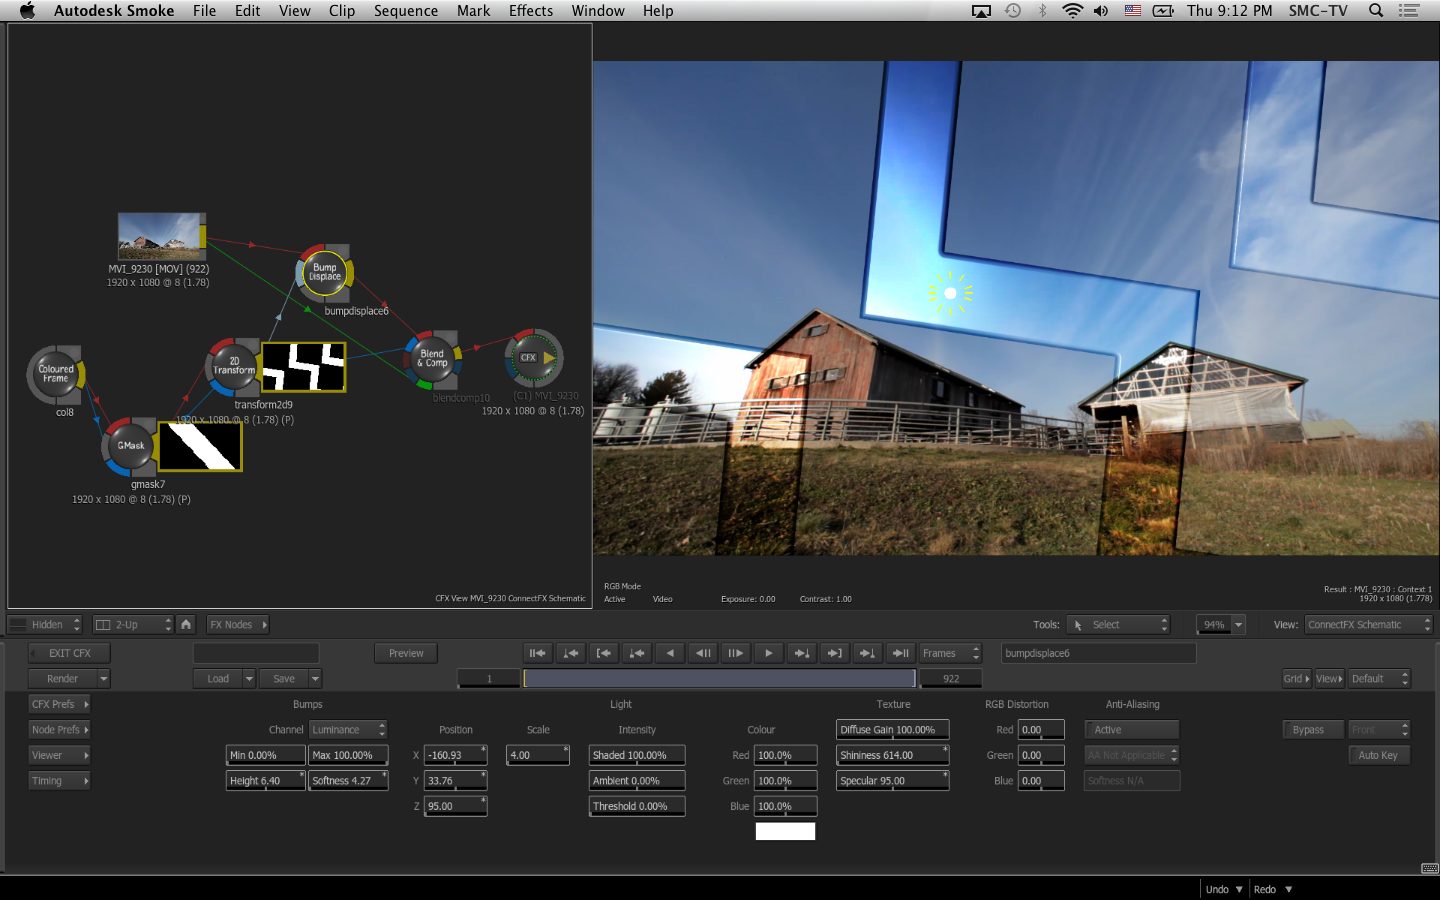
I like to use Smoke’s Bump Displace Node with a Text node to give the text a little depth in my composite. You can also use the bump displace to create a glassy overlay by using it with simple shape mattes. Often times an emboss looks cheap, and editors and designers will shy away from it. But I encourage you to explore the bump displace node. The depth of the controls can create some very subtle and classy looks that will elevate your final product. Take a look at some of the example setups in the following images.
[Click images for larger view]
Follow the Premiumbeat blog for continued coverage of Smoke 2013. In future posts we’ll continue our exploration of each of the Smoke ConnectFX nodes to how to best use them to improve your video edits.


