

Working with Alpha and Matte Clips in Autodesk Smoke

Working with alpha and matte clips in ConnectFX can be a bit tricky. Check out these tips & tricks to make the process easier when working in Smoke.

Often when you are working in Action and ConnectFX you want to create a clip with an embedded alpha or matte channel so that you can use it as a keyable element on the timeline. You might also want to export your clip so that you can use it in another program. Here are a few things to know about alpha/mattes in Autodesk Smoke to make that happen.
Smoke Treats Alpha Channels as RGB Clips
When you import a Quicktime, .TIF, .TGA, .PNG, or .PSD with an alpha channel, Smoke can create several clips depending on how you like to work.
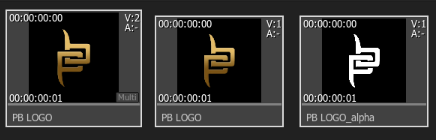
If you double-click on the MULTI icon on the clip in the MediaHub it will show you the alpha/matte channel of your clip. When opened you can selectively import just the alpha or just the RGB fill, or both.
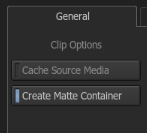
The Create Matte Container button on the General Tab in the MediaHub is enabled by default. What this will do is create a matte container (obviously) when you import the Image clip. A Matte Container is Smoke’s way of creating an embedded alpha channel clip for you to work with on the timeline or in ConnectFX. With the Create Matte Container disabled, when you drag a clip in in this mode, Smoke will automatically split up your image into separate Fill and Matte clips.

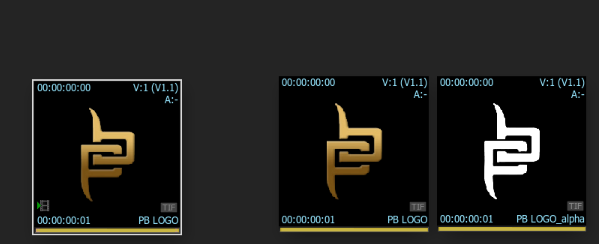
Once your clips are imported, you can see how the clips end up in the Media Library. A Matte Container will have a Sequence icon next to it, since it is actually a multi-track sequence.
Since this Matte Container clip isn’t really an edit, it would be nice if there was a better icon in the Media Library for it. Like an MC similar to the FX icon for effects. If you look at the clips in thumbnail view you can see how Smoke sees alphas as high contrast RGB clips.
In the timeline a Matte Container clip is is a dark blue-gray color in contrast to the pale blue-gray of normal source clips.
Inside a Matte Container
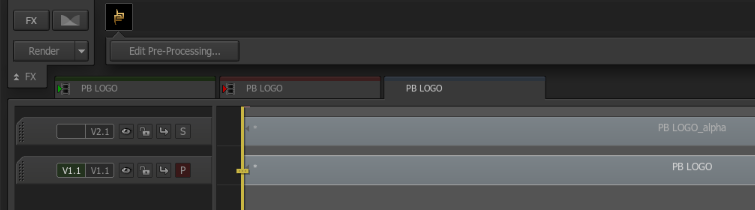
What’s inside a Matte Container clip? By clicking the OPEN button in the FX Bar, your Matte Container will open and display as a new tab in the timeline area.

The new tab will also be the dark blue-gray. You can now see that Smoke creates a multi-channel sequence which contains the clips just as if you had imported them as split clips. Matte Containers don’t key over other video layers automatically. You need to add an AX (axis) effect to it and then it will key.

In Smoke, Matte Containers are similar to regular containers in that they contain multiple video layers, but Matte Containers have both Primary and Secondary video tracks.
Working inside ConnectFX with Matte Containers
In previous versions of Smoke, where the effects were modular based, it was common to always have your Front clips and your Matte clips separate. This was due to the fact that you loaded clips into modules one at a time. So Matte Containers were really only useful on the timeline. Yet, they weren’t friendly for effects work. Now in 2013, I find Matte Containers, created and imported via the MediaHub, is the preferred way to work in Smoke.
Matte Container clips when brought into ConnectFX have a video output and a matte output. This makes it easy to pipe your front and matte into any of the effects nodes.

Since the clips combine front and matte, they help keep the schematic nice and clean. When both connections on the clip are made, the clip will show you a slip screen in the proxy to show you that the front and matte is being used.
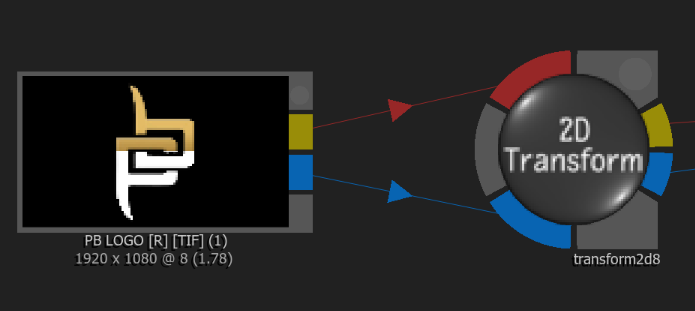
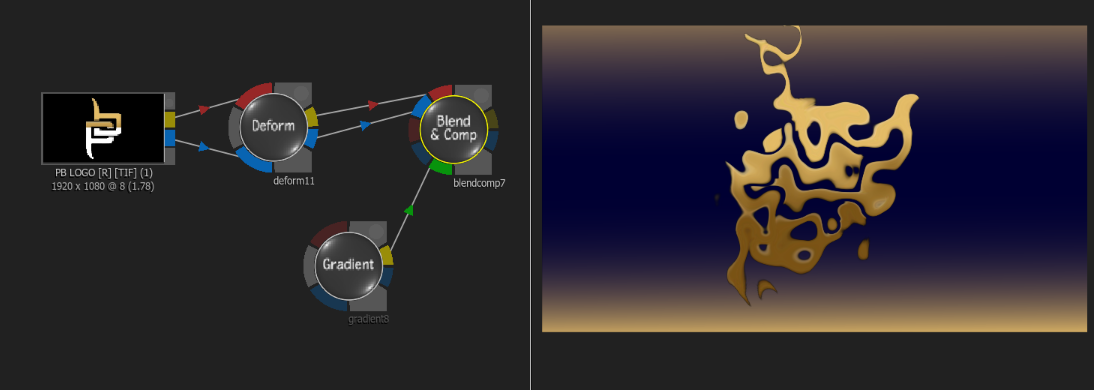
Many nodes like 2D Transform, Blur, Deform, Glow, all of the keyers, and more, both accept front and matte, and then effect the clips and pass the effected front and matte onto the output. So if you use the Deform node to warp a logo, both the front and matte get warped and output.
Working with Action
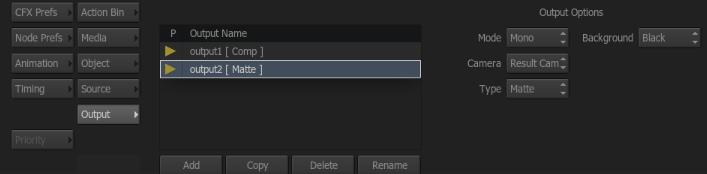
Action has the ability to add multiple outputs and select what gets outputted. One of those output selections can be a Matte output. Once you add a 2nd output to Action you will get a new output connection on the node. You are free to then take that matte output and pipe it into other nodes along your schematic.

Outputing Mattes from ConnectFX:
There are 3 ways to output mattes from ConnectFX.
1. Simply connect your final matte result and pipe it into the matte input on the CFX result node. This will create a CFXa result. When you exit back out of CFX your resulting clip will be a CFX clip with an AXIS effect on the timeline. The Axis effect allows the CFXa clip to be keyed over another clip.

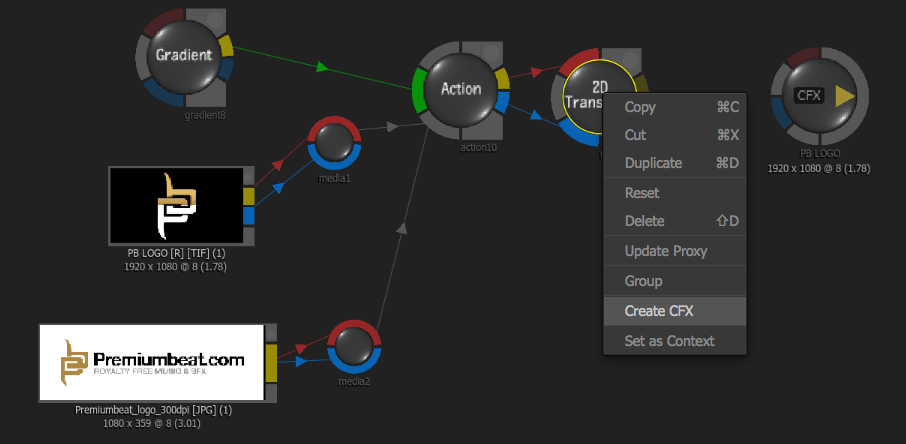
2. Add a 2D Transform node as your final node which will accept your final result Front and Matte that you want to save as an element outside of CFX.
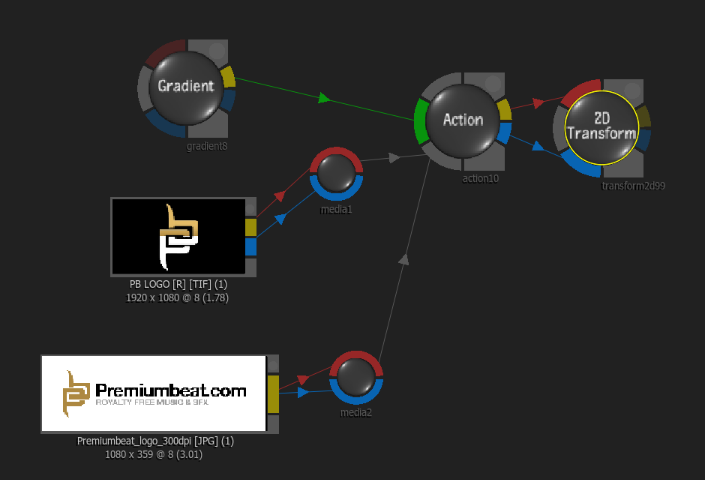
Now, create a CFX Clip.
The resulting clip will have a front and matte result and be a CFXa clip. You can’t create a CFXa clip from Action, even with an an Matte output created. So the 2D Transform allows us to create what we need.
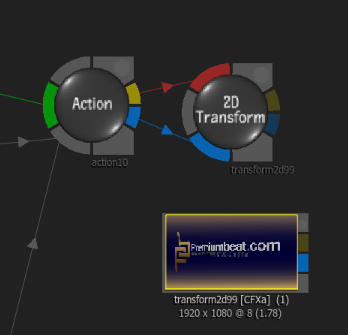
You will see this clip in your CFX Sources folder.

Copy that clip into your Media Library. You will see that it is a CFXa clip but without an AXIS node. When you drop this clip on the timeline, add an Axis effect to enable the matte and it will key over another track.

Since this basically creates the same thing as in option #1, but with more steps, you may want to use the Create CFX option when you want to save off just part of your schematic.
3. Another method would be to just pipe the your final matte output into the Front result on the CFX node. Then when you exit out, you will just have the matte as a clip if you want it separately.
Exporting a Clip with a Matte:
With a CFXa clip in your Smoke timeline, even with an axis effect, you still don’t have a physical matte clip. This can be created by selecting the clip in the timeline, right-clicking to get the context menu… choose Commit, then Commit ConnectFX.
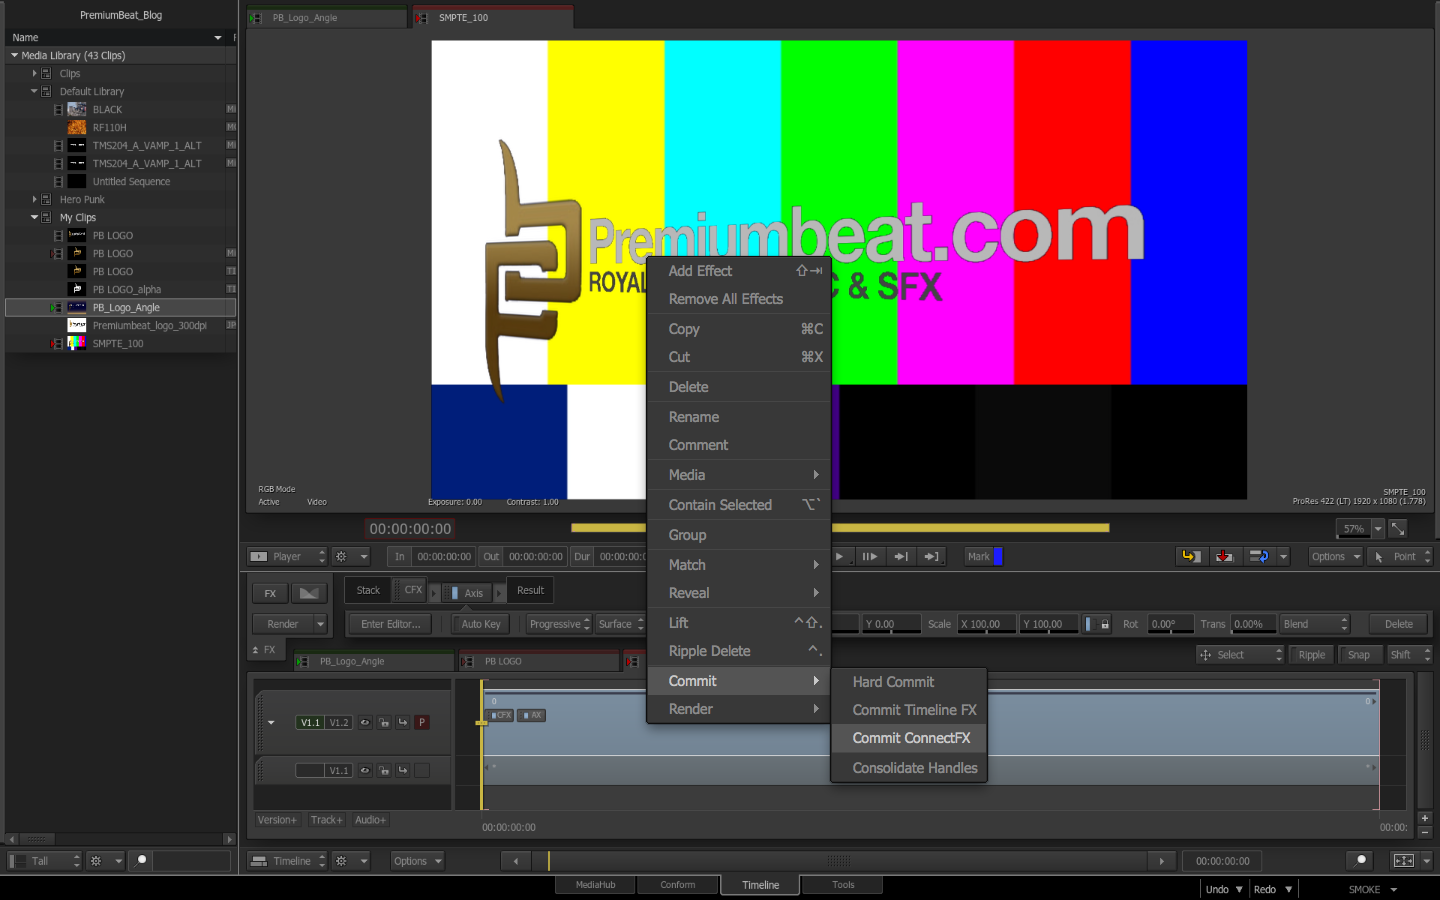
This will hard commit the CFXa clip and create a Matte Container.


If you look inside the matte container, you will see the newly created media containing your front and matte clips. Note: this will wipe out the CFX effect, so it’s wise to make a copy of your CFX clip to another layer or to your Media Library in case you need to access it later.
If you copy this clip to your media library, it will be available for export.
You can export this matte container as a Quicktime or Image sequence. The .mov or image sequence must use a codec that can support an alpha channel. This would be Prores 4444, RLE (animation), PNG, and Uncompressed for Quicktime. For an Image Sequence use TGA, TIF, or OpenEXR.
Working with alpha channels isn’t as transparent in Smoke (no pun intended) as in other programs like After Effects. However, the separation, even in a Matte Container, allows you to use many of the nodes in ConnectFX that directly effect mattes. This allows you to have complete technical and creative freedom in effecting both video and mattes.
For more information on working with Mattes in Smoke. See the Autodesk Smoke Learning Channel for a multipart series.


