
3 Visual Effects You Can Create with a Whip Pan Transition

In this video tutorial, learn three straightforward ways you can create your own movie magic with these easy whip pan transition tricks.
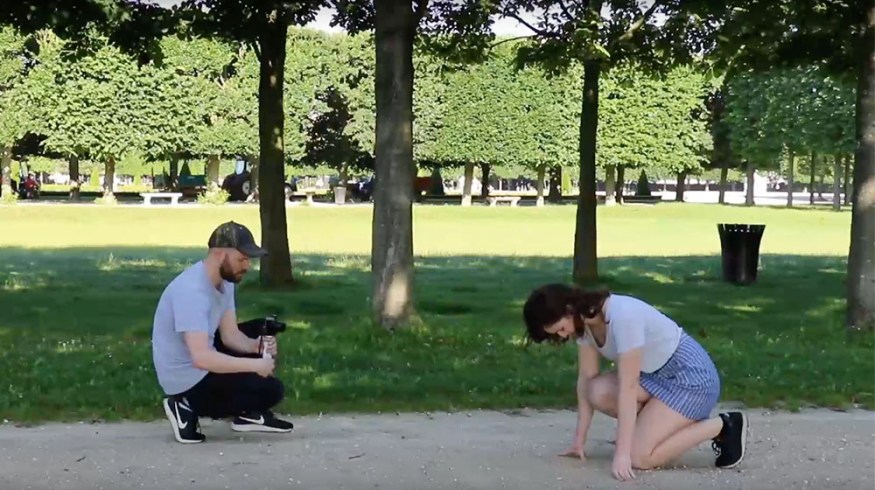
A whip pan transition is a stylish way of editing two shots seamlessly together into what looks like one. The secret of the whip pan is that you hide an edit in the middle. While you can always use this to help stylize a standard edit, I’m going to show you how to create some flashier visual effects. Three visual effects, to be exact.
1. Clone
Our first effects shot is the clone, which is quite simple. Here I’ll make a “clone” of my subject and have her wave to herself.
https://gph.is/2lHGyJS
So as I said before, the whip pan transition consists of at least two images. First, I will shoot a medium shot of my subject waving to a person offscreen. I’ll hold the shot for a few seconds and then whip a quick pan out to the right. For my second shot, I’ll shoot a simple reverse angle of the same subject waving back. Since this is the second shot, I need to transition into the shot with a whip pan.
The key to making the transition work involves hiding the cut. To do this, I need to keep a few things in mind while I’m shooting. For example, I will shoot the pan movement of both shots at relatively the same speed so they match. I also need to make sure I’m going in the same direction so that the first panning shot flows into the second. Lowering the shutter speed will increase the motion blur, which will hide the edit better.
Lastly, if I want to have a sequence of whip pans, I need to make sure I properly transition in and out of each shot. I need to pay special attention to the correct direction and the amount of time I hold each shot.
2. Superhero Run
For my second visual effects shot, I’m going to give my subject superhuman running skills.
https://gph.is/2KtLTzb
First, I’ll shoot her running directly in front of the camera with a whip pan immediately after she passes by. Then, I’ll have her do a second take, this time performing the same pan after she is a good distance away from the camera. When I cut the two shots together, it looks like she’s covered a long distance in the small amount of time it took to pan the camera. I can finesse this transition by increasing the speed of each shot ever so slightly.
If you want to avoid the camera shake, simply shoot on a tripod. An added benefit of using a tripod is that you will be able to more efficiently change the speed of a clip. It’s easy to spot a handheld clip that’s had the time remapped.
3. Knife Throw
Disclaimer: I’m never actually throwing a knife. That would be extremely dangerous. (For safety purposes, I’m using a butter knife, as I do not have a prop knife.)
https://gph.is/2Kqpjr3
This transition is a bit more complex, as the timing of the two shots needs to be perfect to make the illusion work. For the first shot, I’ll have my subject pretend that she’s throwing the knife, but she’ll never actually release it. I’ll start the whip pan as her arm is about halfway into the throw.
For the second shot, I want to create the illusion that my subject’s clone is catching the knife. For timing and safety purposes, I’ll shoot the second shot backward and then reverse it in post. Since this transition is a bit more complex, it’s important to do multiple takes because many of these shots won’t fit together smoothly in post.
So there you have it — a few visual effects shots you can pull off with the whip pan transition. Hopefully, these will inspire you to think up some of your own shots.
Looking for more video production tutorials? Check these out.


