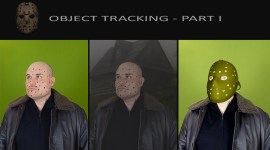
3D Object Tracking in a Custom Video Clip — Part II

Let’s pick up where we left off! This time we’ll be showing some improvements in the 3D integration and completing our custom video clip.
In our previous article of this 2-part series, we showed some excellent features in PFTrack. Not only does this software solve real camera movement, but it also performs 3D object tracking.
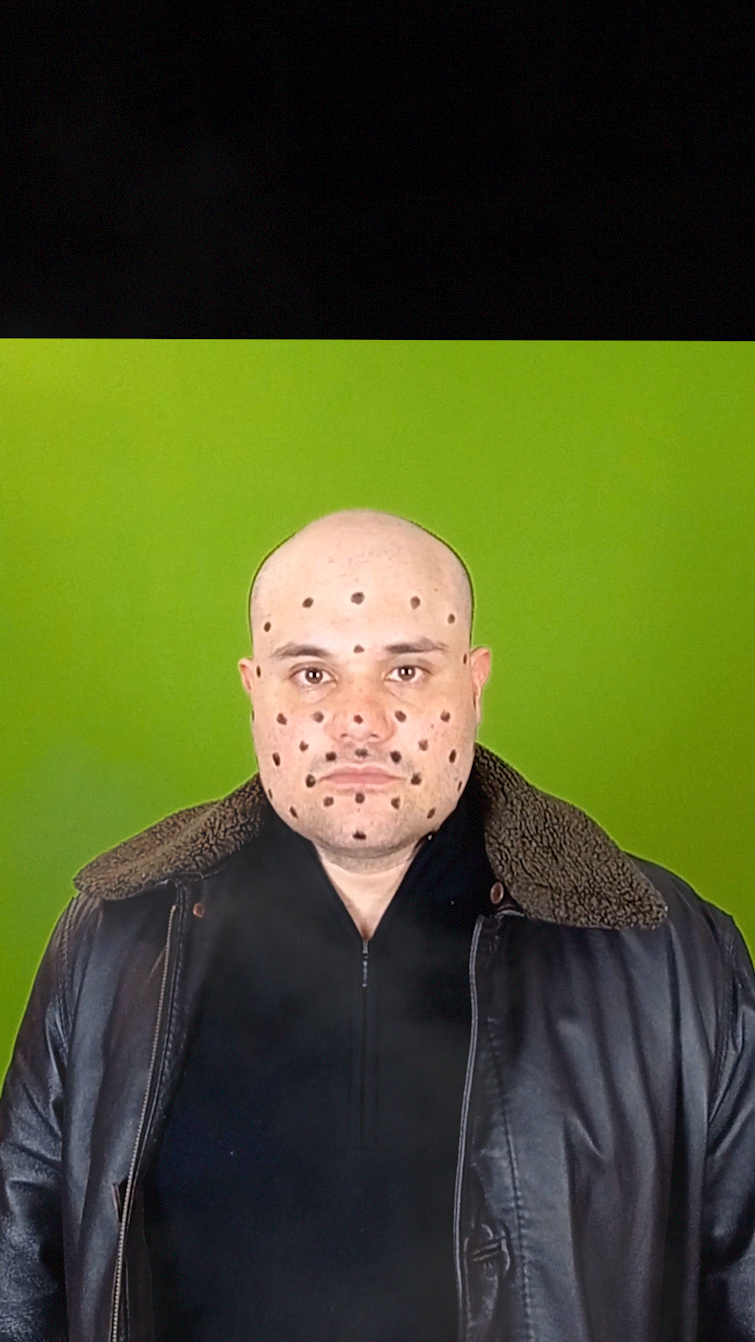
In the first step, we came out with a short clip of myself over a green screen. Secondly, we introduced a 3D mask that has to follow my head movement most accurately. So far, so good!
By playing this short sequence, we notice how we matched the 3D mask to the head rotation.
However, there is still some work to do on the mask because the laces, for instance, don’t have a proper shape around the head. In the same way, we want to prepare the clip for the final render, but the shot needs some additional elements for an effective result.
In a nutshell, we still need additional tweaks and integrations to produce quality 3D work. What we’ve just seen is the result of the object tracking.
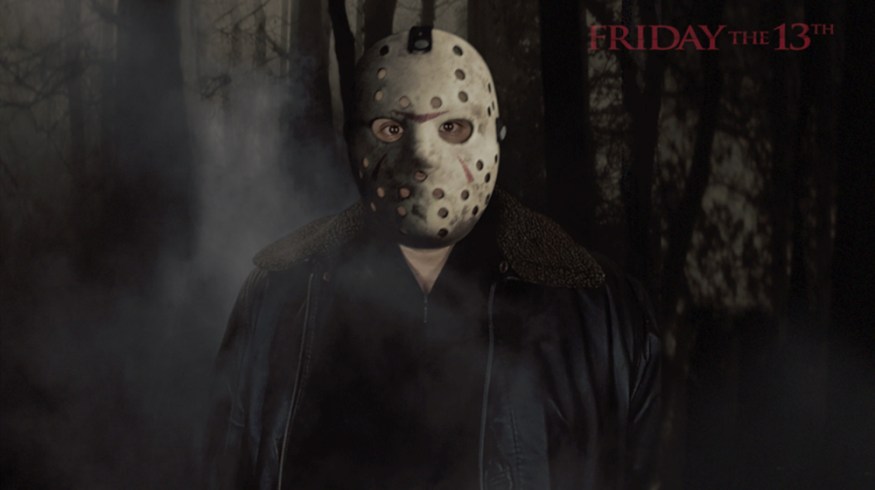
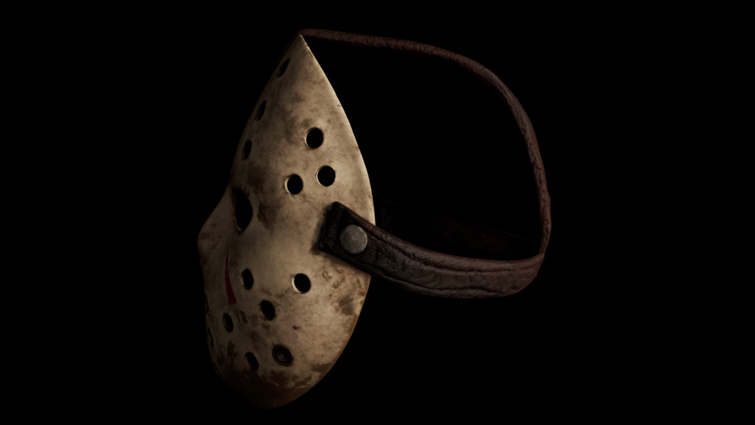
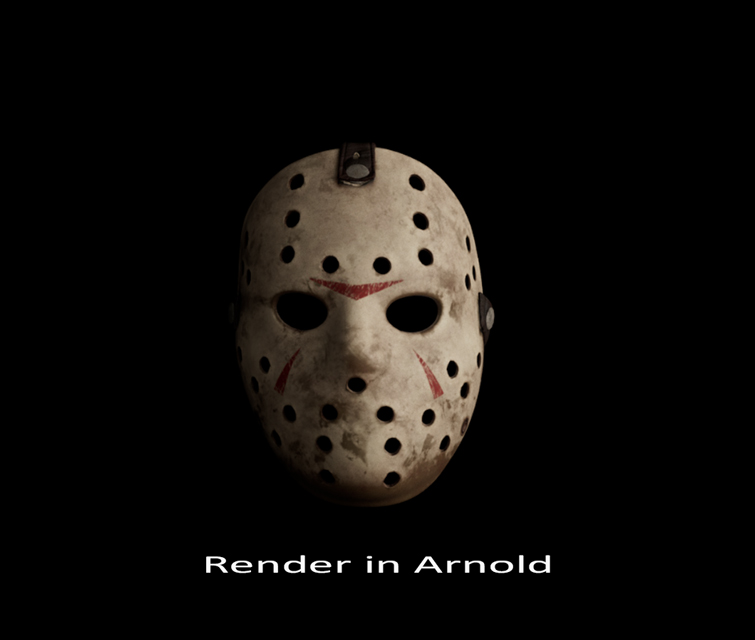
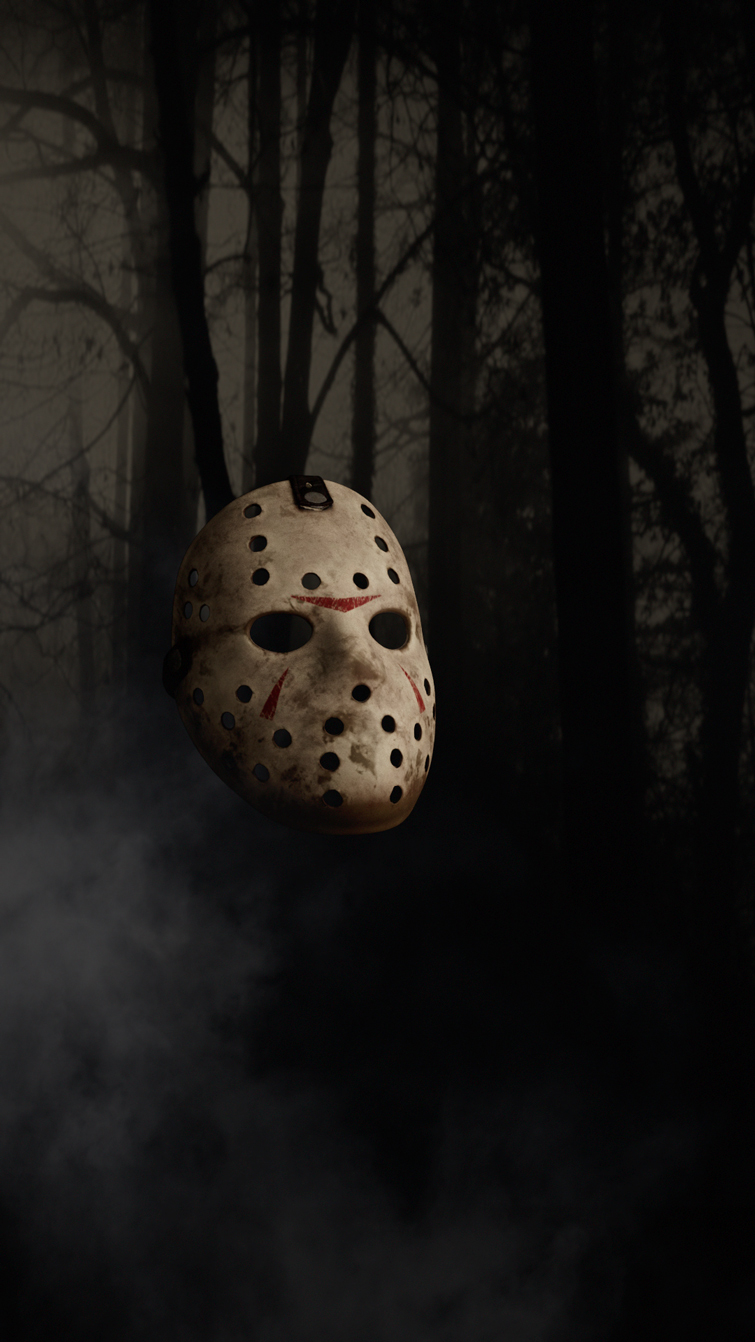
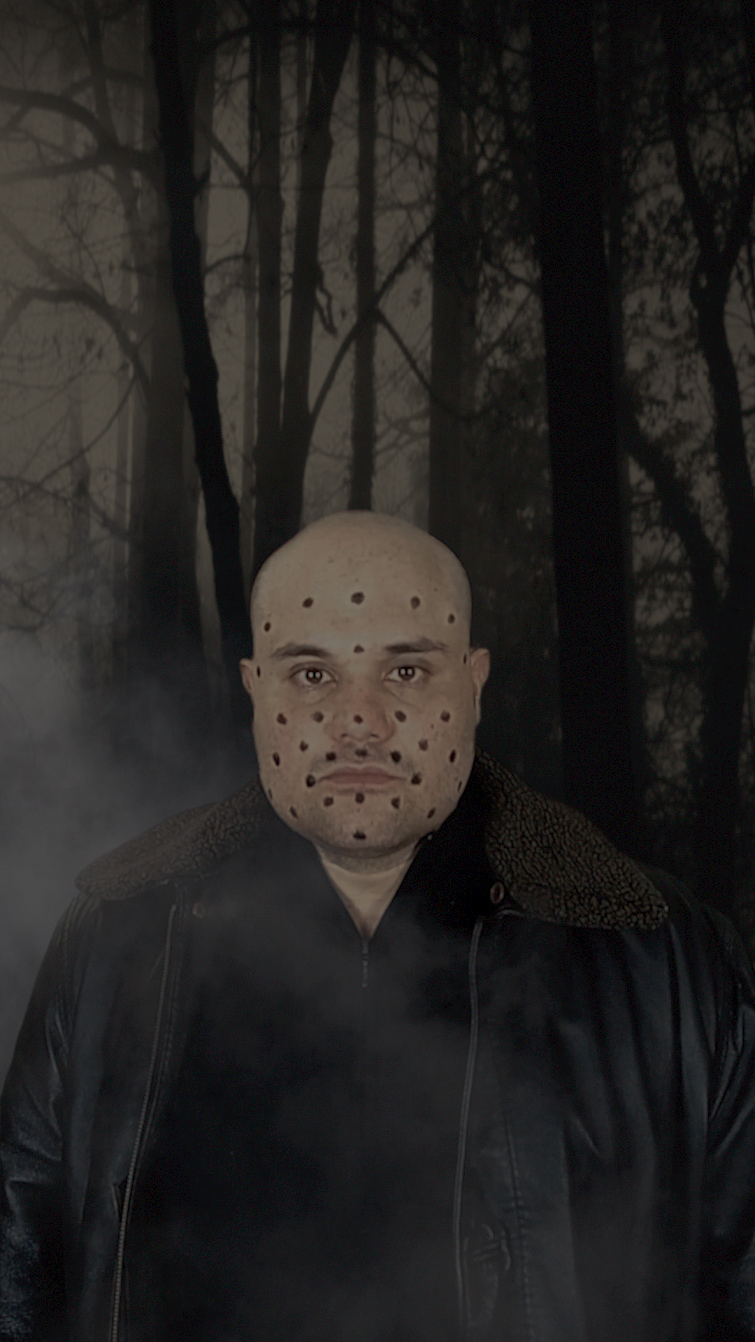
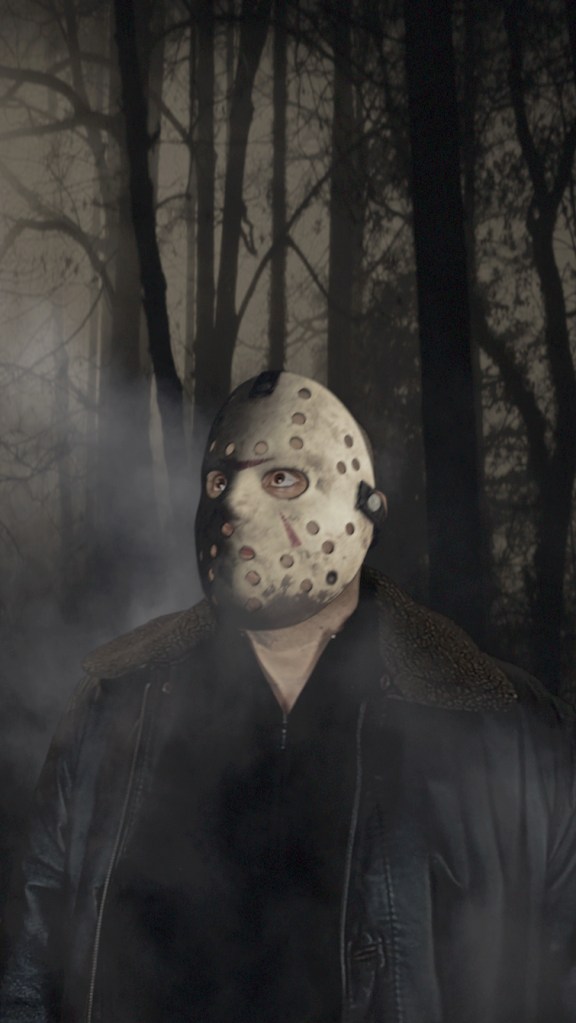
The final result will be something like this:
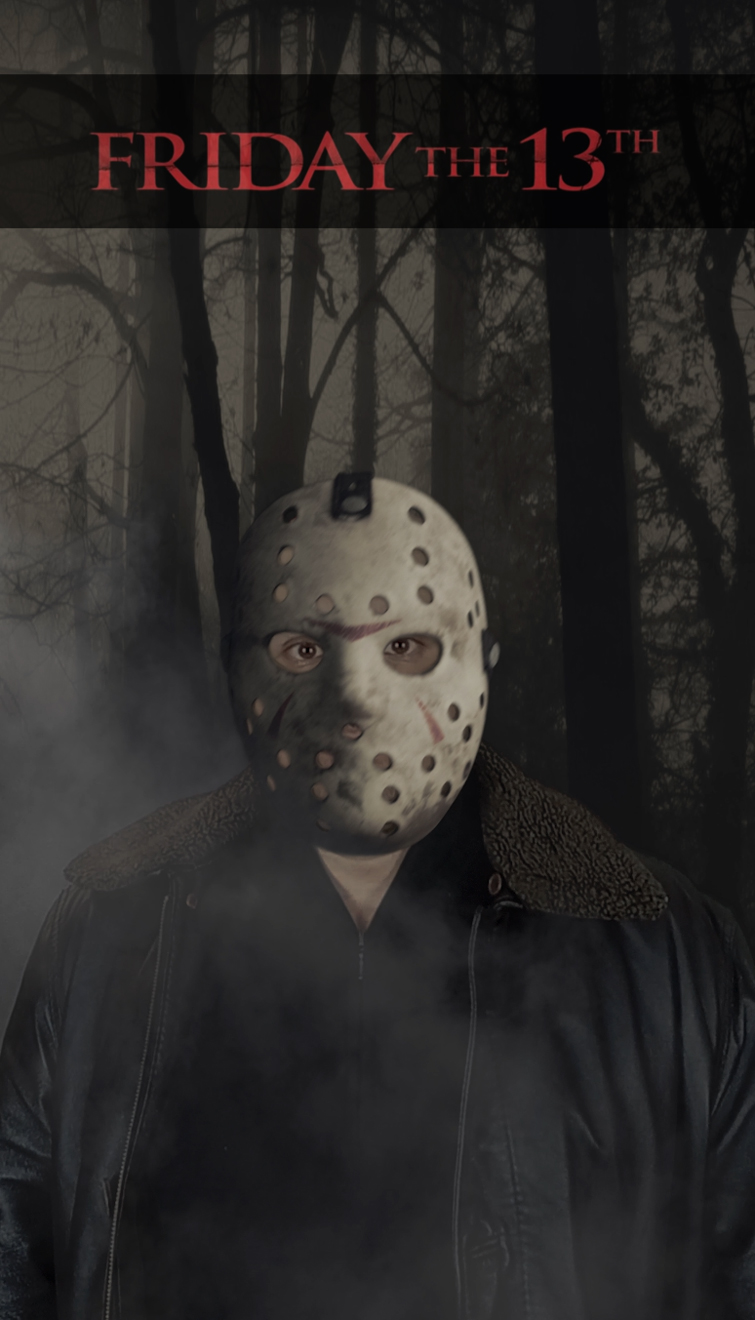
There are many activities to undertake before getting into this final result.
This is the checklist:
- Solving Lace Positions
- Creating Matte Geometries
- Shading Matte Geometries
- Building a Shading Network for the mask
- Lighting and Rendering
- Green Screen Removal
- Compositing, Color Correction and Final Export
Let’s get into the 3D software and start our journey!
Playing the Shot in a 3D Software
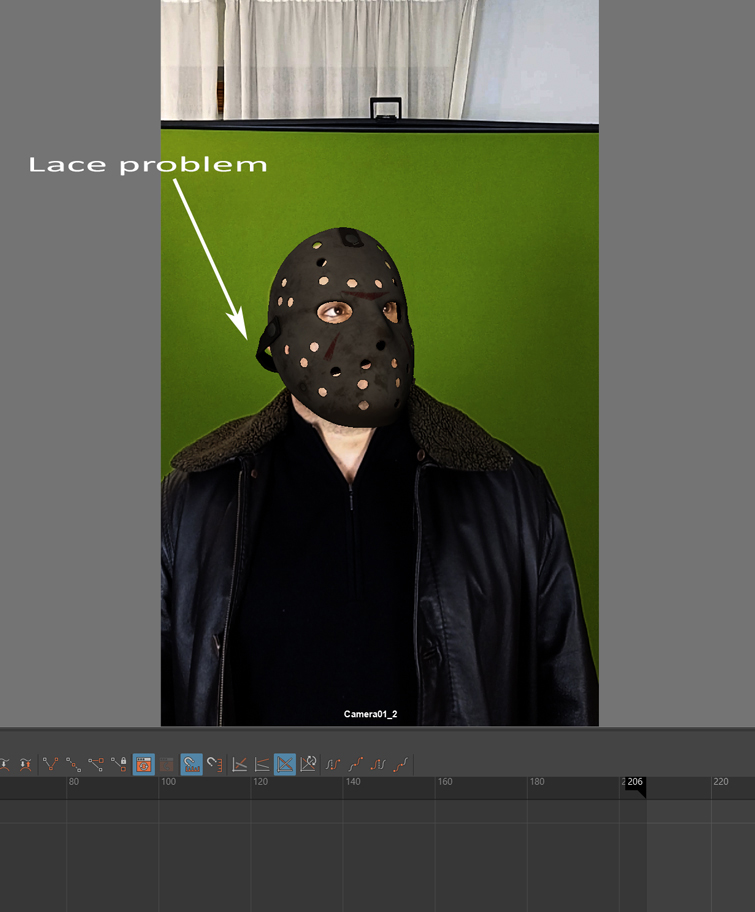
After the export from PFTrack, the shot plays in our preferred 3D software as expected. Nonetheless, we face two main significant issues.
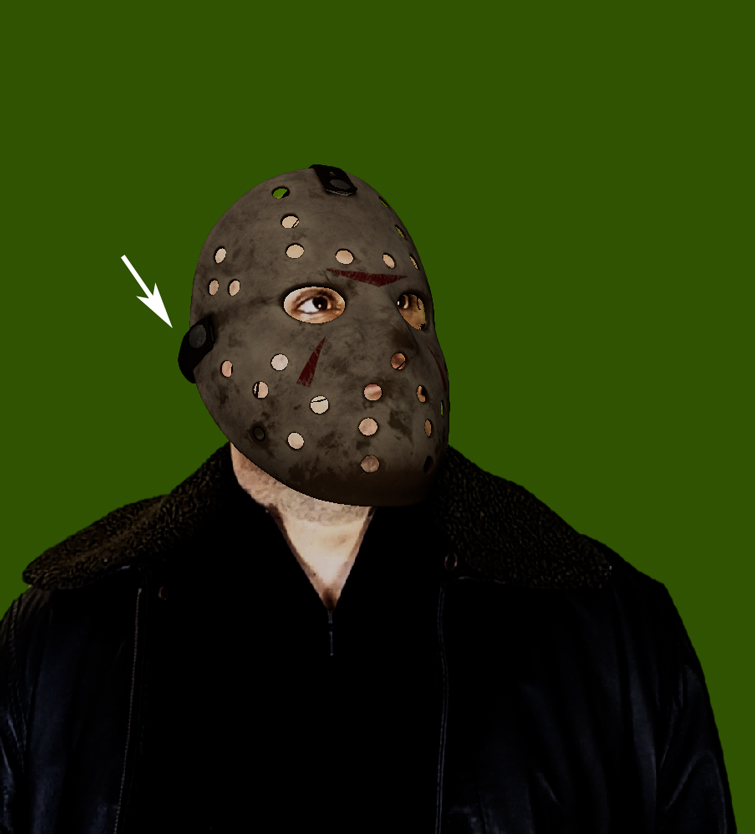
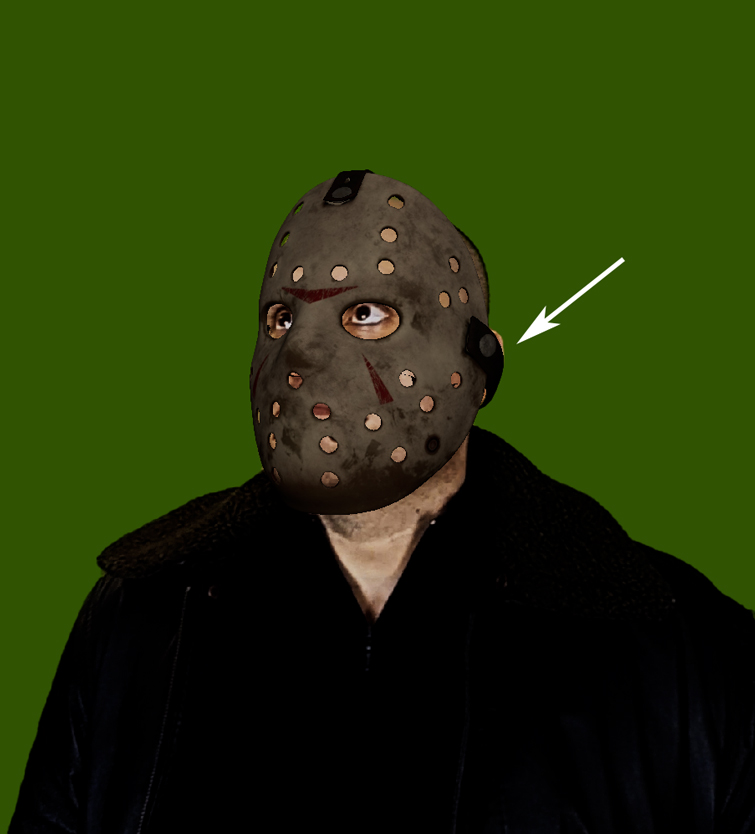
The side laces don’t encompass the head adequately in a few frames. Even worse, they are visible through the mask hole, as there is no 3D geometry masking the back of the scene.

Let’s get through those main problems and find a proper fix.
Solving the Lace Position
Honestly, this step might take a while to obtain a decent result. The mask has three laces—one at the top and two at the sides. They have to match the head profile accurately.
Generally, there is no specific tool to use, but as a rule of thumb, adopting less destructive techniques is commonplace. Remember to iterate over the clip repeatedly and check that the laces are spot-on for every frame.
If you have other alternatives, avoid using direct vertex manipulation to reshape the laces. It might work in some occasions—like moving small portions of the mesh—but here, we have to apply big changes. Depending on the software used, you should take advantage of modifiers causing neither stretching effects nor strange deformations overall.
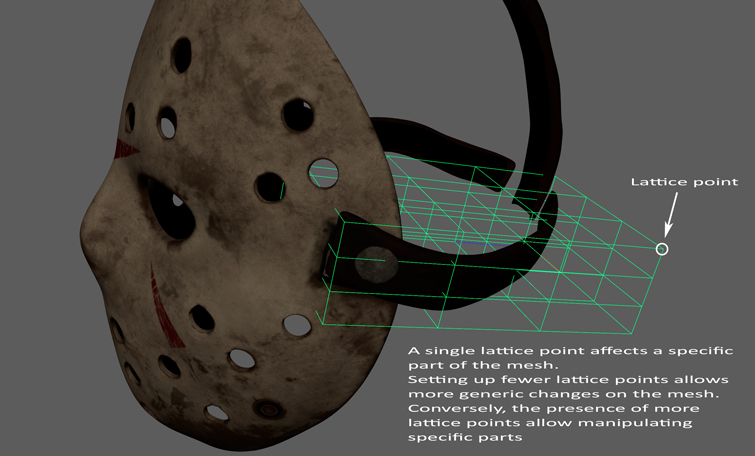
In Maya, for instance, I found the lattice tool a great solution. It simply creates a customizable number of control vertices—aka lattice points—around the geometry, each of which controls a specific portion of the mesh. Consequently, you change the shape of the lace by moving lattice points in 3D space. That way, it’s easy to manipulate the model without causing strange deformations.
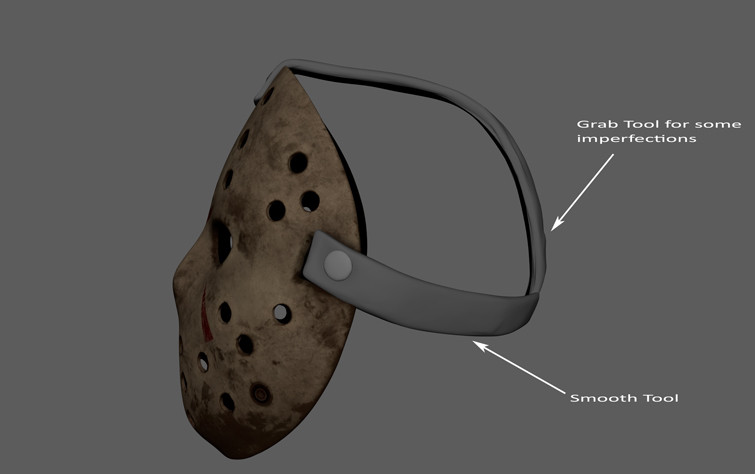
Smooth the geometry by applying a few sculpting tools. Despite using a deformer like a lattice, you might introduce some small stretching effects anyway. To avoid that, Maya offers a series of sculpting tools.
For me, the smooth, relax, and grab tools do their job!
If you think of rendering out with the mask and the laces, you are preparing your scene incorrectly!
If it’s true that the mask hides a significant portion of the head, we still see part of the laces through the holes, unfortunately. So, how can we hide what has to be hidden according to the camera’s point of view?
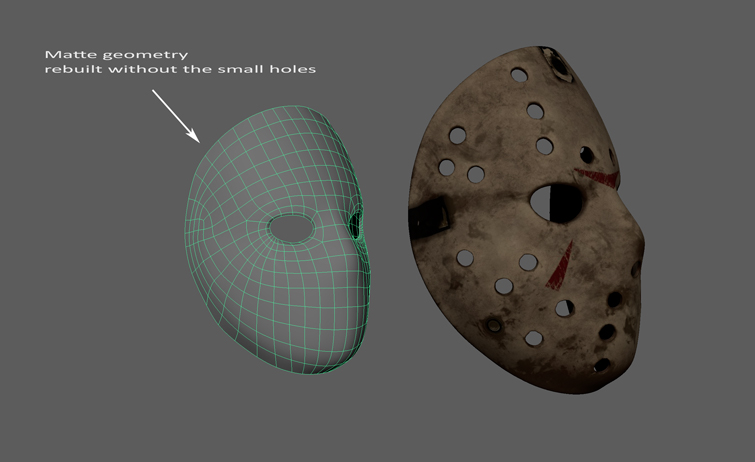
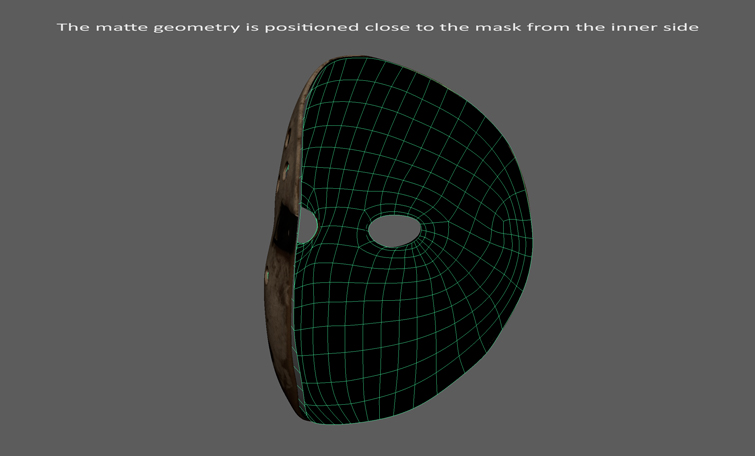
The answer is relatively straightforward. We need to add some additional meshes working as matte geometries.
Simply put, everything behind a matte geometry, from the current perspective, is invisible and not rendered. Since the laces appear through the holes, duplicate part of Jason’s mask geometry but remember to fill the small holes. Afterward, position it just behind the original mask.
If that might sound a bit complicated, let’s make things easier through self-explanatory images.
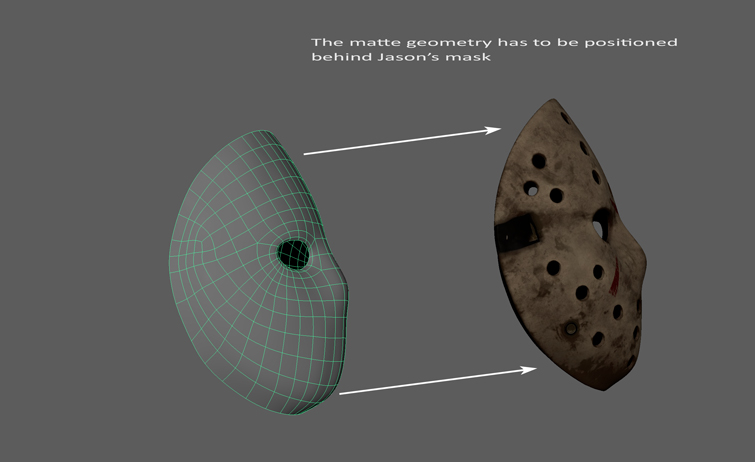
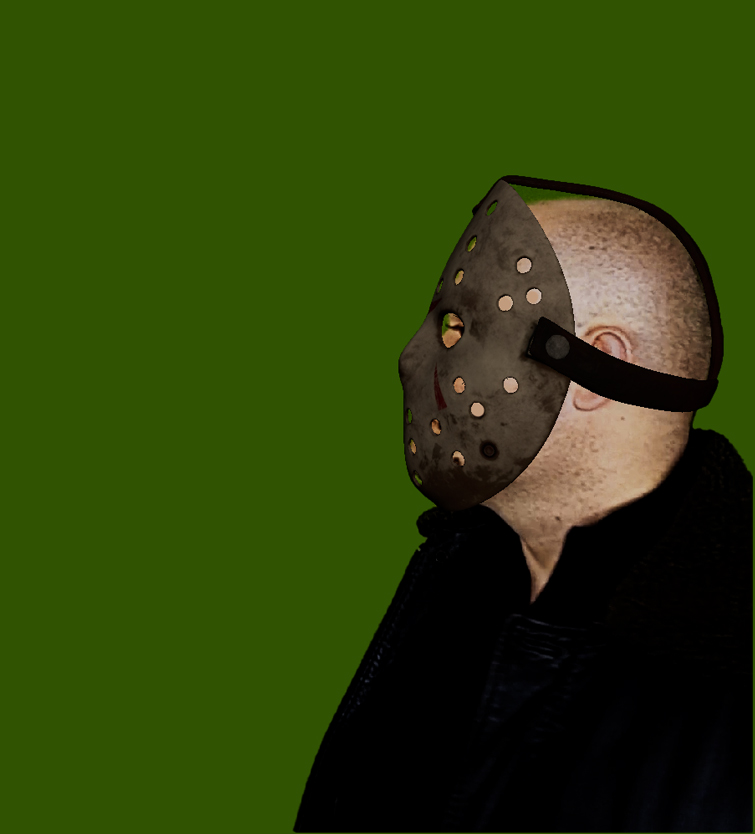
While the character rotates, the laces are not rendered as expected. Particularly, from the side view, we observe the lace on the opposite side—it should be blocked by a fake 3D head.
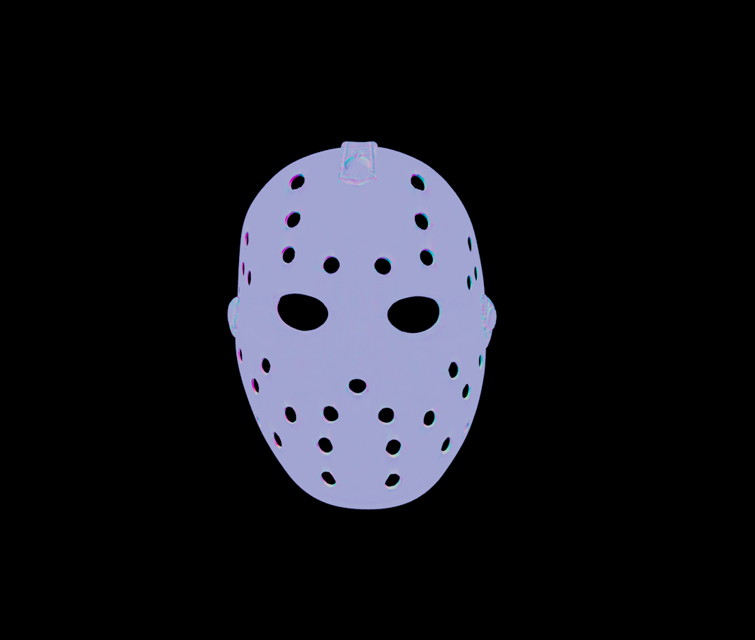
Now let’s build a rough 3D head shape behaving like matte geometry.
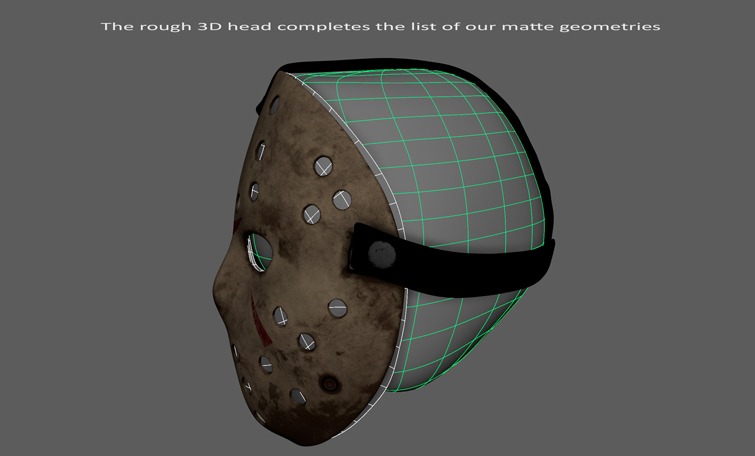
Remember not to spend a lot of time refining the look of those geometries. The only requirement is to approximate the head shape as best as you can.
We are almost done with the setting, but we still have to assign a correct shader to those geometries.
As you probably noticed, we extensively use the term”matte” when discussing those meshes.
Here the term is commonly referred to as a mask—not to be confused with our Jason’s mask—because it prevents the software from rendering what’s behind the mask according to the current frame.
Let’s have a quick look at the shading properties.
Shading Properties on the Additional Geometries
It doesn’t matter whether you use Maya, 3ds Max, or so on while working with shading. It’s enough to understand how to apply the correct settings.
In our case, we use Arnold as a renderer. If you are more accustomed to using another tool, go ahead!
Arnold offers a multi-purpose surface shader called “aiStandardSurface.” Check “Enable Matte” in the “Matte” section, where you also have two simple options:
- Matte Color
- Matte Opacity
The former set up a color—pure black in our case. The latter has an impact on the Alpha Channel.
To sum up, we build proper masking from the camera’s point of view, but without obscuring the original footage.
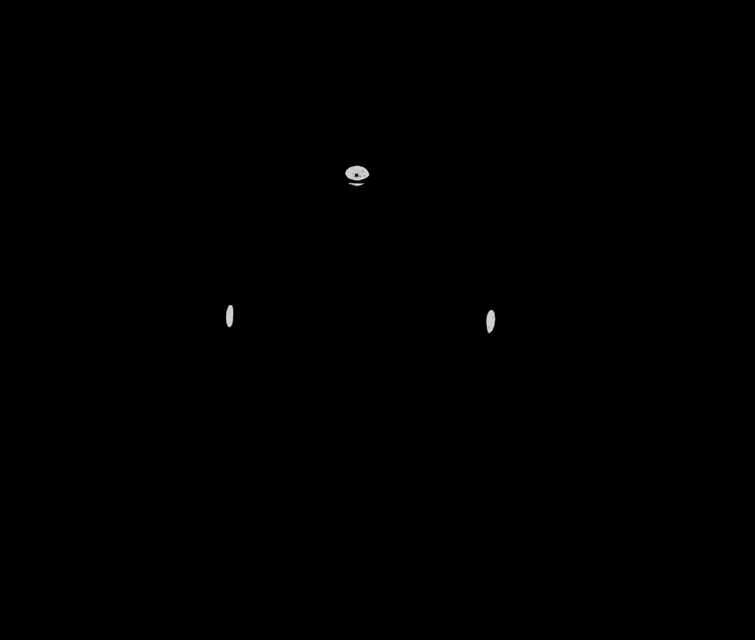
For instance, since the back lace appears through Jason’s mask at a specific frame, we must assign the different geometries a black matte color and set Matte Opacity to 0. The black color will hide the back lace at render time, while the alpha channel will let the eyes of the original footage reappear where they should be!
Let’s see a visual example.
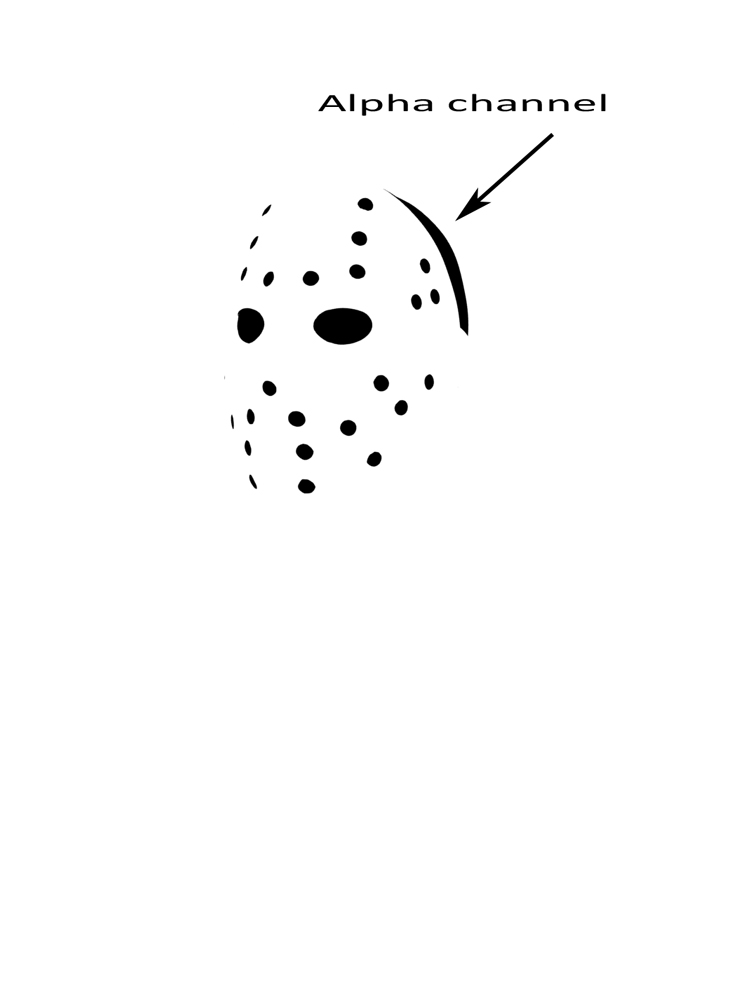
The Matte Opacity set to 0 creates an alpha where the holes have a black color. That guarantees that the original footage will be visible through the holes.
If we had set up the Matte Opacity to 1, the alpha channel would have been totally white, meaning it would have been impossible to merge the original footage in post-production.
Therefore, keep in mind the previous simple setup which works almost all the time. You have to integrate 3D models with video clips.
A Simple Shading Network for Jason’s Mask
Nowadays, almost all 3D assets contain a proper set of PBR textures.
To freshen your ideas, PBR stands for “Physically Based Rendering,” a trend in CGI that aims to enhance the way light interacts with 3D objects. That means better materials, accurate shading, and so on.
That being said, Jason’s mask has a set of PBR textures which are:
- the Albedo map, which holds just the color information
- the Roughness map indicates where the surface shows blurry or sharp reflections
- the Metalness map is used to indicate metallic parts of the mesh.
- the Normal map stores the normals at the surface in order to simulate fake details such as bumps, crevices, asperities, etc…
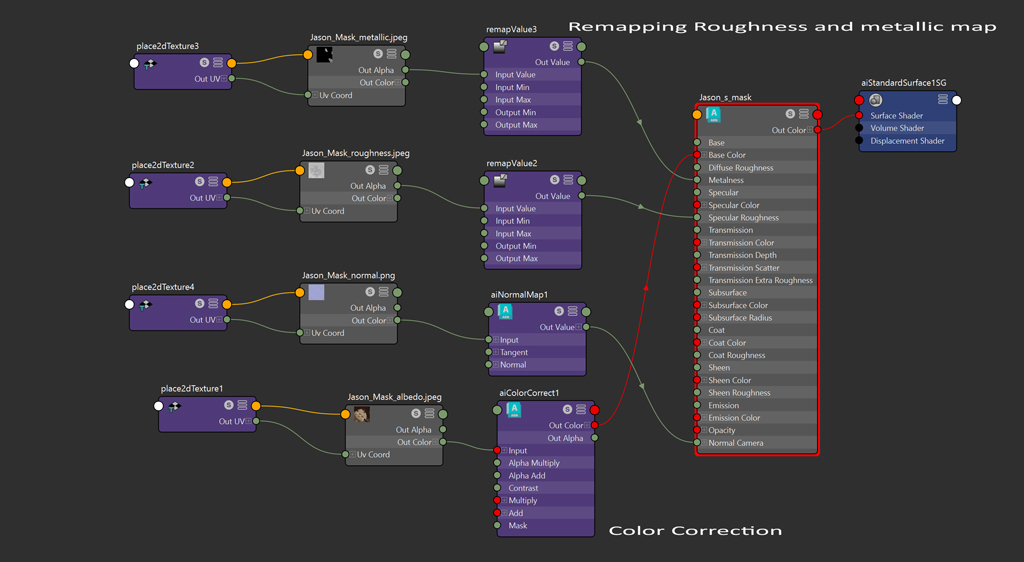
Working with the previous textures means adopting a metal/roughness workflow.
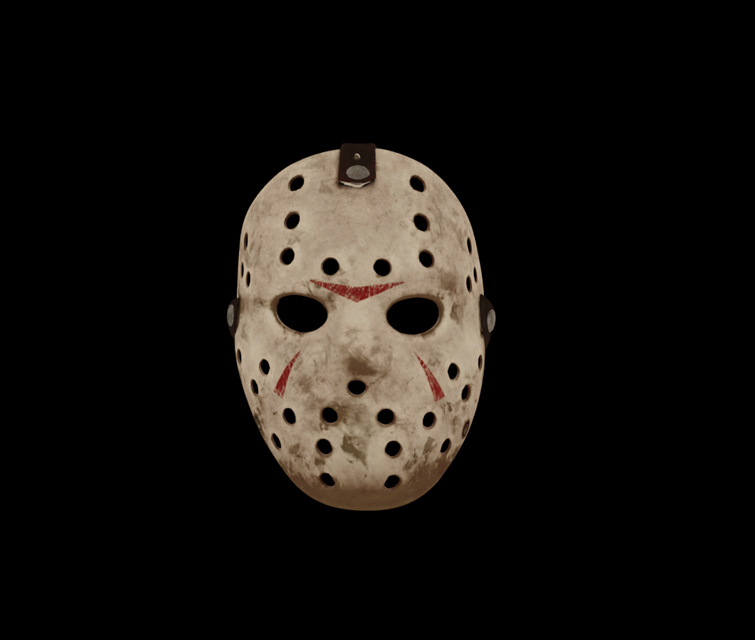
The albedo map is represented by some dirt. We altered the roughness values to have a blurry and shallow reflection. The metalness has only an impact on the metal buttons, while the normal map mainly affects the laces, and that will be visible in our final render.
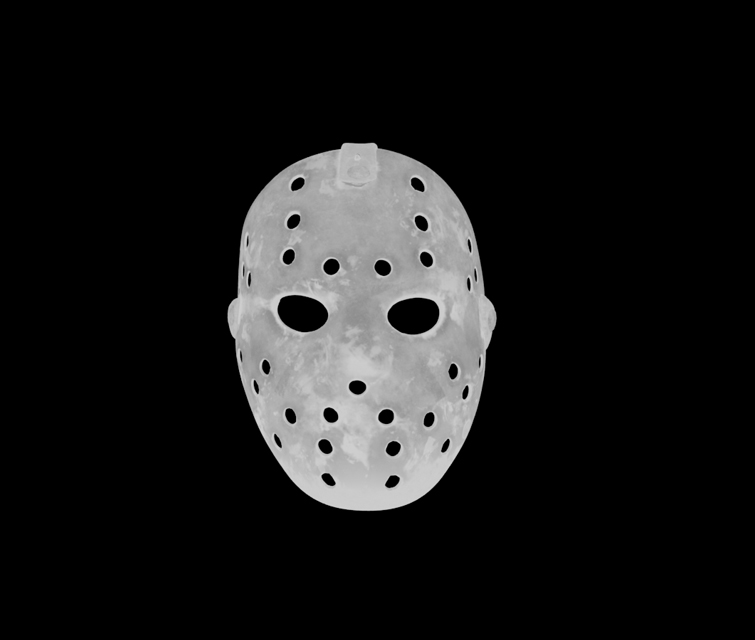
Here is the shading network in Maya with some easy tweaks on the roughness, metalness, and general mask color.
A Few Considerations About Lighting
In the original footage, as mentioned in part I of this series, I utilized two softboxes—one from the left and one from the right. Furthermore, the intention was not to add any strong lights on the subject. Instead, the softboxes served as light sources for the green screen. In fact, backdrop removal in compositing is much easier if the green background is uniformly lit.
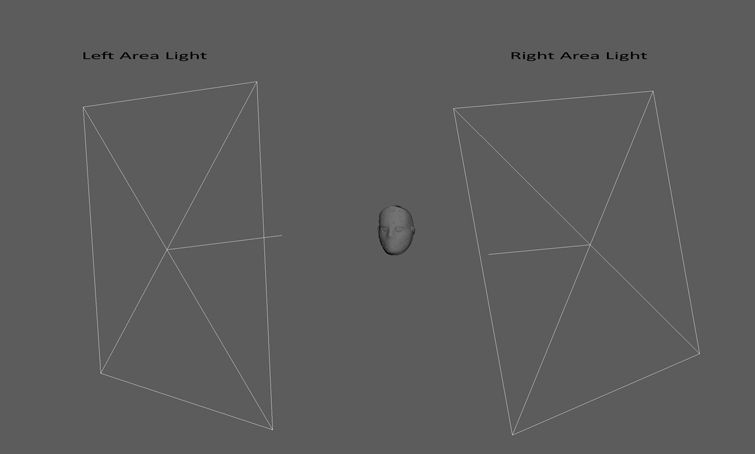
That said, since the original character doesn’t have a very strong light from a precise direction, we have enough room to customize our Maya lighting. I decided to opt for a 2-point lighting scheme.
I then added a more dramatic look to the mask by decreasing the intensity of the left area light.
In the next render test, you can see the sense of drama due to the contrast and dark colors on the cloth. Also, the lighting ratio—key to fill—is high enough to increase the tension.
We’ll be producing a different render in our final shot, but with this experiment, I wanted to show you how you can achieve a dramatic look with just two lights and a bit of compositing.
Alternatively, I invite you to test your Maya scene with an HDR image and your lighting scheme.
Time to Render the Animation
Let’s render out Jason’s mask with the help of our previous matte geometries!
As a result, we’d like an independent layer in After Effects to be composited over the original footage.
Furthermore, we added a bit of fog from the Shutterstock Library.
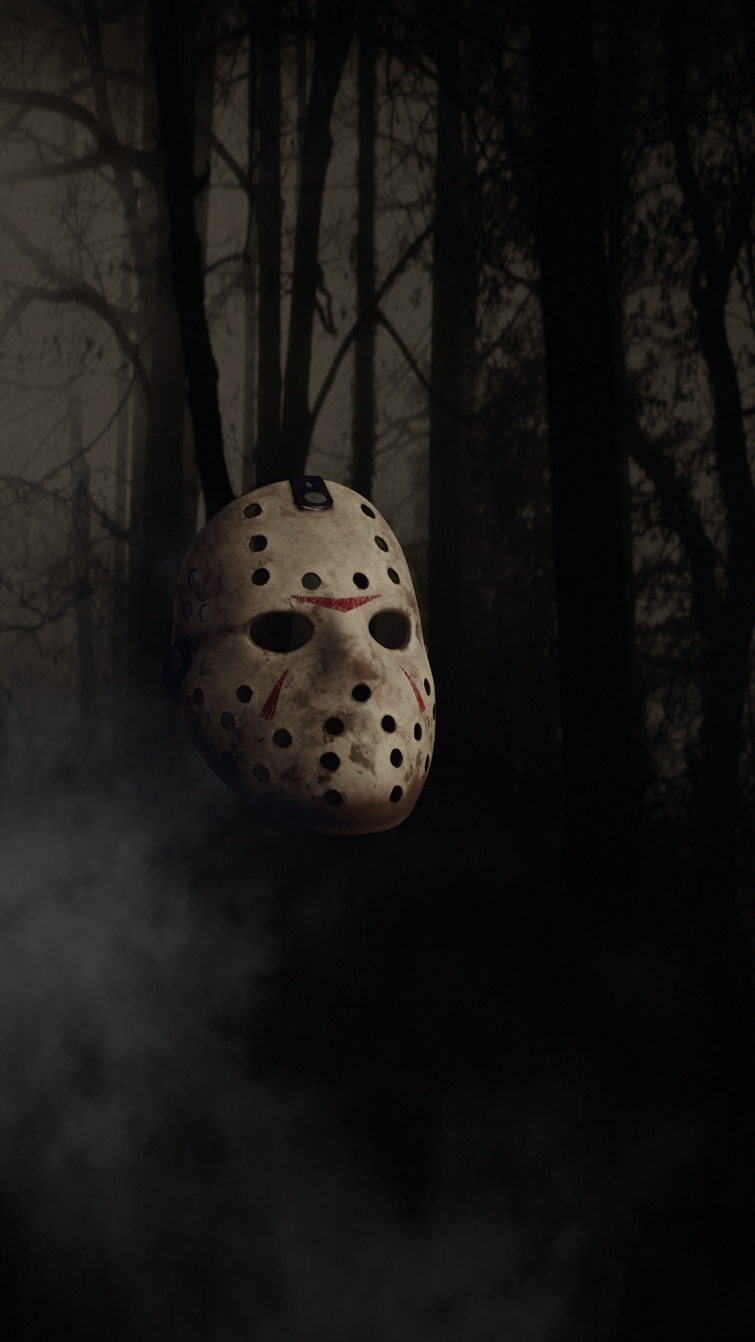
At the moment, what you see in the video below is the pure result from Maya Arnold renderer—no other corrections have been made so far.
From the previous render, we can test the opacity and the presence of correct render parts as the mask moves. The fog, for instance, is visible through the mask holes, and the lace render works correctly.
So far, so good!
Now, the following image sequence represents the color correction applied to the mask to match the main footage with a background image.
The following effects have been applied to improve the integration with the background environment, but also consider simultaneously matching the mask colors with the original footage.

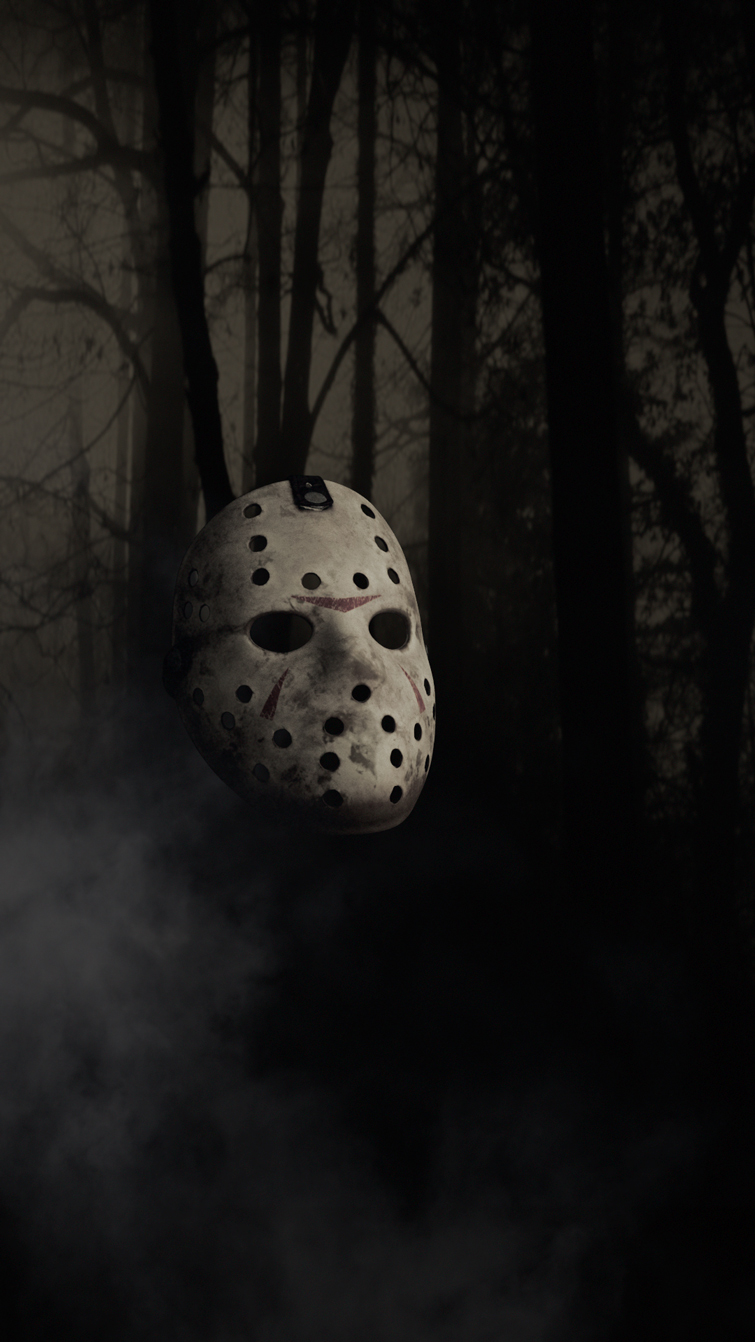

While color correcting is an element in post-production, there are many ways to achieve good integration.
I typically work on RGB components separately, working on single channels. Alternatively, a cheap and fast solution allows adding a tint effect to a target layer by sampling the white and black points from another.
Try both solutions and evaluate which one works best for you!
Adding the Original Footage to After Effects
Before focusing on the main footage, I’d like to spend a few words about removing the green screen from the main subject.
As you know, the green color is the chroma key and can be easily extracted by a plugin in After Effects named Keylight—version 1.2, in my case.
It has several options, but overall it’s pretty straightforward. However, the setting varies from case to case. Here is a quick list of the primary essential steps to follow.
- Pick up the color from the background. Choose the cleanest and most uniform area of the green screen
- and adjust the Screen Gain and Screen Balance to refine the result
- In the Edge Color Correction section, play with almost all the parameters. This section is crucial while working on areas near the edges. Without correct tuning, your subject is likely to present an evident and artificial contour
Sometimes the Edge Color Suppression subsection might help. In my case, I didn’t utilize that because I had already obtained a nice an excellent one with the previous options.


I found the Lumetri Color Effect particularly useful. It allows playing with highlights, shadows, whites, blacks, and so the previous case; it helped me dampen the specular reflection on my jacket while setting up a proper color match with the background.
In the last image, you can appreciate the nice transition of the jacket toward the background.
Let’s Add the Mask Again
The background, the mask, and the original footage work nicely together. If you observe the final composition again, you’ll notice how important it is to spend time on details.
The clean-up of the mask animation is one of the first tasks to consider during the first stages of the whole process. Once you have the animation isn PFTrack, you might encounter a few frames to be polished.
In my case, fortunately, I had little to no issues as the geometry tracking worked well from the very beginning—and that’s why we didn’t talk about that.
Just remember to check the animation frame by frame and, in case, use an editor in your 3D software to refine the result.
Furthermore, consider working on details like the lace position, which needs to match the head movement during the clip.
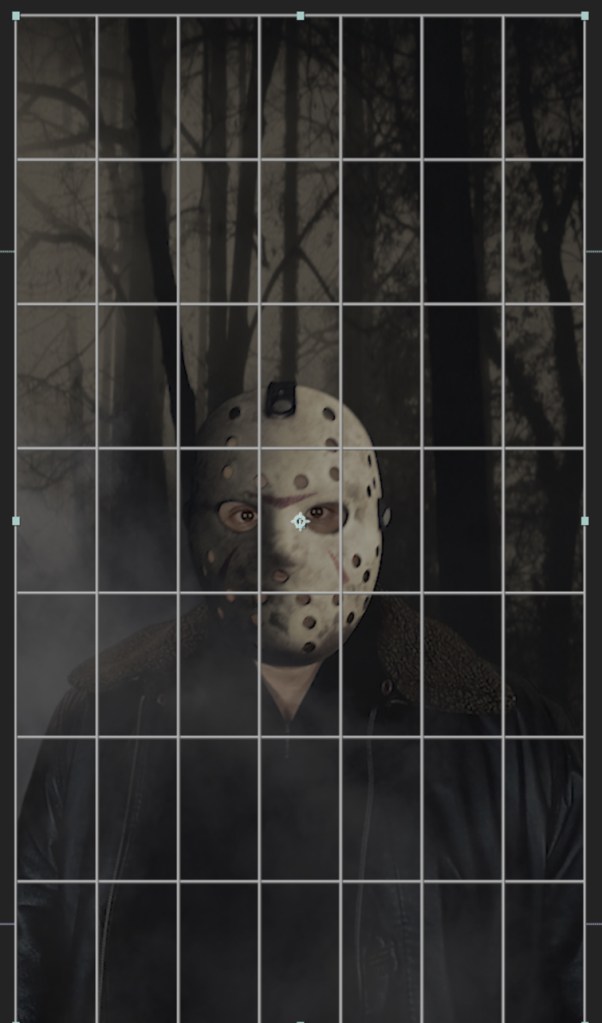
Here are a few frames from the video showing the lace position. I used a different LUT to add more contrast.

if you notice that the lace position needs adjusting in a few frames, you can continually continuously in post-production and add a beneficial effect called Mesh Warp. It creates a grid where each point controls a particular footage area—similar to the Lattice Deformer we used in the 3D software.
Since applying it for minor adjustments is recommended, ensure an almost perfect and solid animation from the 3D software.
Final .considerations
I hope you learned a lot from this two-part series and now comprehend the workflow involving integrating elements in custom footage.
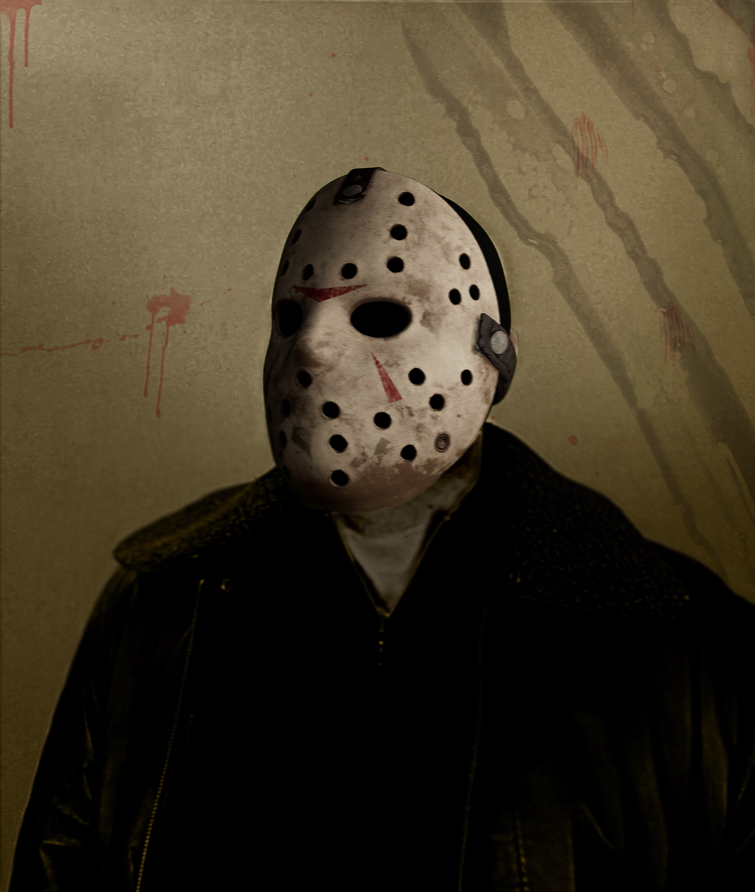
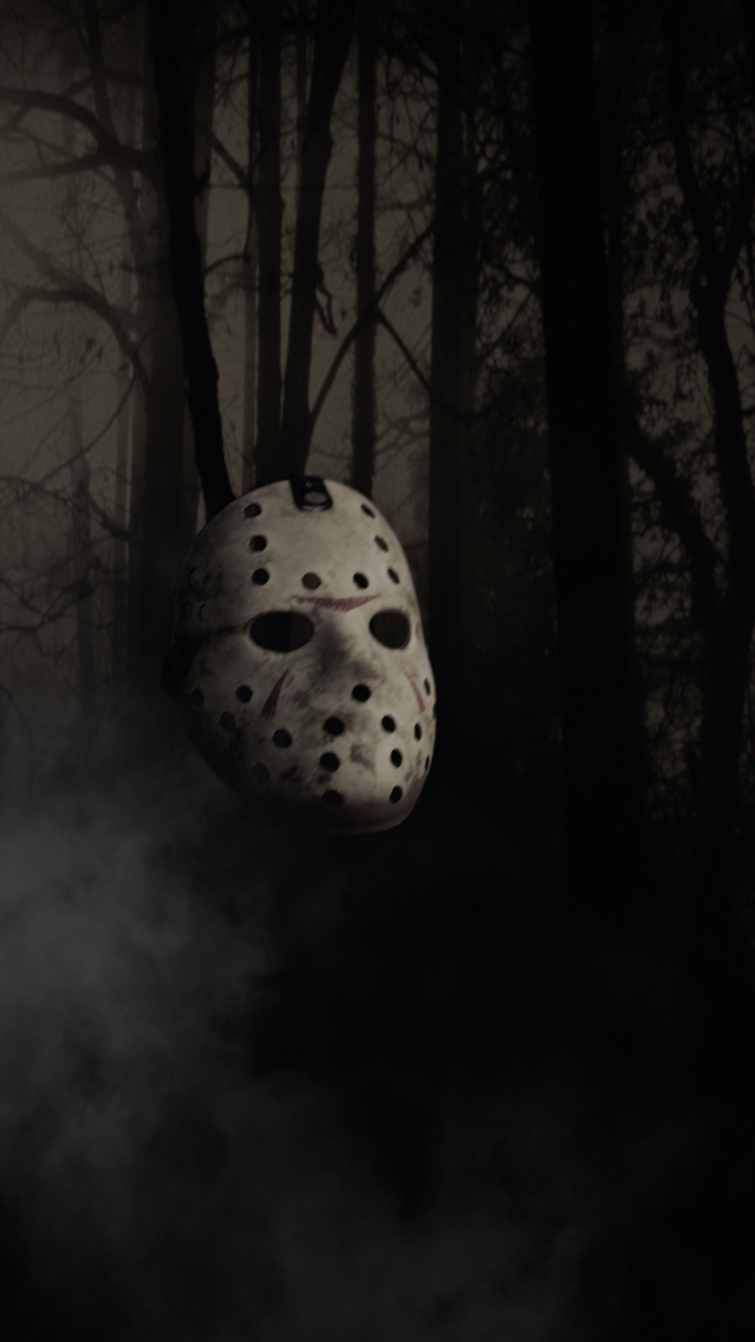
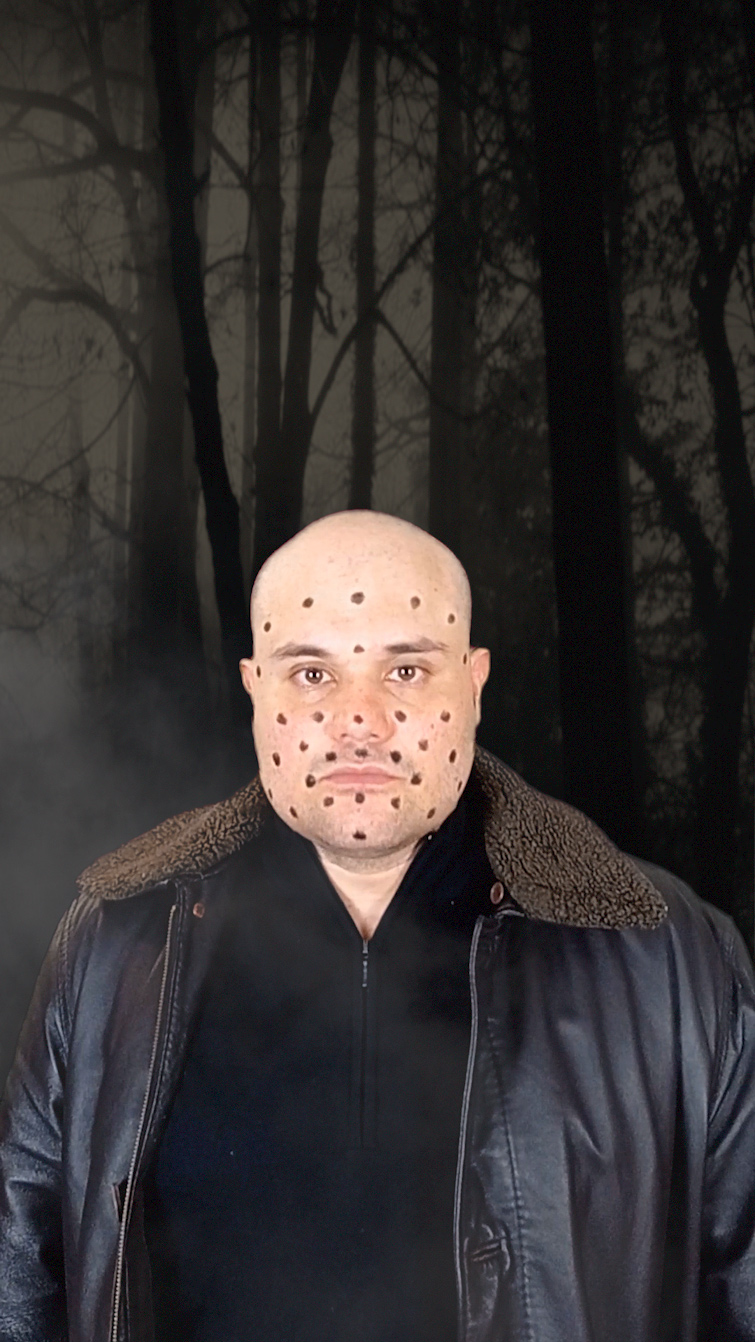
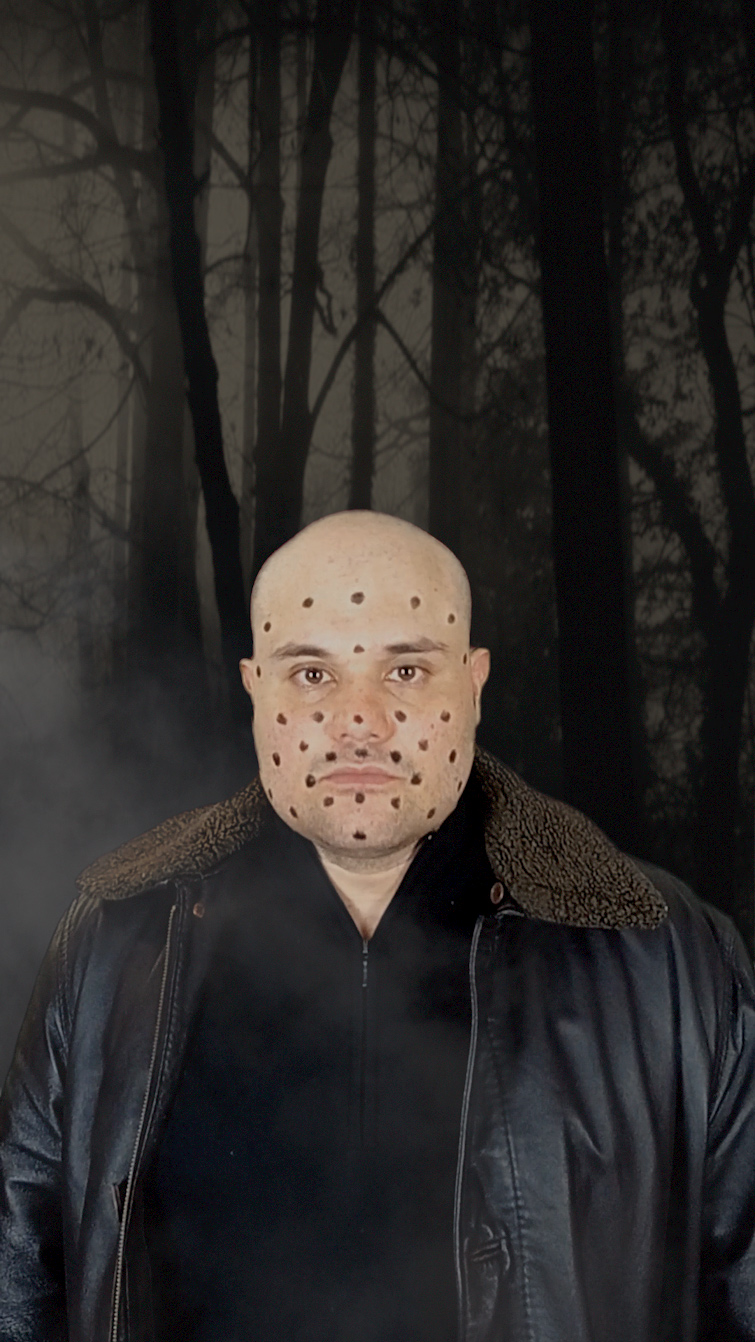
Here is a new exported clip with more contrast and a different LUT.
We used a mask covering the face, so the original black markers are almost all covered, even if a few appear in the clip but don’t distract the viewer at all and work fine in the final shot.
If the markers had been so visible on the skin—not our case—you could have used the Content-Aware Fill in After Effects to remove them from the original composition.
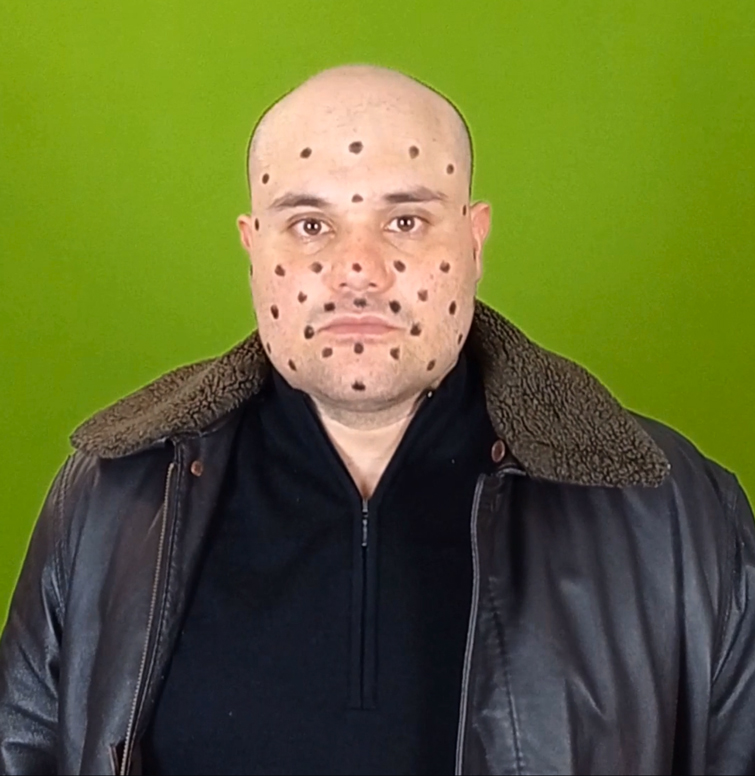

With that functionality, you can track a mask around each black marker, and After Effects finds the best sampling area to replace.
If you find the article interesting, I invite you to follow me on my Linkedin page for more news to come.