5 After Effects Tips & Tricks for Video Editors
Here are 5 must-know tips and tricks to increase your speed and efficiency in Adobe After Effects.
At first glance Adobe After Effects seems similiar to FCP, Premiere Pro, or Media Composer. In reality, it is more like Photoshop in motion. Bearing that in mind, here are 5 After Effects tips to help you avoid common ‘gotchas’ and make you a better user.
Nudge an AE layer with arrows
A common way to navigate in video editing applications is to use the LEFT and RIGHT ARROWS to move up or down the timeline a frame at a time. In After Effects however using a LEFT or RIGHT ARROW button will actually nudge an entire layer.
Instead in After Effects, the PAGE UP or PAGE DOWN buttons will move navigate a frame left or right. Holding down SHIFT while tapping SHIFT UP or DOWN will move you 10 frames. As an alternative you can hold COMMAND (Mac) or CONTROL (PC) and tap the LEFT or RIGHT arrows, to move a frame left or right in the timeline.
A bit of advice: pick one of the above and stick to it! There are generally 3-4 ways to do everything in After Effects. If you commit to one way it it will cut down on mistakes, be easier to memorize and make you more efficient.
Go to Time – Timecode And +/- frames
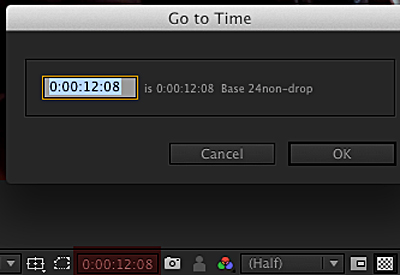
If you type in numbers, After Effects will move you to the appropriate timecode. 2 is 2 frames and 200 or 2. (two with a period) is 2 seconds.
If you add a + it will move you that many frames in your AE timeline. The gotcha here is that if you type -10 it moves you 10 frames before the start of the composition. You need to type +-10 to move 10 frames earlier.

Navigating with J & K
In video editing apps the J, K and L keys are used to shuttle left (J), stop (K), and shuttle right (L). In After Effects, tap J to move to the previous keyframe, & K to the next keyframe. This is important when creating keyframes, because if you are not on a frame (and you think you are), you create a keyframe where the playhead is. So use J & K instead of moving the playhead manually to avoid accidental keyframes in AE.
You can’t modify AE keyboard shortcuts
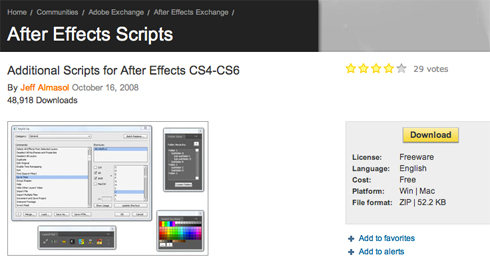
Unlike like Premiere Pro, FCP, & Media Composer, you can’t modify the After Effects Shortcuts. To do this, you need to download the free script KeyEd Up. This will allow you to create your own custom shortcuts in After Effects. You need to register with Adobe, but it’s free.
Composition & Layer Markers
If an After Effect layer is selected and you press * (asterisk), you put a marker on the layer. Double click on the marker in AE to open the dialog box to add comments and change duration, or Option/Alt click to create a marker and open the dialog box.
If a layer isn’t selected and you press * this creates a composition marker.
You can also create numbered composition markers. Press Shift + the number to create a numbered composition marker. You can then type the number to move to the marker.
Learn more about working with markers in After Effects on the Adobe site.

Were these AE tips helpful? Got an After Effects tip to share?
Let us know in the comments.


