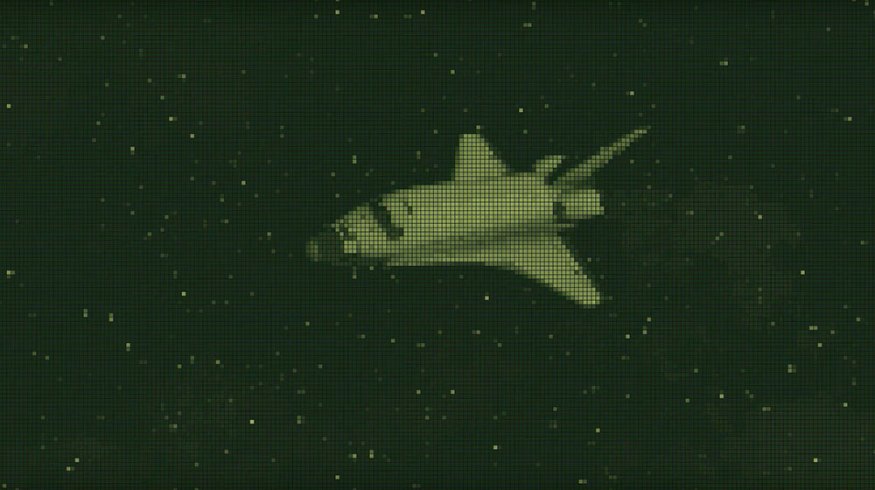
Learn to Create Your Own 8-Bit Art in Adobe After Effects
In this video tutorial, learn how to create an 8-bit video game look in Adobe After Effects for motion graphics or footage — with free preset and project file!
With the Nintendo Game Boy turning 30 years old this year, there is no better time to create some 8-bit video game-inspired looks, right in After Effects. In this tutorial, I’ll walk you through how to create your own 8-bit look that you can apply to motion graphics or footage. This technique offers you a lot of easy customization, as well. (Be sure to download the project file that includes the free 8-Bit Game preset and some retro screen templates!)
Ready to create some 8-bit video game art? Let’s get started!
This project file is free to use in any personal or commercial projects. By downloading, you agree not to redistribute this project file.
Now, let’s walk through — step-by-step — creating the 8-bit look in After Effects.
1. Posterize

First, create an Adjustment layer above all of the other layers in your composition. (This can be above motion graphics, animation, footage, etc.) Then, apply the Posterize effect to the Adjustment layer. The Posterize effect will limit the number of color tones on your image. For a retro game look, I prefer to set the Level between 5 and 15. (15 if you are creating a full-color look, and closer to 5 if you are creating a monotone look, like an original Game Boy screen.)
2. CC Block Load
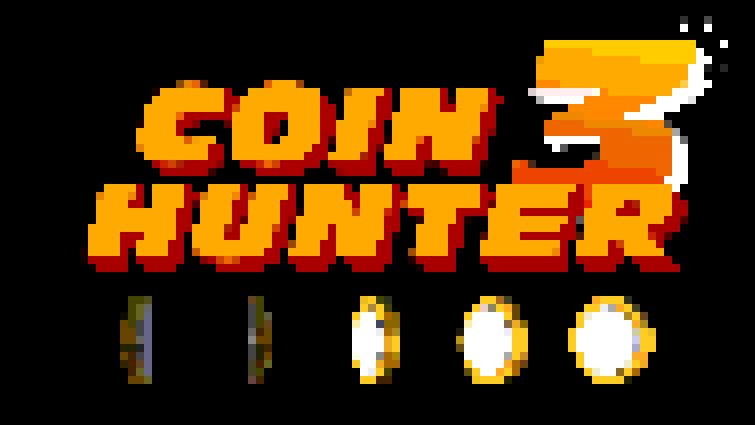
Now, to create the blocky-pixel look on our image, we need to apply the CC Block Load effect to the Adjustment layer. Make sure the Completion setting is set to 0. Then, set the Scans value to 3 and uncheck the Start Cleared option. You should now see a pixelized version of your image. The great thing about the CC Block Load effect is that it always creates perfectly square pixels, regardless of the aspect ratio of the composition.
3. Tint

Next, you can apply the Tint effect to the Adjustment layer if you want to limit the color-palette to something more black and white. This is an option for stylistic choice. Set the Map White To option to a dull green tone to replicate the original Game Boy Screen.
4. Grid
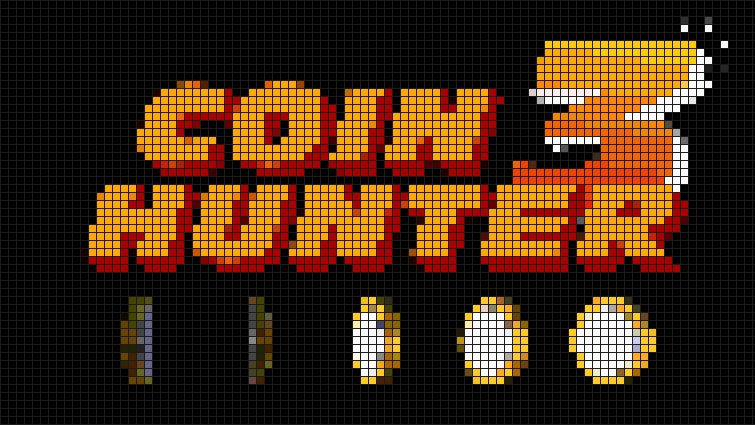
Now, we need to add some grid spacing between each pixel. This helps create the illusion of a low-resolution screen. Apply the Grid effect to the Adjustment layer. Set the Blending Mode in the options to Normal, and set the color to a dark grey. Next, set the Border value to 2. Finally, set the Anchor values to 0,0 and set the Corner values to 8,8. This should now leave you with a perfect grid around each “pixel block” on screen. (When CC Block Load is set to a Scan value of 3, each pixel block it creates is 8px by 8px.)
5. Posterize Time
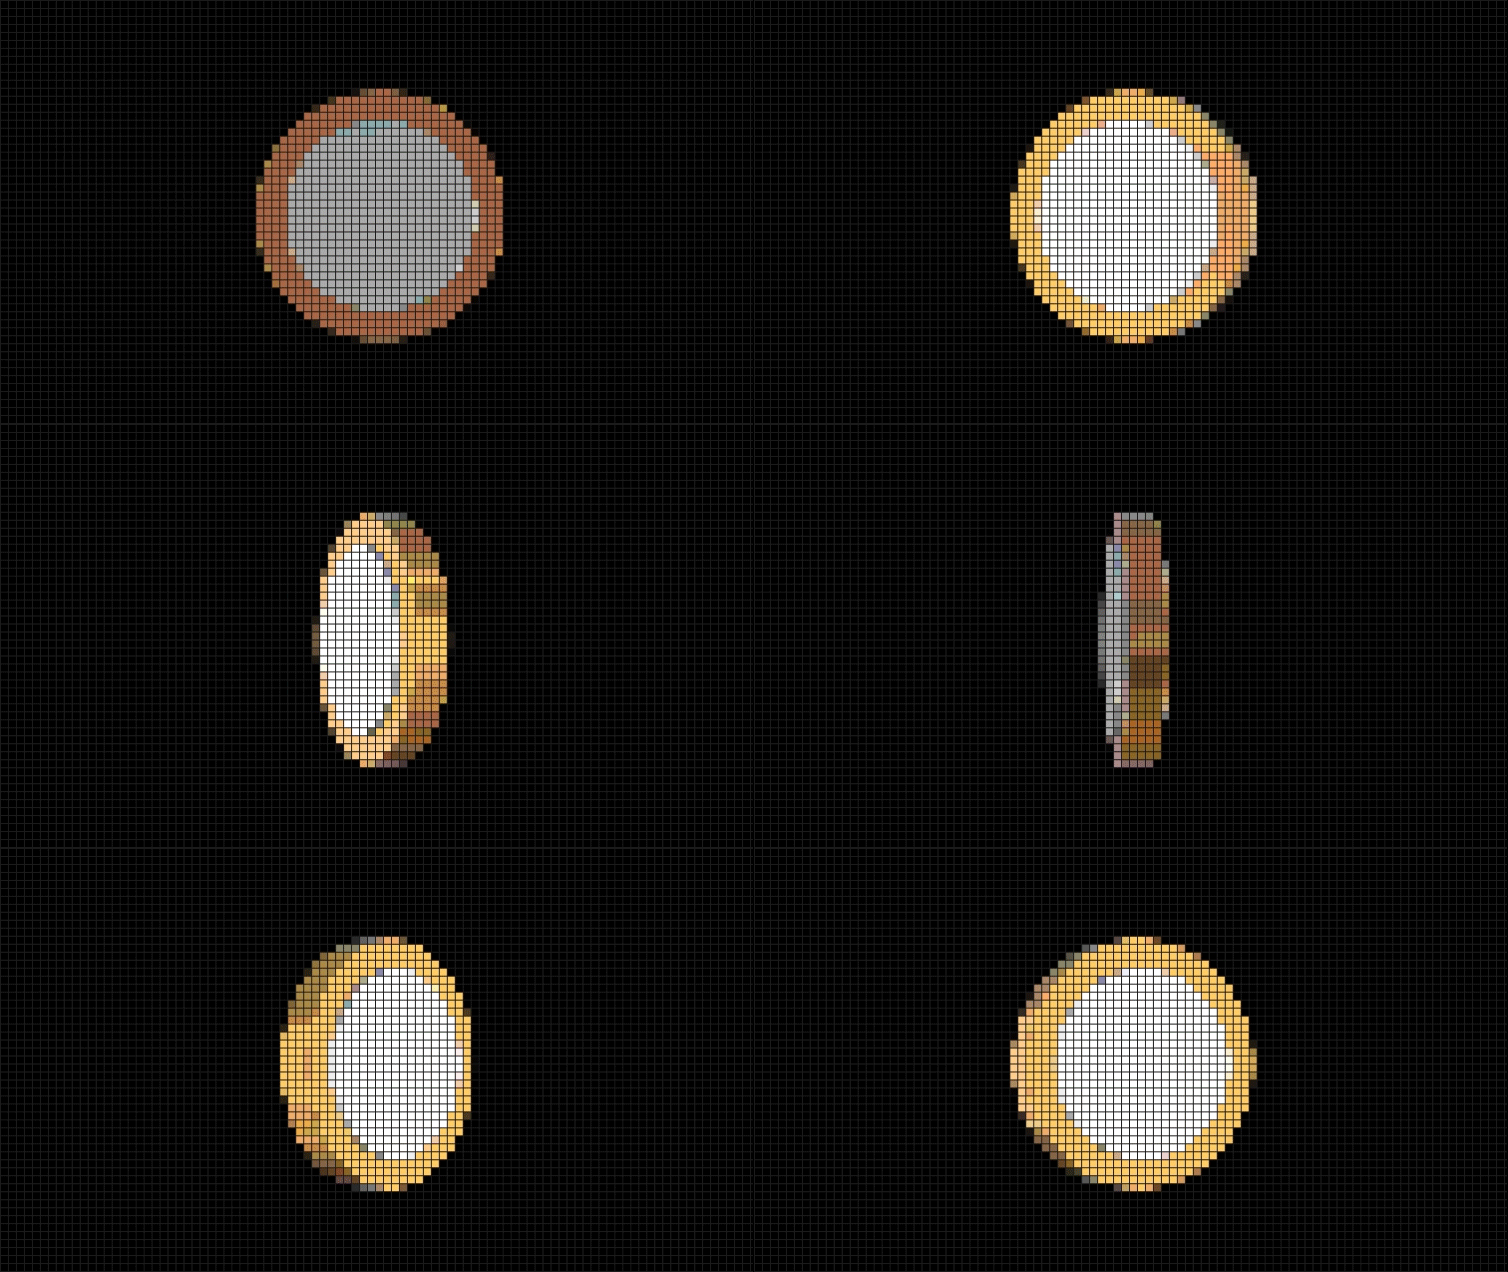
Finally, I recommend limiting the frame rate to better emulate the appearance of a retro video game. An easy way to do this is with the Posterize Time effect. Apply Posterize Time to the Adjustment layer, then I recommend setting the frame rate between 6 and 15. This will add a little bit of stutter to the movement onscreen. (Using Posterize Time is optional, depending on the look you are going for, and may not be necessary for more modern 8-bit animations.)
6. Video Footage
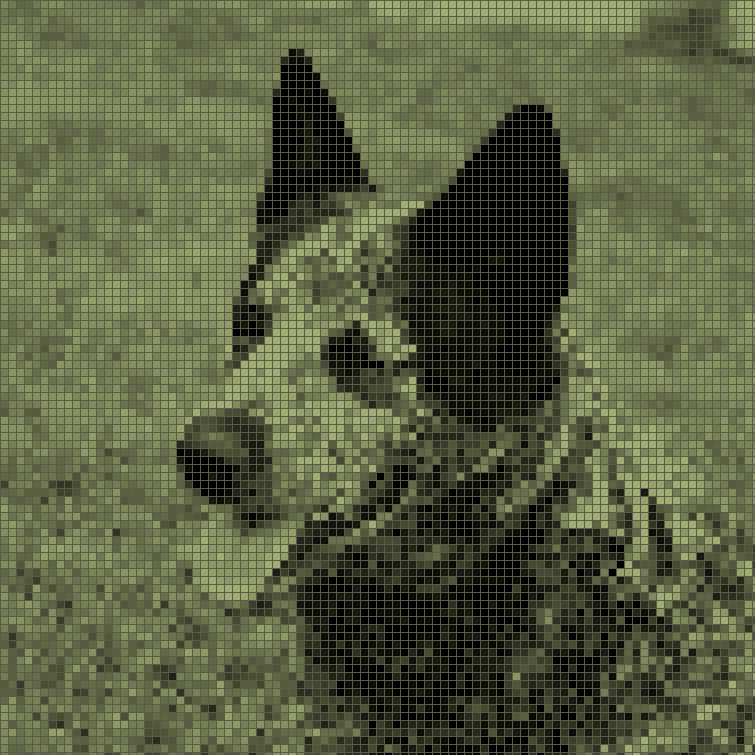
When applying the 8-bit look to video footage, you may encounter a lot of pixel flickering. You can reduce this using blur effects. Apply the 8-bit look to an Adjustment layer above your footage. Now apply a Gaussian Blur to your video footage. I recommenced a blurriness value between 4 and 8. This will help reduce the flickering, but it will also reduce some contrast. Alternatively, you can substitute Smart Blur in place of Gaussian Blur. Smart Blur will preserve more contrast, but it will take a lot longer to render. I recommend setting the Smart Blur radius to a value between 3 and 6.
7. Alpha Channel Footage
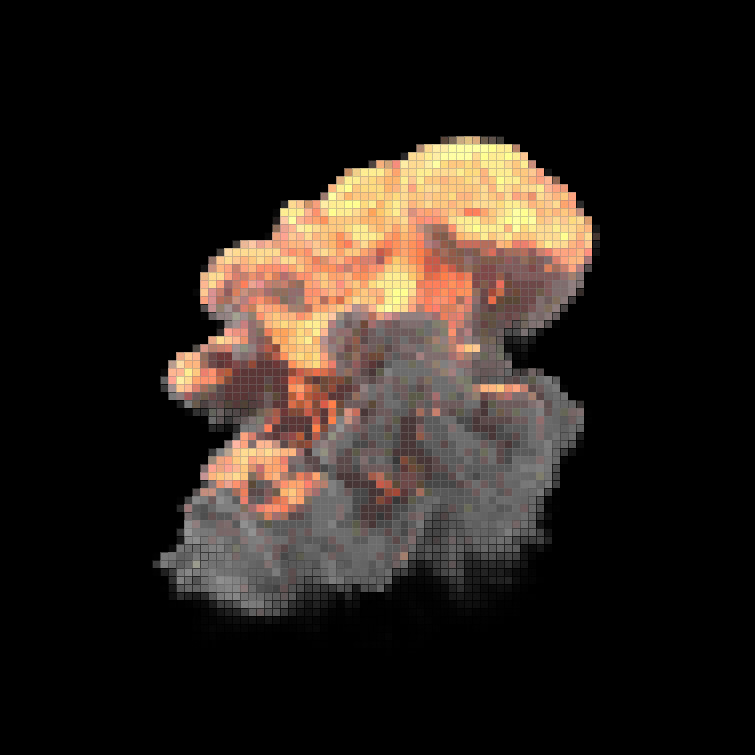
If you are going to apply the 8-bit game look to footage with an alpha channel, I recommend applying the effects (or preset) directly on the footage. Then, in order to not have the pixel grid appear on the alpha channel part of the footage, navigate to the Blending Mode option for the Grid effect. Set it to one of the following four blending modes: Darken, Lighten, Difference, or Exclusion. The blending mode you choose will depend on the final look you want. I recommend viewing each one, then selecting the one that looks best.
8. Installing the After Effects 8-Bit Game Preset
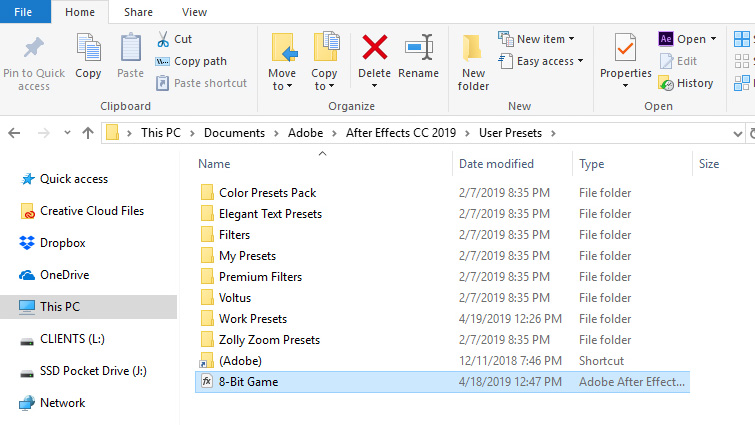
Installing the 8-Bit Game preset is easy — on both Mac and PC. Just navigate to your Documents folder, then Adobe, and then the After Effects CC folder, for your version of After Effects (the preset works with After Effects CC 2018and up). In your After Effects CC version folder, you will see a User Presets folder. Just drag-and-drop the 8-Bit Game preset into that folder. Now when you use After Effects, just search for “8-Bit Game” in the Effects & Presets panel.
Interested in the tracks we used to make this video?
- “Never Gonna Let You Go” by Luciano Music Co.
- “Anyone but Me” by Luciano Music Co.
- “Digital Groove Connection” by Mattijs Muller
- “Wonder Man” by LATG Music
- “Positive Day On” by Make Music
Looking for more post-production video tutorials? Check these out.
- How to Alter the Color of Your Video Using Lumetri Curves
- Video Tutorial: How to Use Premiere’s New Freeform View
- 6 New Features in Premiere Pro’s Essential Graphics Panel
- Tutorial: Getting Started with Content-Aware Fill in After Effects
- How to Create the Double Exposure Effect in Four Manageable Steps

