Tutorial: Getting Started with Content-Aware Fill in After Effects
In this video tutorial, learn the basics of the brand new Content-Aware Fill in After Effects — including a free project file!
Adobe set the internet ablaze with the announcement of the new Content-Aware Fill feature in the latest After Effects CC release. Now, let’s see if this new feature lives up to the hype. (Spoiler alert: Yes, it does.) In this tutorial, we’re going to cover how to use the new Content-Aware Fill feature in After Effects CC.
So, let’s get started! (Be sure to download the project file, which includes footage to follow along!)
Download the project file
This project file is free for personal or commercial use. By downloading, you agree not to redistribute this file.
What Is Content-Aware Fill?
Content-Aware Fill in After Effects lets you remove unwanted areas or objects in video footage, while automatically filling in the area of the removal. It analyzes frames over time to fill in missing pixels by pulling them from other frames in the footage. It’s similar to the Content-Aware Fill in Photoshop, except in After Effects, it’s temporally aware, and it works on video footage.
How to Start Using Content-Aware Fill
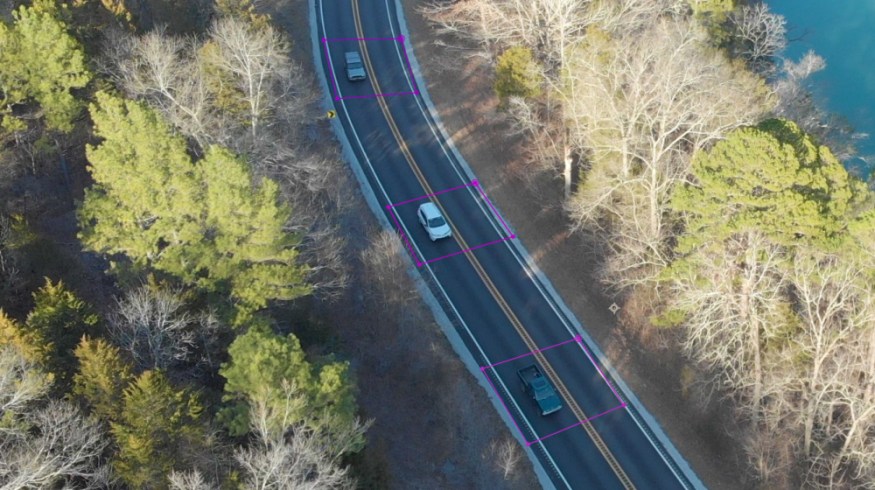
To begin using Content-Aware Fill in After Effects, navigate to the Window tab at the top of the screen, then select Content-Aware Fill. This will open up the Content-Aware Fill panel in your workspace. You will then need to mask out the object you want to remove from your footage. (You may need to keyframe the placement of your mask if your object is moving throughout.) Set the mask to Subtract so that you now have a transparent alpha channel where that mask is on your footage. You should be able to see a mini-preview of where that mask is on your footage in the Content-Aware Fill panel.
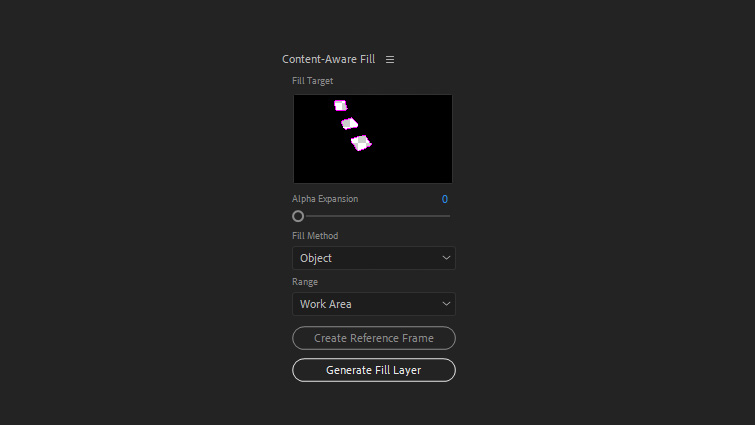
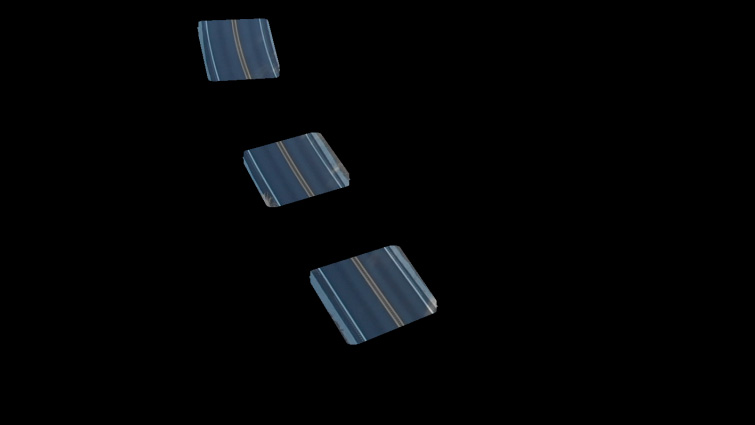
You can now select Generate Fill Layer in the Content-Aware Fill panel. After Effects will then analyze the footage and render a .PNG sequence, which it places in the composition. That .PNG sequence fills in the masks/gaps in the footage.
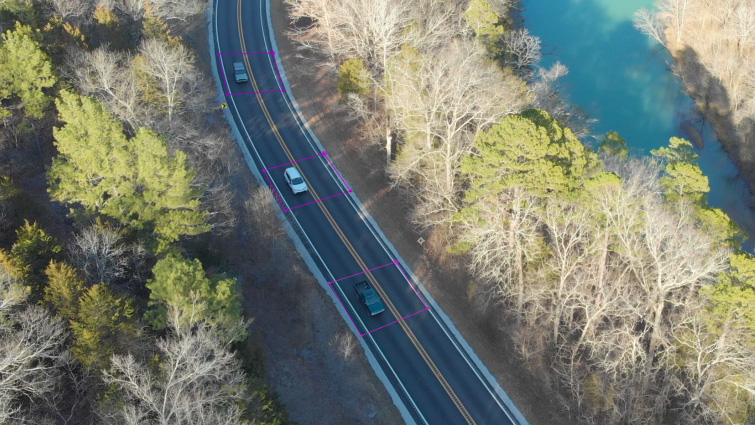
If everything worked correctly, the unwanted objects should no longer be in your footage.

Different Fill Methods
There are three different fill methods you can select from when you use Content-Aware Fill. They are named Object, Surface, and Edge Blend. The Object Fill method will likely be the most commonly used, and it is the default fill method.
- Object Fill: Great for removing moving objects in your footage.
- Surface: Ideal for removing stickers, decals, or logos on a smooth surface.
- Edge Blend: Fast method, best used on low-detail surfaces like paper.
Creating a Reference Frame
In some cases, when Content-Aware Fill isn’t giving you the results you want, you may have better luck using a Reference Frame. (I find this ideal when removing static objects from footage, such as a cell tower or a parked car.) When you select Create Reference Frame, After Effects automatically exports a frame from your video to Photoshop. You can then use the Clone-Stamp tool to fill in the removed area. Then save and close the image in Photoshop.
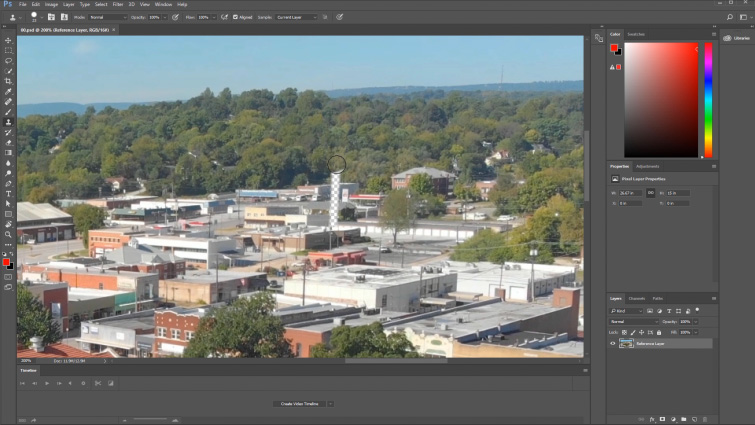
That reference image will automatically import back into After Effects and into your composition. Content-Aware Fill will now take that reference image into account when it generates the fill throughout the video.
Extra Tips
From my experience with Content-Aware Fill, it seems to work best on objects moving through your footage. This allows After Effects to “see” what the video should look like when the object isn’t supposed to be there. When removing static objects in the scene, results will vary. I recommend using the Create Reference Frame option in those cases. Also, I got the best results when I put a small amount of feathering on my removal masks. It doesn’t take much — usually about 2-8 pixels of feathering.
Interested in the tracks we used to make this video?
- “Retro Vibes” by Wolves
- “Don’t Forget” by Marc Walloch
Looking for more video tutorials? Check these out.


