

After Effects Next: 10 Feature Refinements & Tweaks

Check out these 10 time saving tips to look forward to in the Next version of Adobe After Effects!

Adobe announced the Next version of After Effects at NAB 2013. There were some big new features announced as well as some smaller but welcome tweaks and refinements. They haven’t announced a release date, but if you have a Creative Cloud membership you can download it when it becomes available.
Let’s jump in and look at 10 helpful feature additions in After Effects NEXT that you can look forward to in your future AE projects!
Refine Edge Tool
After Effects’ new Refine Edge Tool is about as close as you can come to an “easy button” when doing rotoscoping or isolation work on part of a video.
This is a big addition that is borrowed from the “Refine Edge” tool in Photoshop. You could previously paint with the Roto Brush in After Effects to select part of a video, but it didn’t handle semi-transparent edges well.
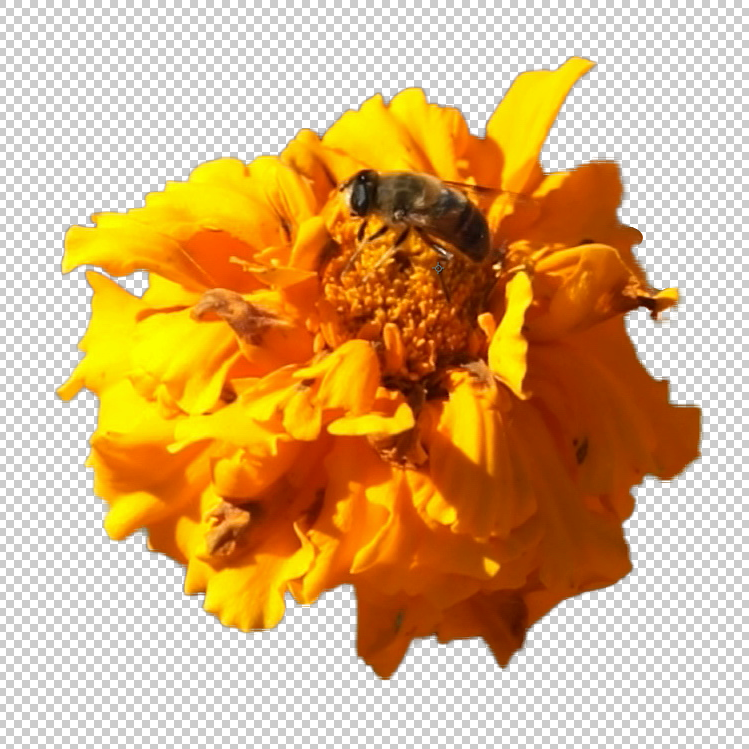
Rotobrush Without Refine Edge:
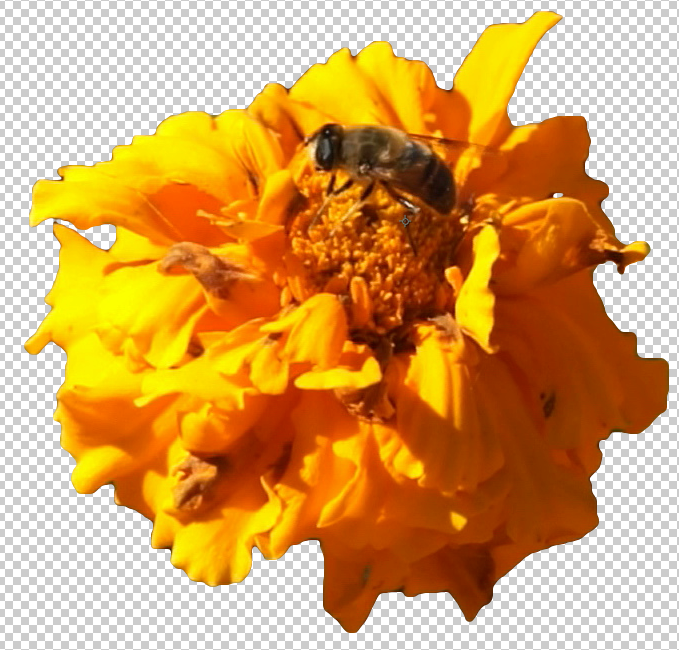
Rotobrush With Refine Edge:
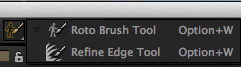
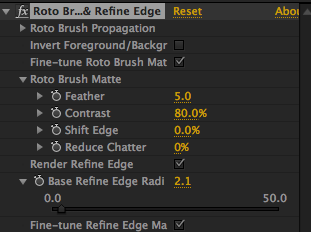
Click and hold on the Roto Brush tool (man with a paint brush icon) to reveal the “Refine Edge Tool”. Then, paint over the edges with this tool creating partial transparency for areas of fine detail.
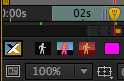
After you paint with the “Refine Edge Tool”, you will see the X ray view in Layer panel (the blue and tan X icon in bottom left) showing you a black/white outline where you have painted.
You can also set an edge transparency by tweaking “Base Refine Edge Radius”.

Time Saving Right Click Options
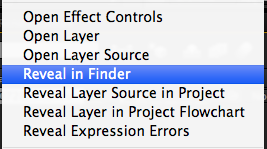
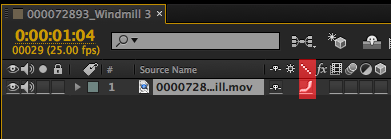
Now you can quickly see where a layer in a composition lives on your hard drive – a welcome time saver.
Previously you had to first “reveal layer source in Project” and then “reveal in Finder”. This may seem like a small After Effects feature but if you do this 15-20 times a session it adds up.
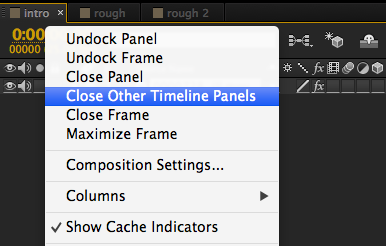
Close Other Timeline Panels is another big time saver. Right-click (or Control-click for Mac OS) on the tab of the Timeline panel and select “Close Other Timeline Panels”. Think of it as your own virtual maid to keep your timelines neat and tidy.
Pixel Motion Blur
This AE tool fakes motion blur, which is handy for adding blur to rendered video and animations. Pixel Motion Blur isn’t a new feature, it’s just easier to access now.
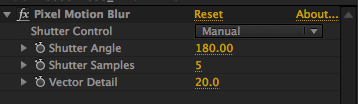
In my example I used it on a stock animation clip to enhance the blur when the bowling ball hits the pins. Previously you had to use a third party effect to do this like ReelSmart Motion Blur or Kronos. Retooled has a helpful video tutorial on After Effects Pixel Motion Blur here.
With Pixel Motion Blur:

Without Pixel Motion Blur:

Bicubic Scaling
In After Effects Next you can choose between the new bicubic, and the previous bilinear, sampling for selected layers scaling and other transformations.
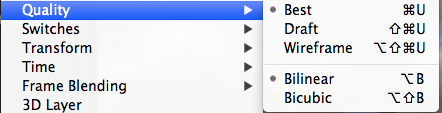
Bicubic sampling is generally the best choice for photos, while Bilinear is usually the best for working with graphics.
You can select these choices by right clicking on a layer or clicking in the “Quality and Sampling” box for the layer (highlighted in red in the screenshot below).
Gradient Ramp
I use Gradient Ramp in After Effects when creating backgrounds and making text more visually interesting. This effect was previously called the Ramp effect and the name change makes sense as it is easier to find.
Adobe has also added the ability to swap colors with one click!

Import Additions
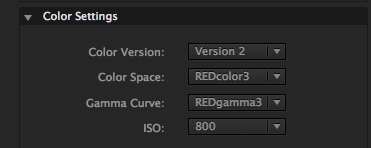
After Effects Next will offer support for DNxHD, Sony 4K and AVC-Intra 200 (Panasonic) footage. RED .r3d Files now have more options in “Interpret Footage”. Click “More Options” to bring up the Settings.
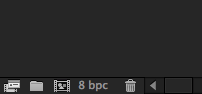
Interpret Footage is the icon in the Project that looks like 2 audio cassettes (icon on the far left in this screenshot):
You can choose REDcolor3 & Redgamma3, which is Red’s updated color science that gives you a better look without a lot of adjusting/tweaking. Previously this required a separate download from Adobe Labs.
Arri RAW files can now be adjusted in “Interpret Footage More Options” (image courtesy of Convergent Design). You can adjust color space, exposure index, white balance and tint:

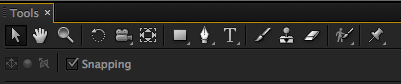
Layer Snapping
Previously you could snap an After Effects layer to guides, and align and distribute to arrange layers. However, you couldn’t snap a layer to a layer.
Now you can snap a layer to another layer (anchor point & center position to name a few), and snap items to any point on a mask path. To do this Command or Control click as you drag a layer or check the snapping box in the Tools panel.
While dragging, 2 square outlines appear to show you where you are snapping to:

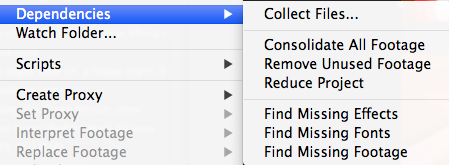
Dependencies – Collect Files
Project management isn’t sexy but it is important for any successful post production workflow. A variety of project management options in After Effects are now consolidated under “File > Dependencies”. Added to this is the ability to find missing effects/fonts/footage.

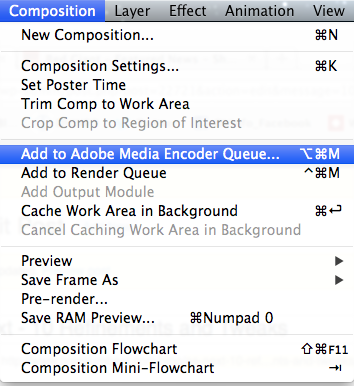
Adobe Media Encoder Changes
Adobe Media Encoder is a separate application for encoding your video projects into a variety of codecs and file formats. Encoder integrates with Premiere & After Effects. Previously to use Media Encoder you added the After Effects Comps in Media Encoder. Now you have the ability in After Effects to send your compositions to Encoder via “Add to Adobe Media Encoder Queue”.
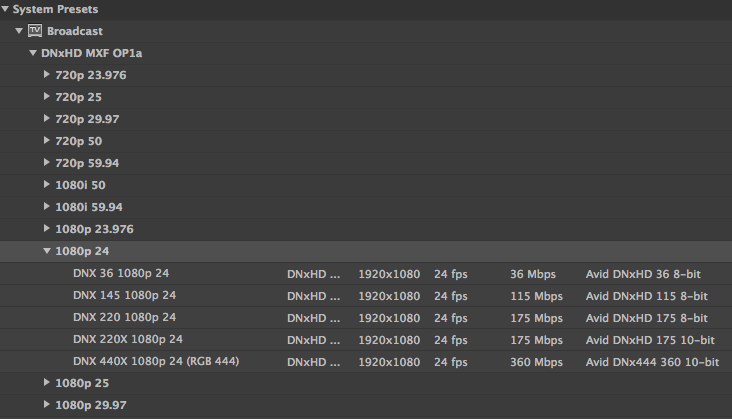
DNxHD export has been added to Adobe Media Encoder and the “Match Source Settings” now apply to more formats. This is more streamlined than in the past, as don’t have to enter a bunch of settings to get your exports to match your composition settings.
New Output Options
In Previous Versions of After Effects audio output was set to ‘off’ by default. Because of this it was easy to accidentally not output audio.
After Effects Next will output audio by default. Additionally, you will have the options for sample rate, bit depth, and stereo or mono.

Lastly, if you are working with OS 10.8, ProRes export is automatically supported without having to install the codecs (only available for Mac users).
Although most of these are small additions to After Effects, it shows that Adobe is dedicated to the pro user and is integrating features to keep the app up to date and more powerful than ever.


