After Effects Video Tutorial: Stamp or Icon Impact
Make your motion titles more impactful with this After Effects trick.

One of the hardest things to do as a motion designer is to create realistic physics in Adobe After Effects. In the following video tutorial we will take a look at how to preserve and create realistic inertia in Adobe After Effects. The video covers:
- Using the merge layers effect on shapes
- Using inertia scripts
- Using sliders to dictate expressions.
The inertia script is a great tool for any physics based projects. You can download it from GreyMachine.
Don’t want to watch the video? Follow along with the step-by-step tutorial below. Click any image for larger view.
| 1 | Create a new composition and add in circular shape. Add a merge paths effect and subtract a star from the circle. |
| 2 | Create a new background solid, any color will work. You also probably want to set your shape fill to white. |
| 3 | Make everything 3D and create a new null object. |
| 4 | Parent both the shape and the background to the 3D null object. |
| 5 | Set keyframes for where you want your stamp to end. |
| 6 | Set the start position to be off screen. |
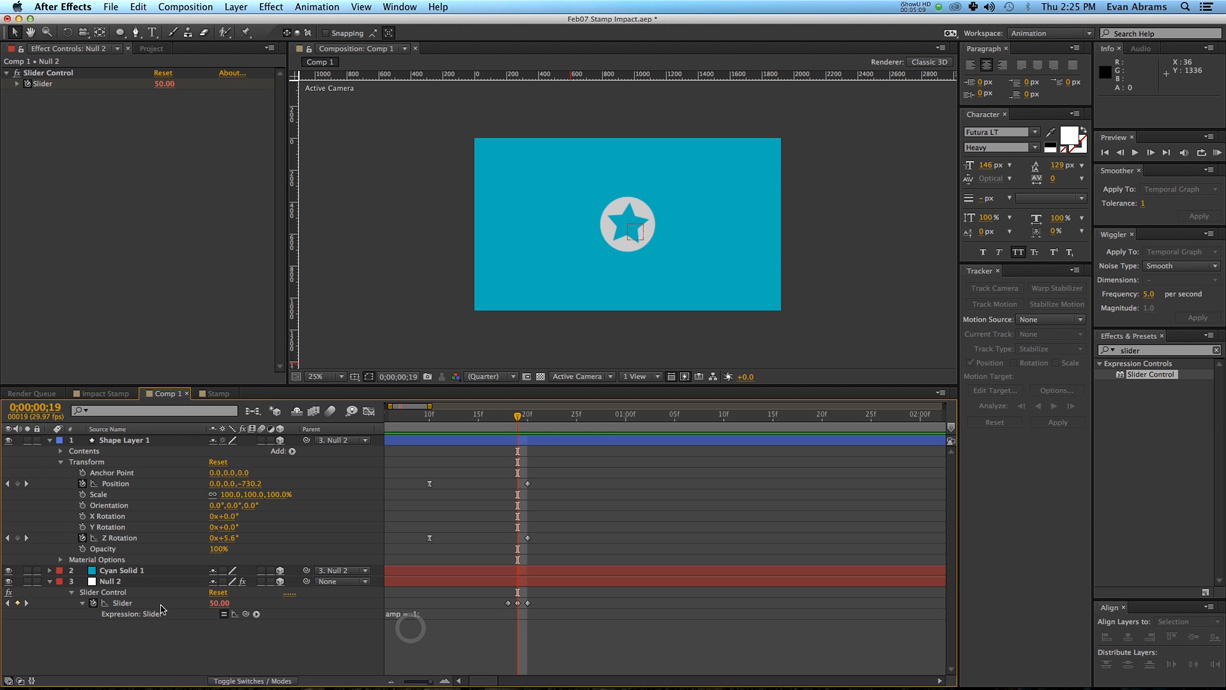
| 7 | Add a slider control to the null object. |
| 8 | Set keyframes of 0 50 and 0 to coincide with the stamp landing on the background. |
| 9 | Go to the GrayMachine site and copy their inertia script. |
| 10 | Alt-click on the slider keyframe and paste in the script. |
| 11 | Add a wiggle expression to the position of the null object, 1 times per second with the second parameter of the null object being parented to the slider control. |
| 12 | Add the same wiggle expression to the rotation of the null object and multiply it by .1. |
| 13 | Add a noise HLS to the background to simulate texture. |
Have any other uses for an inertia script? Share in the comments below.


