How to Create an Animated Envelope in After Effects
Learn to create line art animation for your videos in this step-by-step After Effects tutorial.
Line art refers to a style that uses generally one color and one stroke weight. In this tutorial, we will create a line art envelope icon that animates on and off for use in looping gifs. Here’s the finished product:

You can watch the tutorial below.
Download Free Animated Envelope Template
Want to follow along with the tutorial? Simply download the free project file by hitting the button below.
DOWNLOAD FREE ANIMATED ENVELOPE PROJECT FILE FOR AFTER EFFECTS
Step 0

Create a new composition. Since we’re working with a .gif output, we don’t need to adhere to any broadcast standards. For this piece, we’re working with a 640 by 640 pixel composition size, 5 seconds long, at 29.97 frames per second.
Step 1
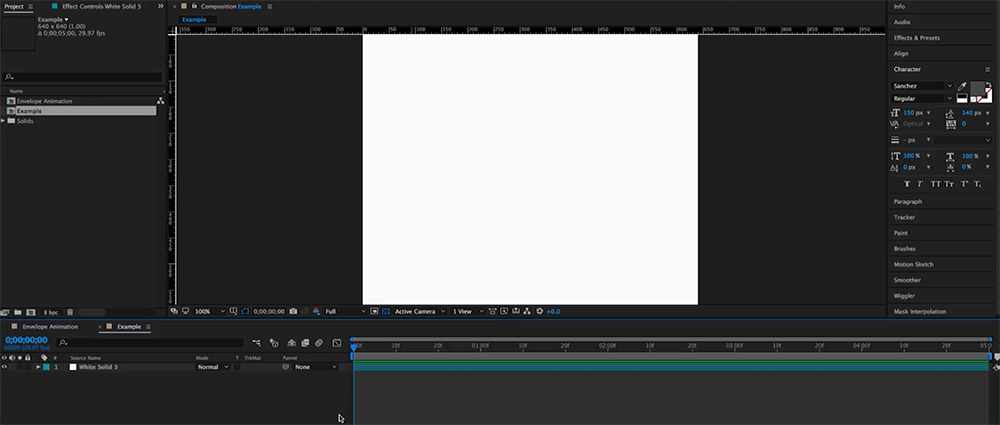
Make a new white solid to serve as your background.
Step 2
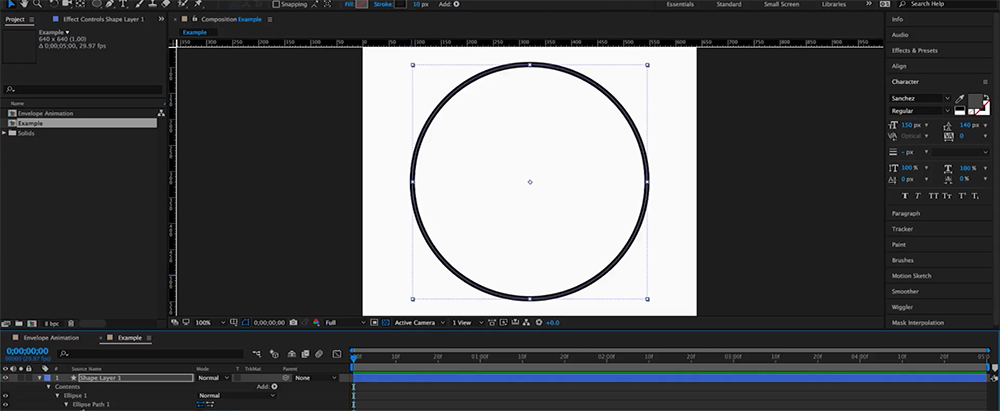
The next step is to get the circle in place. Double click on the Ellipse Tool and change the fill to none and the stroke to 10px, then pick a dark color for the line. This will draw a circle the same size as your composition, which in this case is 640 by 640. Twirl into the shape layer to access the contents and change the size of the ellipse to 450 by 450. A circle is a nice, clean way to frame our icon, and it sets up an easy exit at the end of the animation when it swallows the icon.
To animate on the circle, we use the trim paths. Add a trim path to the ellipse group and keyframe both the end and offset property. The end should start at 0% and animate on to 100% in 1 second. At the same time, the offset should animate from 30 degrees to 90 degrees.
Finally you will want to use round caps and round joins on the stroke of your circle. Throughout this tutorial, all strokes should be 10 pixels thick with round caps and joins.
Step 3
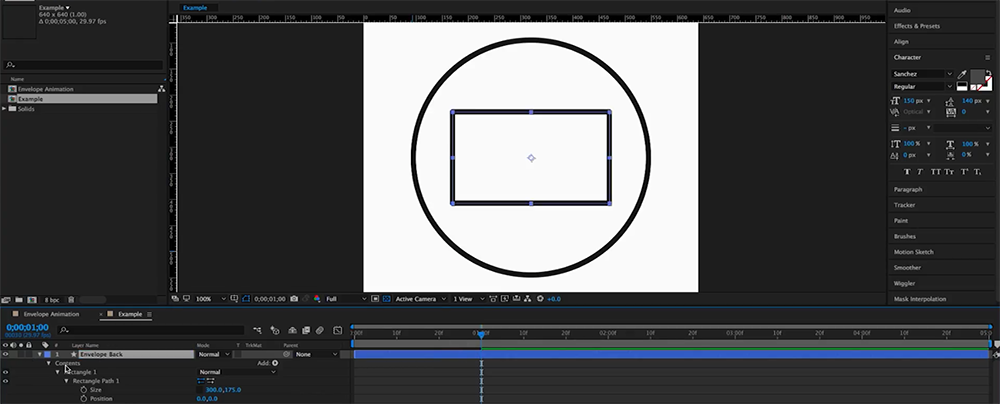
Now we need an envelope. This begins with a rectangle. You can double click on the rectangle tool with nothing selected to produce a rectangle the same size as your composition and then edit the details by twirling down into the contents of the new layer. This rectangle should have a white fill, the same color as your background, and a black stroke, the same color as your circle. This project will use only these two colors. You should also match the stroke of the circle in thickness and roundness. Change the size of the envelope to 300 by 175 pixels.
We animate this layer on by adding trim paths, and instead of animating the end of the path from 0 to 100, we animate both the start and end from 50 to 0 for the start and 100 for the end. This trims the path to write on from the middle outward. This should produce a line that writes on from corner to corner.
You will want to easy ease the first keyframes, but leave the last one linear so the animation starts slowly and accelerates to a constant speed by the time the animation has completed.
Step 4
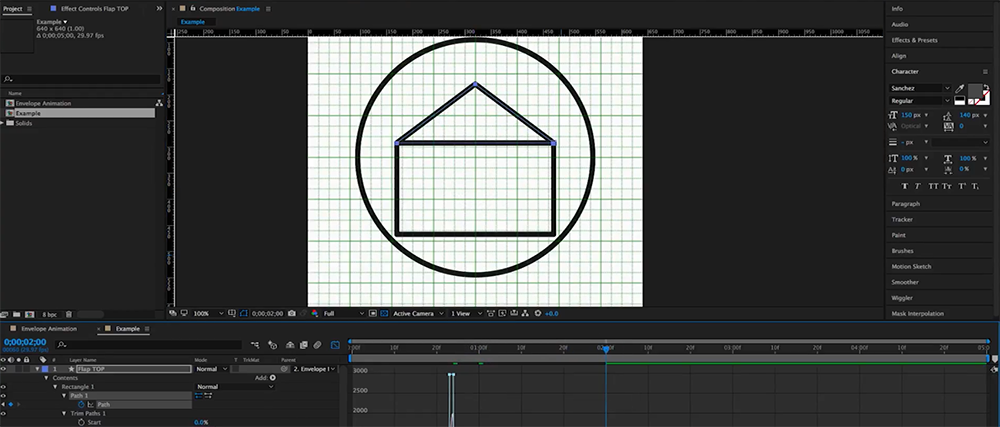
That leads us to the next section, where we animate on the flap of the envelope. We create the flap by duplicating the “envelope back” layer and converting the rectangle path to points. It is also best to parent the flap to the back and position the envelope lower so that when the flap opens, the image is balanced.
This will allow us to remove one of the points and move another to form a triangle. I recommend using the grid to line up the middle point exactly in a predictable position. We can remove the keyframes for the start of the trim paths and only use the end property to animate on the flap from 0 to 100. This should begin one frame before the “envelope back” completes and end around 20 seconds in. You will want to change the first keyframe to linear and the last to eased. This will create a smooth transition and the illusion that the envelope and the flap share the same back line.
Now you’ll likely notice the fill of the flap is making an ugly little overhang. You can keyframe the opacity of the file so that it is not visible before the animation completes. Once the trim paths is finished writing on the flap, you can set the opacity to 100. Set these keyframes to be hold keyframes if you like or just situate them right against each other.
Finally, we need this flap to open. To do this, we will simple keyframe the path. Twirl into the contents of the shape and keyframe the path. The start state should be flap-down. The end state should be the open envelope. Just move the middle point up to the new position. You’ll want both of those keyframes eased, and you’ll want to pull the handles of the last keyframe to have 100% influence. This makes a nice acceleration curve for the movement.
Step 5
If we’re going to put a letter in the envelope, we need to form the front of the envelope. We will again duplicate the “envelope back” layer, convert the rectangle to points, and instead of deleting points, add one in the middle of the top line. Bring that point to match the location of the tip of the flap. This layer will remain mostly unchanged. You should also parent it to the envelope back. This layer doesn’t need to animate on, and you should trim it in time to exist only after the trim paths have resolved for the layers that make up the envelope. You can just delete the trim paths from this layer entirely. This layer should also live above the envelope back but below the flap.
Step 6
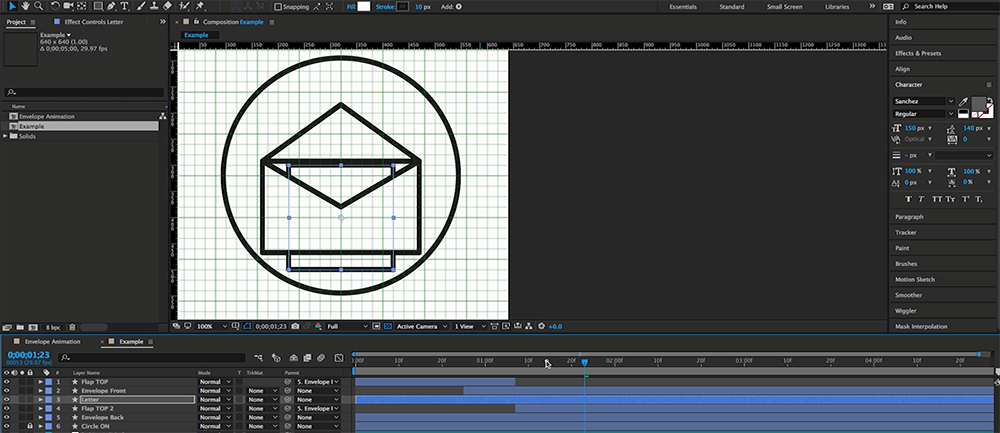
So we have an envelope that animates on and then opens up. Now we need a letter to come out of the envelope. We can again duplicate the envelope back so we don’t have to tweak any fills or strokes. And we may want to solo this layer as we’re working on it and rename it “letter” or something useful.
This layer is going to be the page that exits the envelope and flops over. However, this will only be one half of the flop. The bend that happens in the paper is made of two layers, and together they form the illusion that one piece of paper is flopping out of an envelope.
To make the first part of the flow we will first enlarge the rectangle path in the letter layer. Then we will add another rectangle path and convert that to a bezier path. We then make it taller and add points to the top to make the curve.
Then we will add a merge paths to these and set the merge method to “intersect,” so we will only see where the two paths overlap each other. After that, we can move the rectangle path up and down to reveal more or less of the curved path. We then set keyframes to make the rectangle change position and move all the way up the layer until only one line is visible at the top of the shape.
This layer should be between the envelope’s back and front. However, it also needs to be above the flap after the flap opens up. So you should split the flap layer (command+shift+d) and position the second flap behind the letter. You will need to time the letter’s emergence and animation to not intersect strangely with the flap.
Step 7
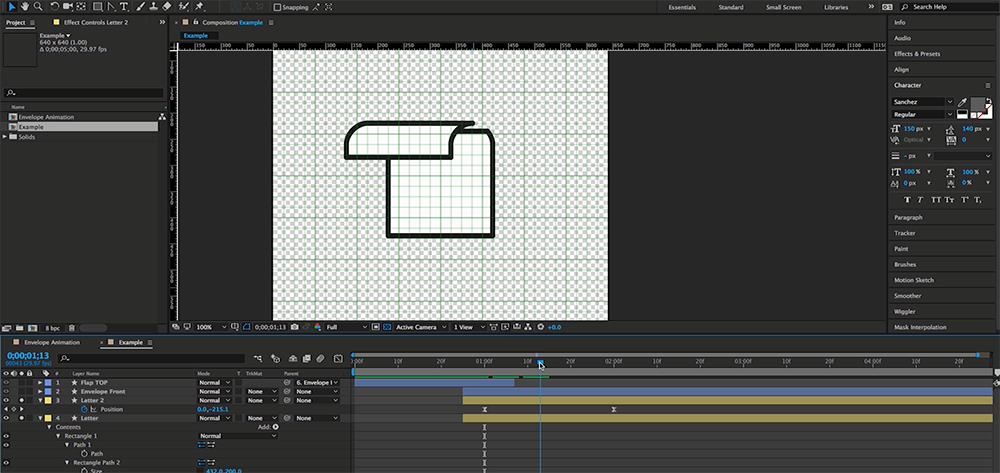
You can create the second half of the flopping letter by duplicating and flipping the first letter and then time reversing its keyframes so the rectangle moves from revealing only a line at the top of the “paper” to the straight rectangle section. I recommend parenting the second paper to the first so when you keyframe the paper’s position, the two move together. Then, it’s a matter of lining up the timing so that as the paper appears to come out and flop over, it continues that motion in the second layer. You will need to alter the graph editor by easing their keyframes to give it a pleasing motion. But, once they’re lined up right, the trick is complete!
You will want the paper to change position to rise up a little as it flops. You can set keyframes for the position to make that happen. Just remember to ease your keyframes so it doesn’t look jerky.
Step 8
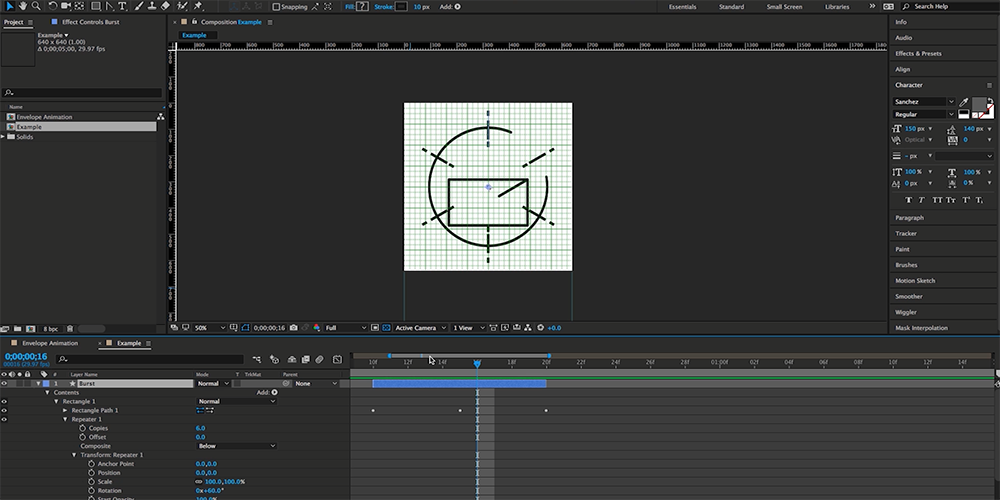
The last thing to do is add some embellishments. Now that the whole piece is moving around and animating on as you would expect, I recommend putting a burst of some kind at the start when the write on of the circle and envelope end. You can make a burst using shape layers by animating a rectangle from size and position 0,0 out to size 0,55 and position 0,-375 over about 10 frames and ease the keyframes. In the middle of those keyframes, however, you’ll want the size to be 0,155 and position to be 0,170 — and set the middle keyframes to “auto bezier,” which you can do by holding alt and clicking the keyframe until it becomes a circle. Then go into the graph editor and change the influence handles of the first keyframes to 0%. This causes a nice burst on.
Then you just need to use the repeater to make an array of 6 of these changing their rotation to 60 degrees. I then duplicate a group containing all those rotating at 30 degrees and scaling it up. But then you have two different strokes from the scale. So you should remove the stroke from one of the groups and drag the other stroke below the two groups. This applies the stroke to the contents of the groups after transformation so it won’t deform the stroke at all. Next, you can set it to round, 10 pixels thick, and give it a dash of 20, a gap of 30, and a dash of 60 to complete the look. Line up this layer with the envelope’s completion, and it really calls attention to the frame. You may want to trim the layer down so you don’t need to see the first few frames and only get the exciting bits of the animation.
I highly recommend watching the video tutorial to get all the step-by-step nuances. And if you had trouble with the tutorial, download the project file and really dive in.
Do you have tips about line art animation? Share in the comments.


