After Effects Video Tutorial: Transition from One Comp to Another

In this Premiumbeat exclusive tutorial we show you a technique for seamlessly transitioning from one comp to another in After Effects.

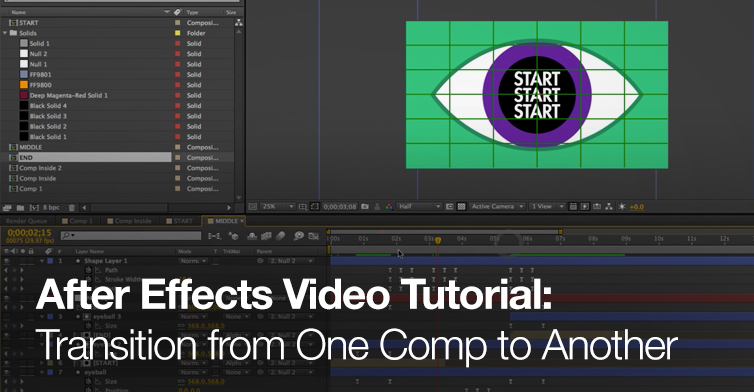
Using a vector-based ‘eyeball’ transition I’ll demonstrate a technique for transitioning from one comp to another in AE. The tutorial covers a few simple After Effects fundamentals including:
- Creating an eyeball simulation
- Shape editors
- Using exclude effects
- Working with alpha mattes
While this tutorial is rather specific the techniques involved in making an animated eye transition can be used in a wide variety of motion graphic situations.
More of a reader than a watcher? Follow along with the step-by-step tutorial below. Click any image for larger view.
| 1 | Create a new composition, new black solid, and new text titled “Start,Start,Start”.
|
| 2 | Create a new dark magenta shape layer. Make a mask over the first “start”. Duplicate the mask twice and drag down to cover all the words.
|
| 3 | Set a keyframe on all the mask paths. Move the playhead forward 10 frames and position the mask path off of the letters.
|
| 4 | Move to the beginning of the composition and move the mask to begin on the far left.
|
| 5 | Set opacity to 0 at the beginning and end of the animation then set the opacity to 100 percent.
|
| 6 | Offset the keyframes.
|
| 7 | Easy Ease all the keyframes. Use the graph editor to make a curved line.
|
| 8 | Duplicate the dark magenta layer, place it above the text and give it an alpha track mask.
|
| 9 | Create an exact duplicate of the composition and change the text to “End End End”.
|
| 10 | Create a new composition called middle.
|
| 11 | Make a new null object that scales down from 100 to 50 over the course of a few frames.
|
| 12 | Parent the start composition to the null object.
|
| 13 | Create a diamond shape over the “Start” pre-comp using the pen tool. Make sure you turn off the fill.
|
| 14 | Use the convert vertex tool to round off the top and bottom vertices.
|
| 15 | Set a keyframe for the shapes path.
|
| 16 | Move forward 10 frames and close the eyeball. Move 10 frames forward and open the eye again.
|
| 17 | Add a rectangle to the shape layer, add an exclude intersection effect.
|
| 18 | Parent the shape layer to the null object.
|
| 19 | Create a new black solid and add it to the back. Create a new white ellipses shape layer and make the shape equal on the x and y scaling.
|
| 20 | Duplicate the ellipses and create an eyeball like the picture.
|
| 21 | Parent the shape layers to the null.
|
| 22 | Set keyframes to scale the pupil down over time.
|
| 23 | Duplicate the eyeball and include only the inner pupil. Set the “start” layer to alpha matte so it only appears in the pupil.
|
| 24 | You can stylize using keyframes on the pupil position, strokes, fills, among other things.
|


Know of any other uses for this technique? Share in the comments below.