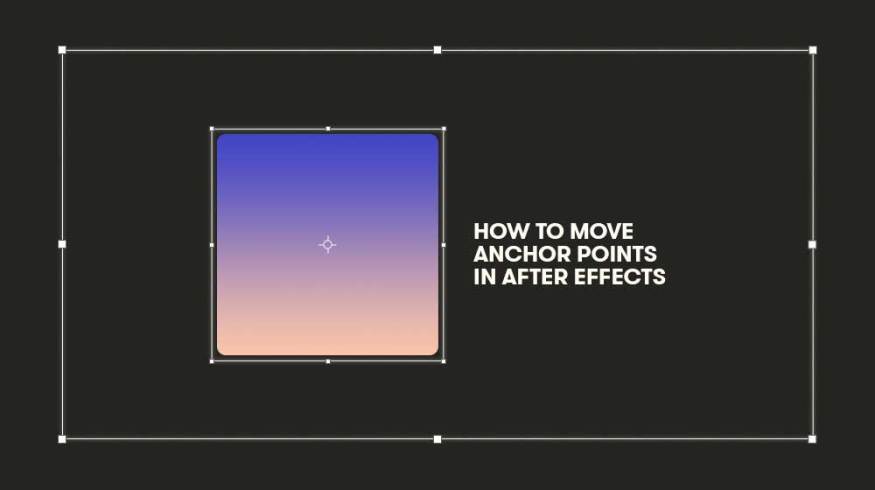
Learn How to Move Anchor Points in Adobe After Effects
Let’s take a look at how different a layer animates when the anchor point is in various locations, and how this will affect your end product.
An anchor point may seem like a useless parameter inside of After Effects, but its location on a layer is extremely important when it comes to animation. An anchor point is a position on a layer that’s used as a base for all transformation properties. You can place it anywhere on a layer, but most of the time I center it. It affects how parameters animate—the most noticeable being with rotation and scale. Let’s go!

I imagine that you’re reading this because you’re trying to move your anchor point, but when you click and drag it on your layer, the whole object moves. There are multiple ways to change an anchor point’s position, but some are significantly faster than others. Once you get this down it’ll become second nature.
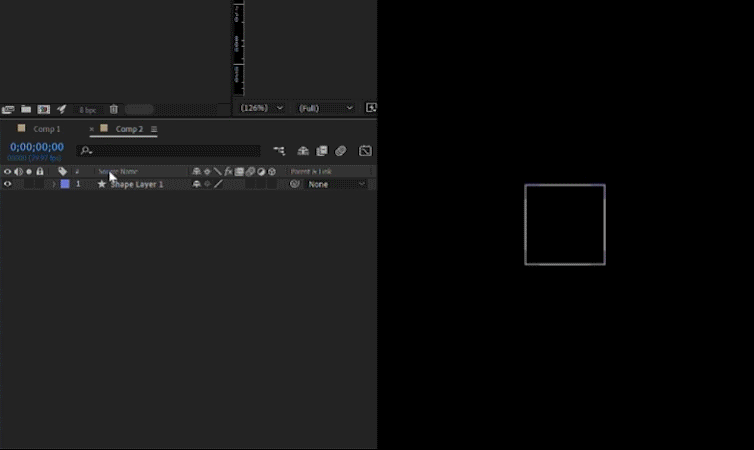
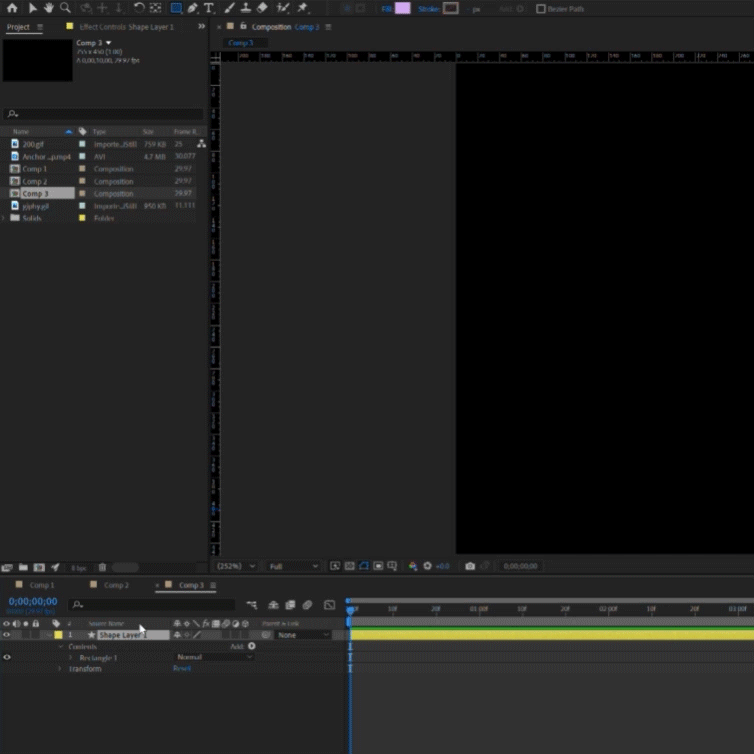
Moving Your Anchor Point
You can change your anchor point in your layer’s transform properties, but I never do this. Nor do I recommend using this method. It becomes really complicated to position the anchor point exactly where you want and it’s completely unnecessary, but an option.
The method I suggest using to snap your anchor point to any edge or corner of a shape is the Pan Behind (Anchor Point) tool. It’s on the same toolbar as the selection and hand tool, which should be at the top of After Effects. When you’ve selected the Pan Behind tool, highlight your layer, then click and drag the anchor point wherever you want. If you want to snap the anchor point to a specific corner or edge, you can use the integrated guides.
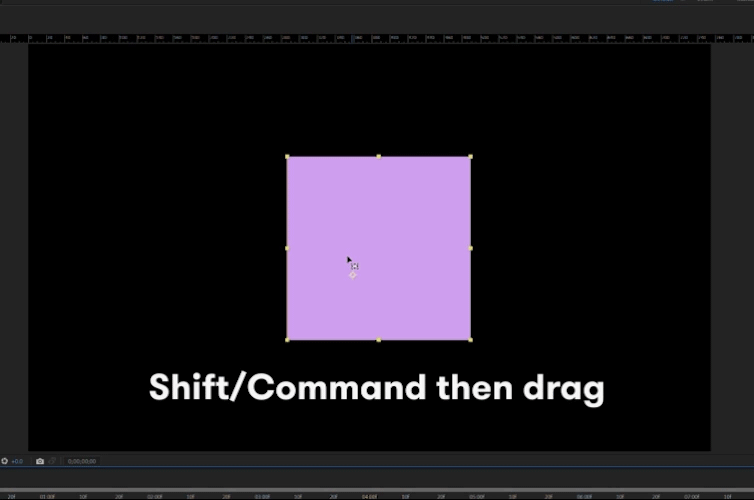
Select your anchor point while holding down Shift on a PC or Command on a Mac. This will easily allow you to snap the anchor point to a specific position of an object, like an edge or corner. It helps you avoid zooming in 5000% to precisely place it.
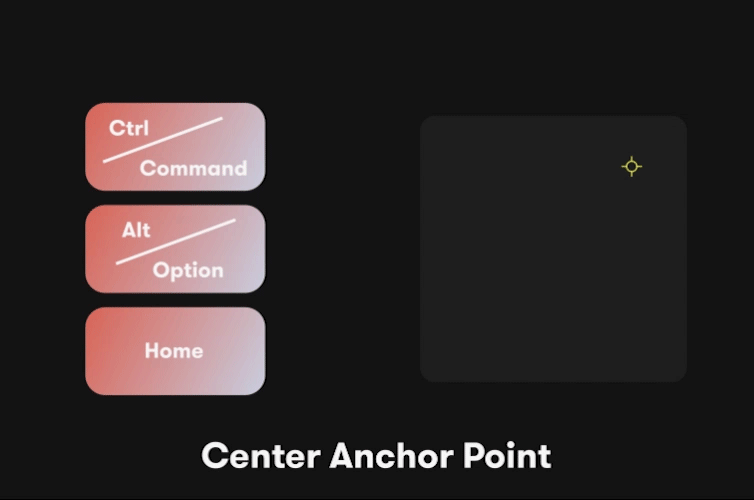
Most of the time, I’m moving my anchor point to the center of my layer. You can do this a couple of ways. The first is manually dragging and snapping it to the center of the layer with the Pan Behind tool while holding Shift. You can also right-click on the layer, go to Transform, and click on Center Anchor Point in Layer Content. The fastest way, and my preferred method, is just to use the shortcut: Control+Alt+Home on a PC or Command+Option+Home on a Mac.
Wrap-up
If you haven’t already discovered this, here’s an inside tip. Remember to always correctly position your anchor point before you animate any transform property. If you move your anchor point while there are active keyframes, it’ll create a new one and change your object’s motion. I always accidentally do this, but it’s easy to fix just by undoing the action. Anchor points are one of the simplest topics within After Effects so, hopefully, these tips were useful to you. Best of luck to you on your mograph journey!
For more After Effects tips, tricks, and advice, check out these articles: